Results 11 to 20 of 125
Thread: 10" Pegasus Build
-
03-01-2016, 08:20 AM #11
Next comes the X Idler assembly and here are the parts required:
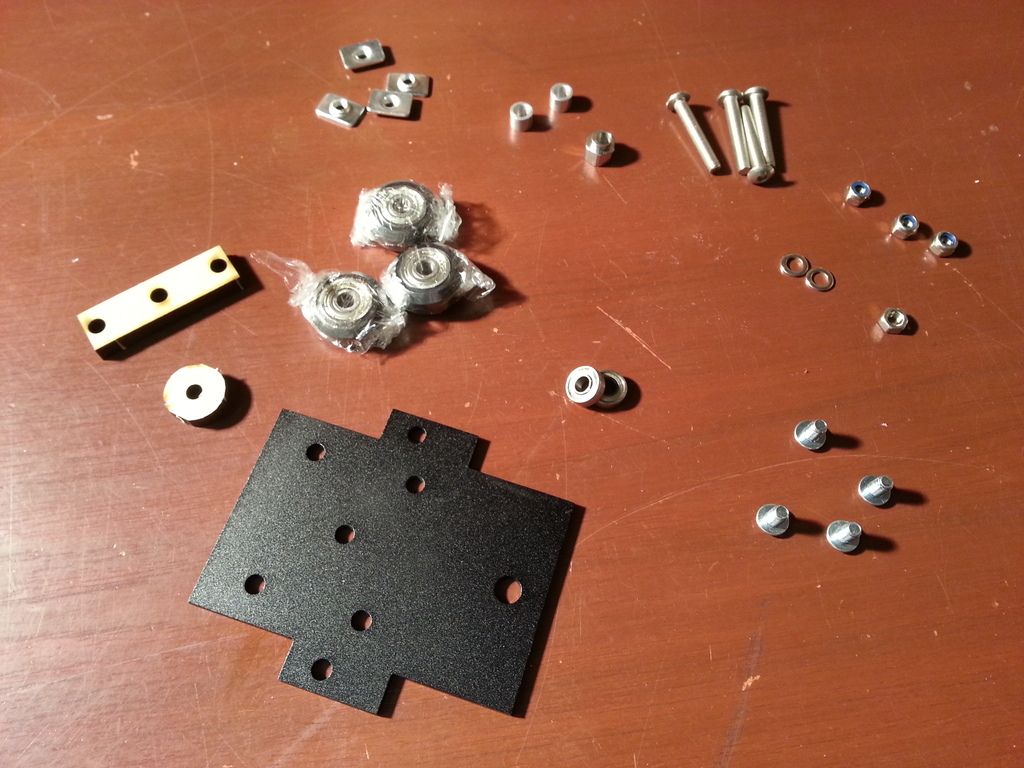
And the finished products:
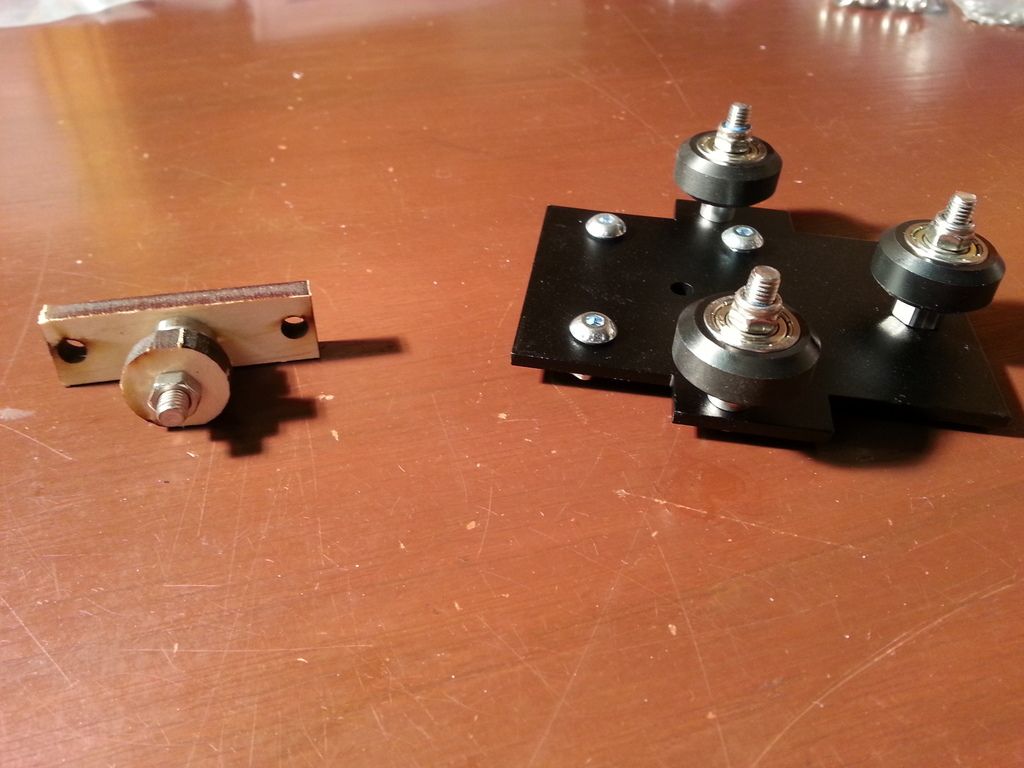
Not much to comment on with these parts... everything is well laid out and goes together easily.
-
03-01-2016, 02:31 PM #12
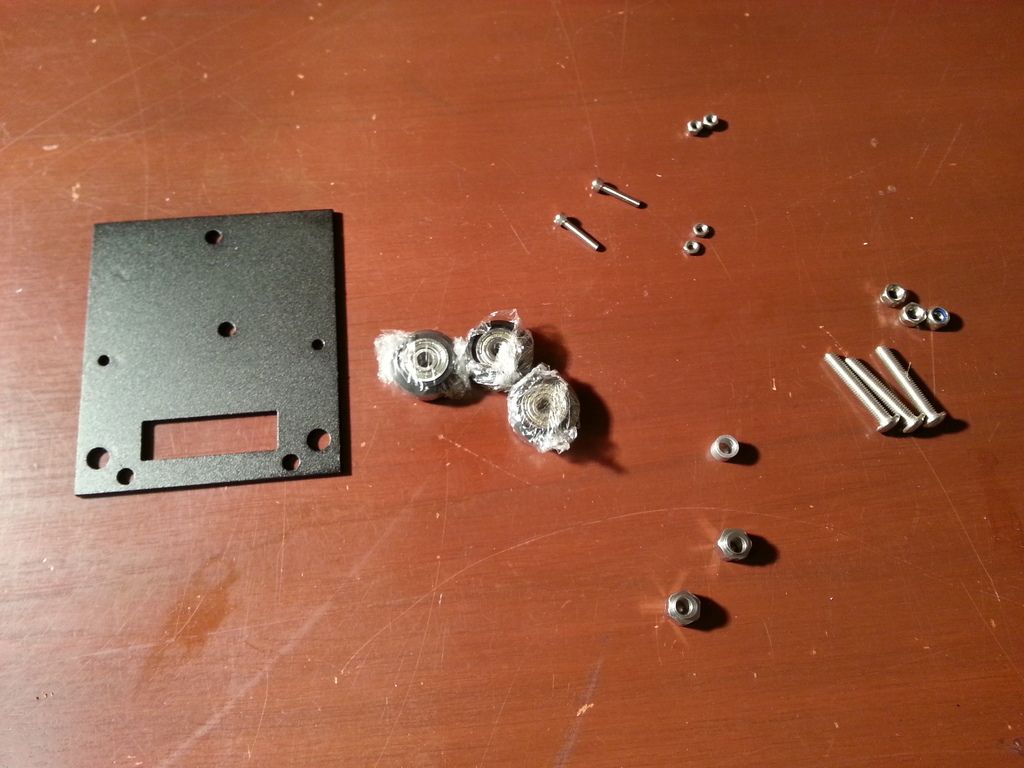
Up next is the metal X carriage and the parts required are shown here:
And the assembled unit looks like this:
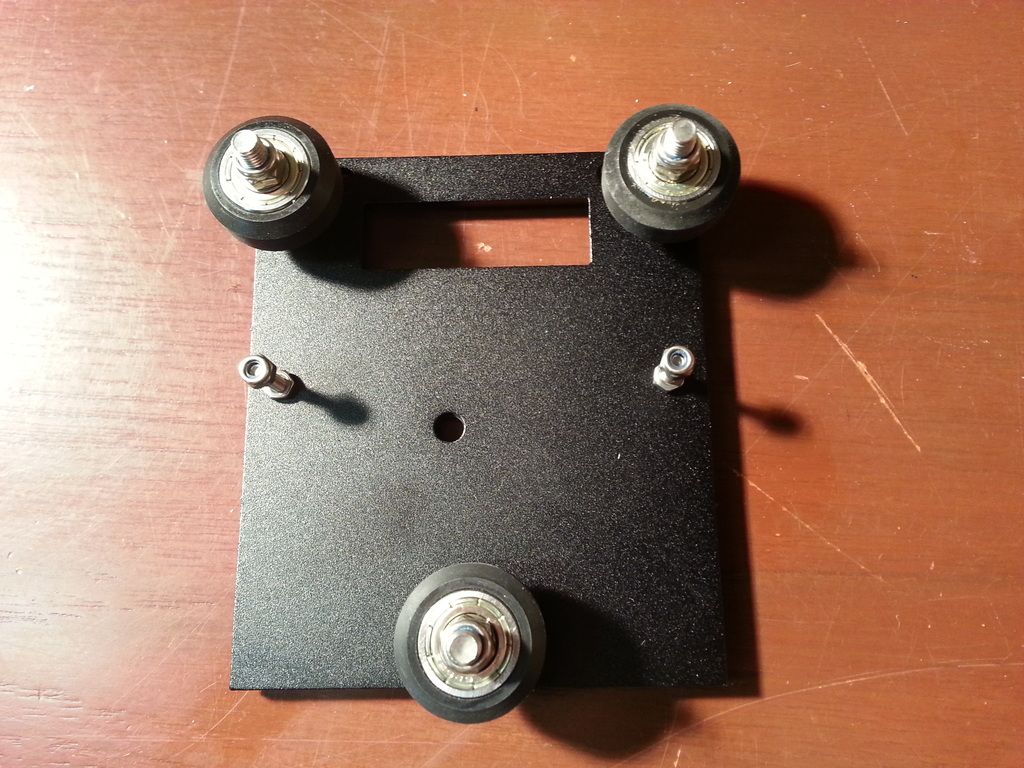
I'm really enjoying this build so far... I love kits like this. It's fun seeing a bunch of parts laying on a table start forming into something useful!
-
03-01-2016, 04:18 PM #13
I am curious as to how you guys hook the printer up the to atx power supply. Are you cutting off molex adapters? Or wiring molex's to your printer? I am gonna order myself another printer maybe today, just might be this one too. The only part I am not sure on is the power supply, as in trusting a ebay or attempting to make a atx that I trust work with the printer.
-
03-02-2016, 04:56 AM #14Student

- Join Date
- Jan 2016
- Posts
- 34
Im using adapters.
-
03-02-2016, 06:29 AM #15
-
03-02-2016, 06:30 AM #16
I haven't gotten that far yet, but I'll likely be cutting/soldering/heatshrinking the connections. You are having the same thoughts I did with regards to the power supply. I've seen some of the shit that gets passed off as good items on ebay. At least with the Thermaltake ATX that I am using, I know exactly what I have.
-
03-02-2016, 03:41 PM #17
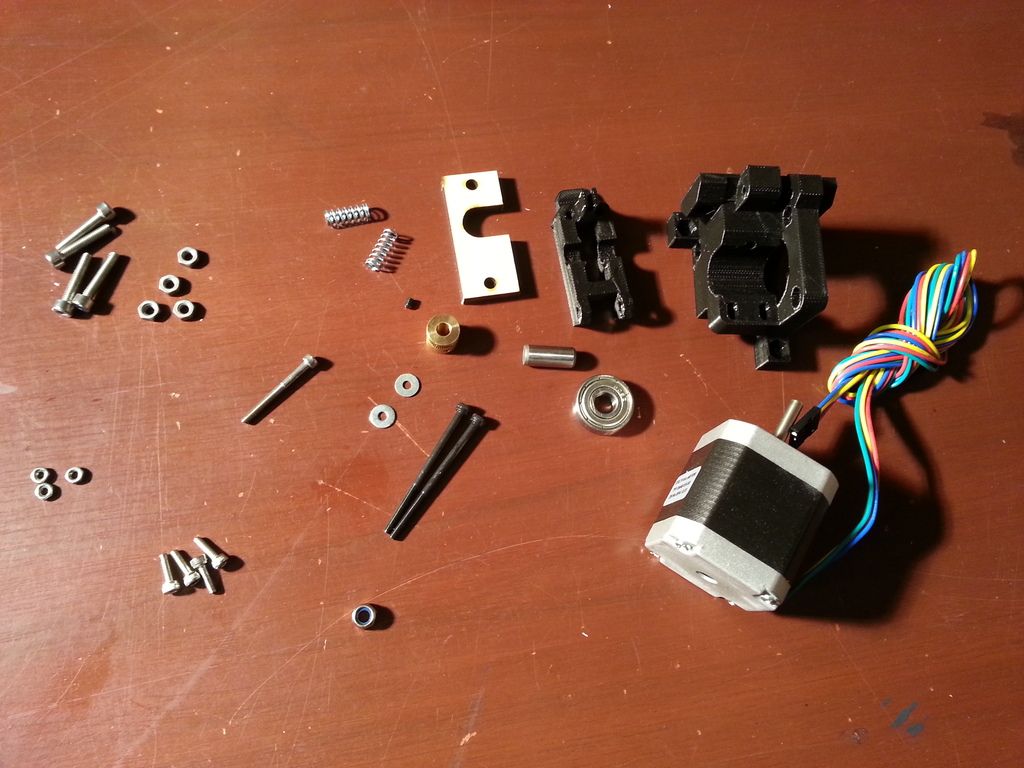
Moving on to the extruder assembly next; here are all the parts required
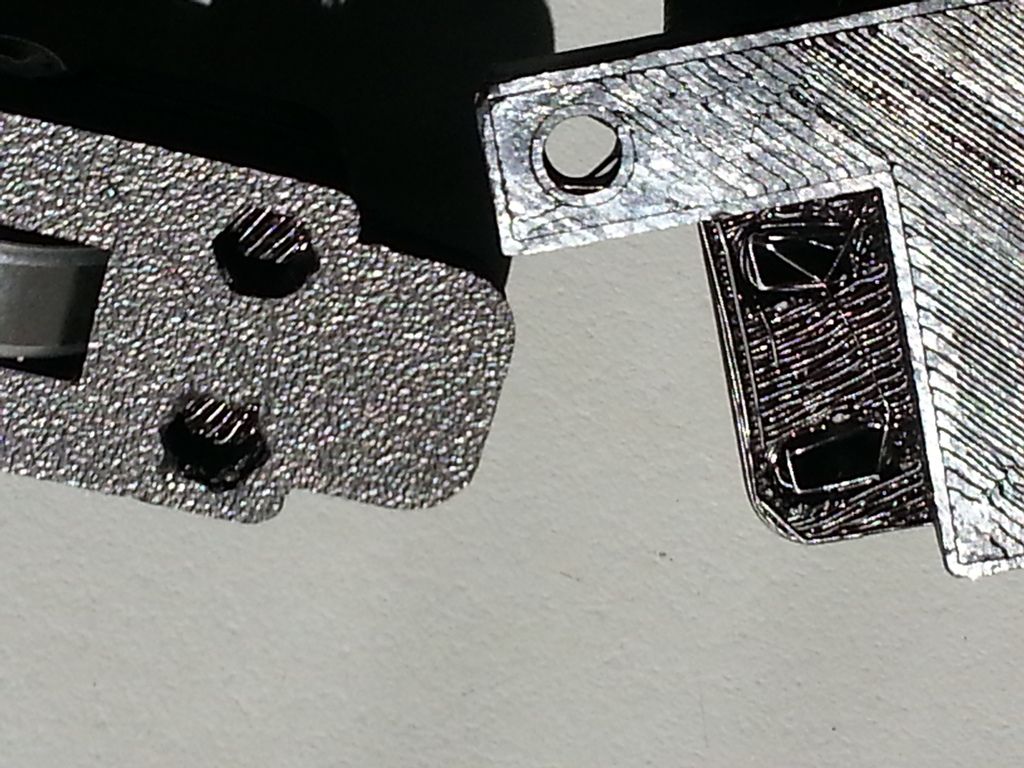
Some of the holes in the printed parts had debris in them which required a little cleaning out but the stringers came out easily
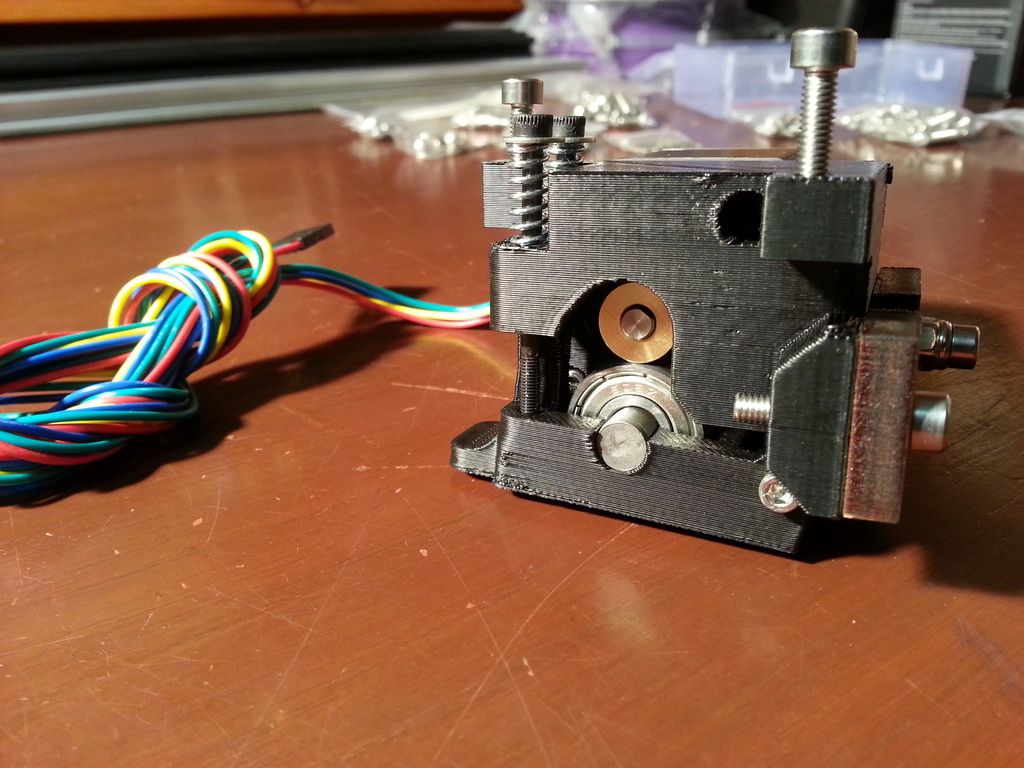
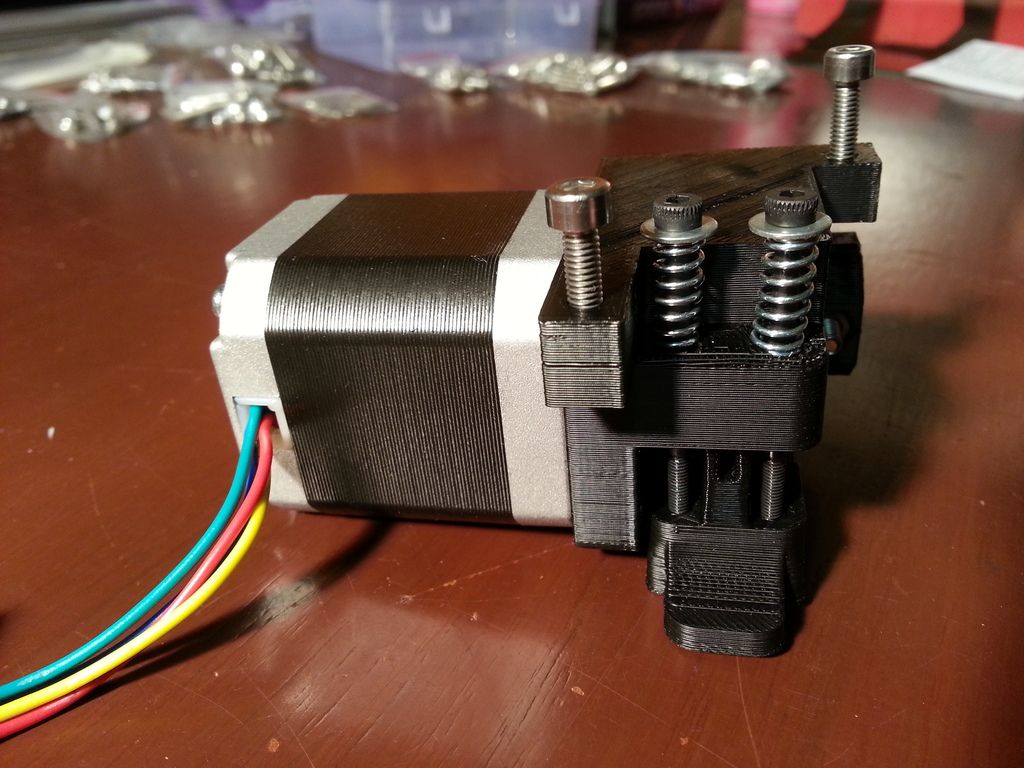
And the finished product!
Chow for now.
-
03-02-2016, 04:48 PM #18Technician

- Join Date
- Nov 2015
- Posts
- 73
It falls apart after you cut it up. My wife quilts and couldn't get it to sew worth shit and it was giving her fiberglass slivers when she was trying to work with it. If you took a lot of time to sew it by hand or had the right kind of machine for that type of fabric you might have better luck. If you do try by hand I'd recommend sewing as much as you can before you cut anything as it won't stay together after you cut it.
-
03-03-2016, 06:39 AM #19
-
03-03-2016, 02:20 PM #20
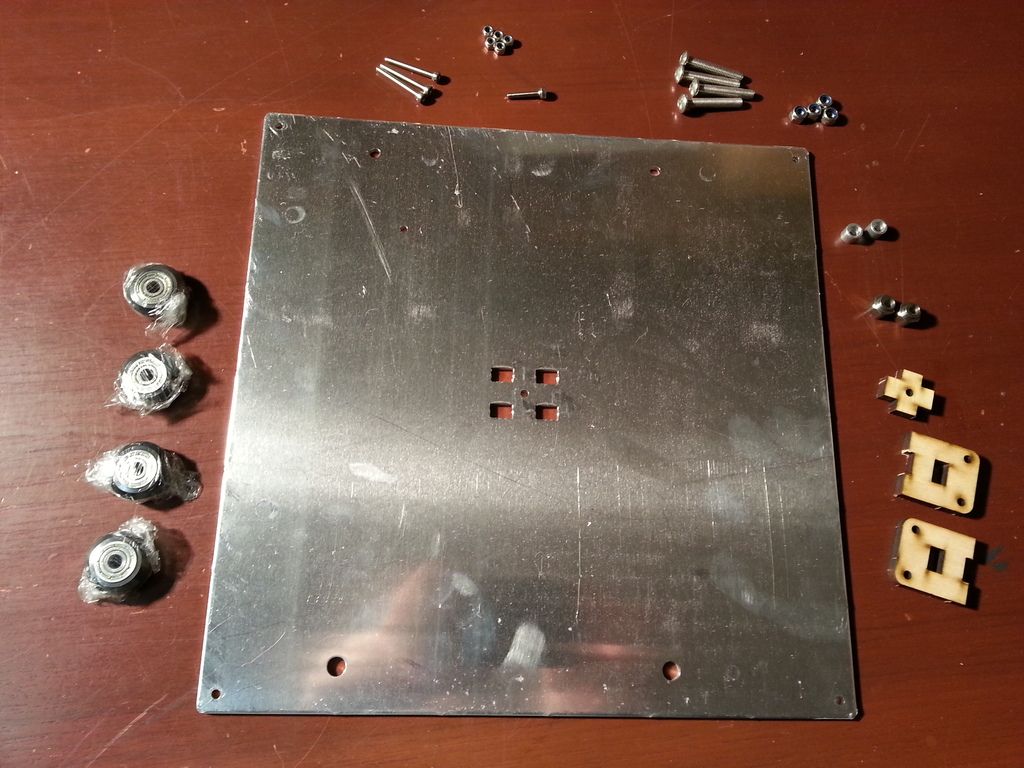
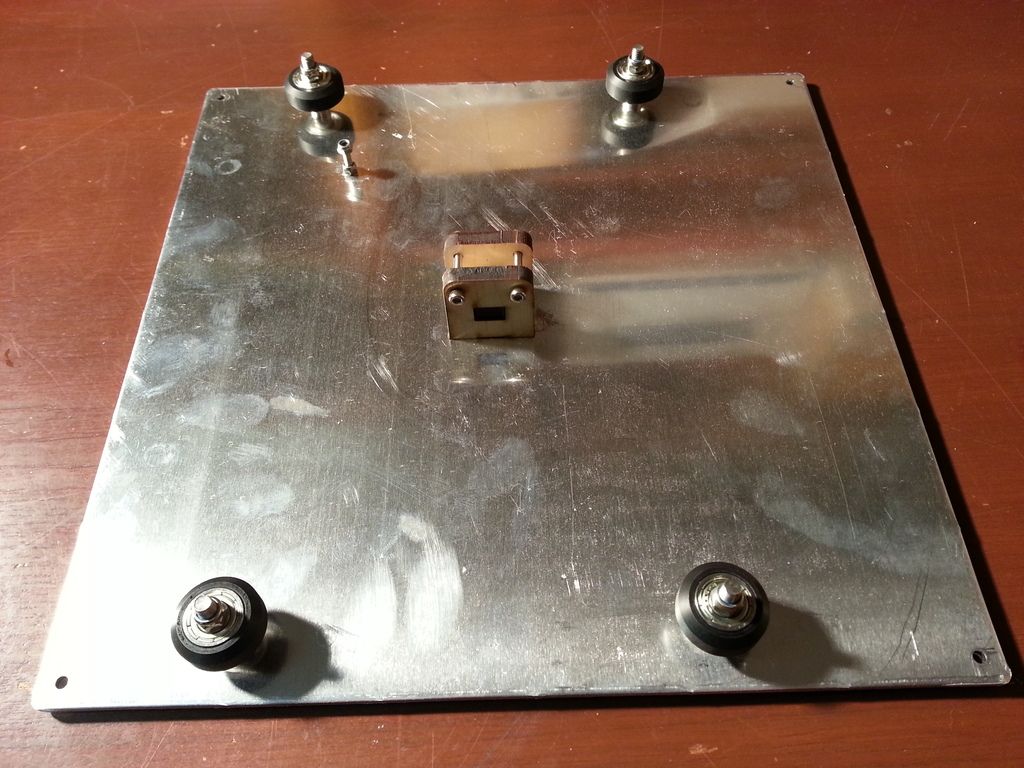
Howdy, next I'm putting together the Y bed with the following parts
Which looks like this when finished


 Reply With Quote


Ender 3v2 poor printing quality
10-28-2024, 09:08 AM in Tips, Tricks and Tech Help