Results 1 to 10 of 29
Thread: my i3v 10" build
-
12-08-2014, 04:09 PM #1Student

- Join Date
- Nov 2014
- Posts
- 34
my i3v 10" build
I'll be starting my build of a MakerFarm i3v 10" tonight. I'm very excited about it! I've always liked to tinker with stuff and I have a good bit of experience with wood working and general DIY but this will be my most ambitious electronic build. I found, as I did my research that led to purchasing this kit, that the most useful forum posts were the ones where a build was documented from beginning to end. So I'm going to try to do the same, maybe this will help out the next person. BTW, thanks to all the generous posters here who share their wealth of knowledge, I am far better informed than I ever would be because of all of you.
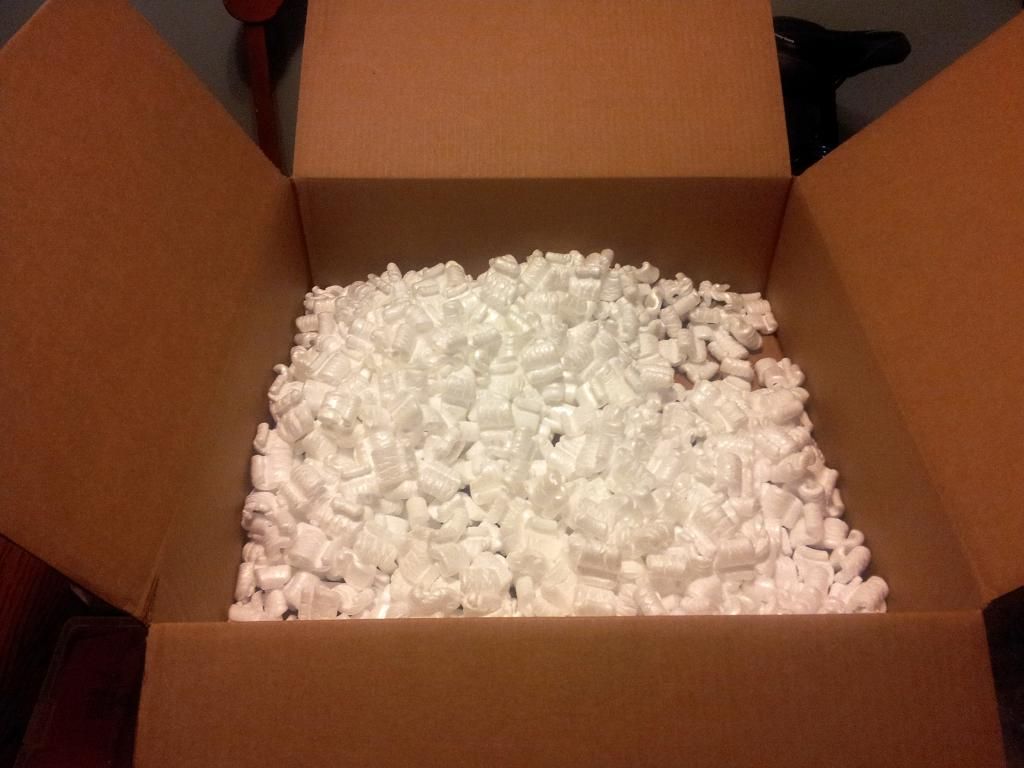
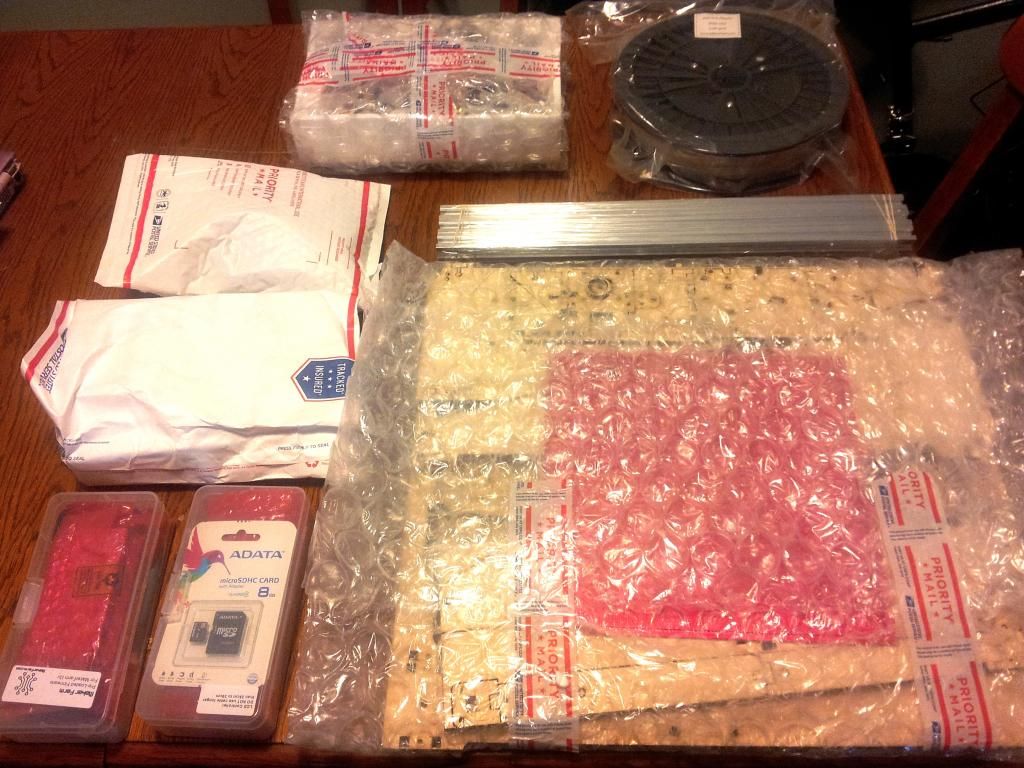
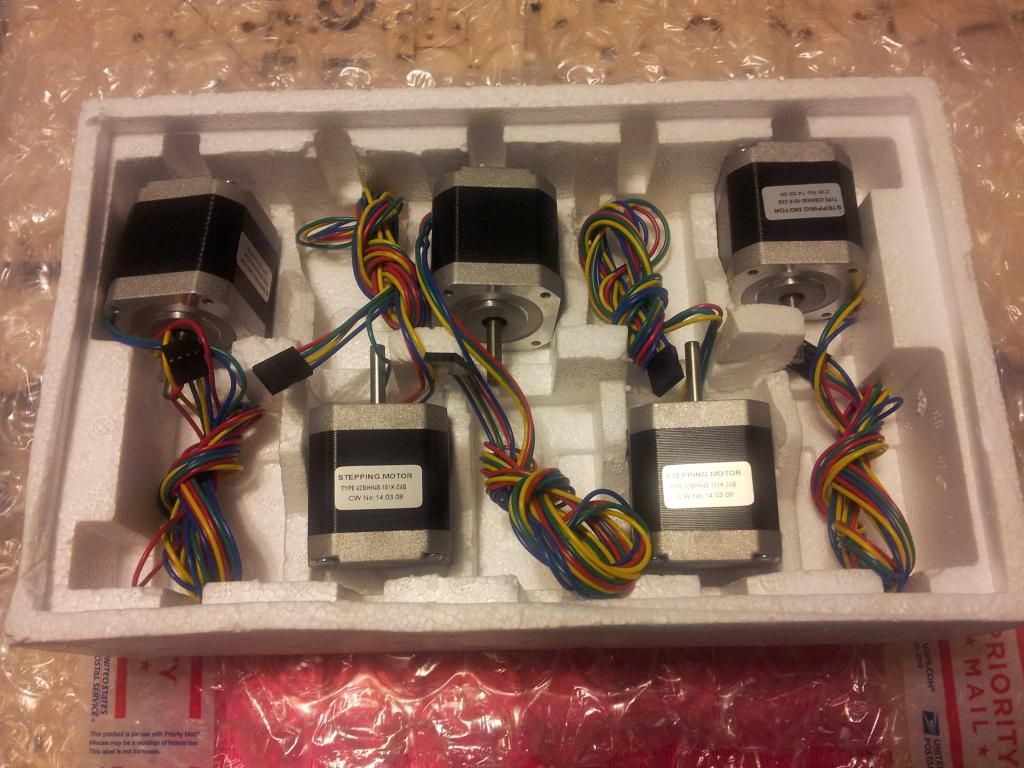
I ordered my kit on December 2nd.I opted for the standard 0.5mm J head for the 3mm filament. I ordered a roll of PLA to start with. Attached are some pics from when I unpacked. Everything was well packed and padded, in addition to the styrofoam peanuts, everything was wrapped in bubble wrap. A quick inspection showed everything was intact and in place. One reason I went with MakerFarm was the reports I'd read with horrifying pics of crushed boxes, missing pieces and broken stuff. Everything looked great so far!
Daniel

[IMG] [/IMG]

-
12-08-2014, 04:13 PM #2
Hey danrodz! I hope you enjoy the build! Building the makerfarm kit has really helped me understand how my machine works and I know I had a blast doing it! Welcome to the forum and if you have any questions during your build let us know!

-
12-08-2014, 04:42 PM #3
-
12-08-2014, 05:57 PM #4Technician

- Join Date
- Nov 2014
- Location
- Kentucky, US
- Posts
- 70
I finished my build recently. I will pass along some wisdom that was gained the hard way ;-)
1. My kit included 2 X-idler brackets. One of them was the old style. The second one was the new style and had the cutout needed for the improved Z-stop adjust system. 50/50 chance, and I installed the wrong one! So watch out for this.
2. There are 2 M5 nuts that fasten the large gear in the extruder to the hobbed bolt. Both of them were half-height jam nuts in my kit. You will have better success if the nut that fits into the trap on the gear is a full-height, standard M5 nut. The half-height nut doesn't stick out of the trap, so the jam nut did not ride up snug to it. This will make more sense when you get to that spot.
I think you will love your printer, and the whole build experience!
Jim
-
12-08-2014, 08:26 PM #5Engineer

- Join Date
- Nov 2014
- Posts
- 522
mine arrives this week! can't wait!
-
12-08-2014, 08:36 PM #6Student

- Join Date
- Nov 2014
- Posts
- 34
-
12-09-2014, 04:17 AM #7
There are a bunch of great build threads you should check out. I'm too tired to pull up the URLs, but look for printbus page for an 8in. Most of it relevant to the larger size. Also consider lacquer before build (maybe clough42's idea?). Definitely get some cable sleeving and take your time. Invite your friends and family over. Get your kids involved. Imagine, the PC in the late 70s early 80s: this is where you are in the 3D print revolution.
Enjoy your new tool!
Once you are settled, definitely investigate Roxy's ABL code. There are several physical implementations including printbus and clough42. Everyone has their own cooling fan solution. While you are running wires to the extruder head, take the time to put in a few extra +/- (red/black) sets that are not connected to use for fans and three wire for the ABL servo. You will want one eventually. So nice to have the wires in a bundle already.
-
12-09-2014, 06:03 AM #8Engineer-in-Training

- Join Date
- Jul 2014
- Location
- Ontario, Canada
- Posts
- 257
Congrats! You're going to have a blast with the printer! Take your time and enjoy the build, it goes together very easily and straight forward. When assembling the extruder make sure everything aligns correctly and rotates freely. You may find you will have to do some trimming and sanding to get parts on the extruder to fit just right, but it will save you a lot of trouble down the road.
Also too, take your time and plan your wiring. It's a simple enough system to wire up, but there can be quite a few pairs, and spending some time to route them effectively and cleanly will give you an even better looking and performing system.
Oh, and lastly, pick up some cork board or some sort of insulation to put between the bed and heating element.
Have a look at print bus' thread for some good pointers: http://3dprintboard.com/showthread.p...ld-by-Printbus
Ryan
-
12-09-2014, 09:23 AM #9
Ryan - thanks for the plug, but there are others with great ideas too. What's great about forums like this is that it brings to the table different people with different experience and goals. The more that gets shared, the easier it is for others to selectively leverage the thinking someone else has already done, sometimes being able to save the trial and error phase.
-
12-09-2014, 11:40 AM #10Student

- Join Date
- Nov 2014
- Posts
- 34
Actually printbus's thread was what pushed me to pick the makerfarm over the other printers i had been looking at. I can't think of how you could get more in depth! I'm open to all suggestions and thanks for all the advice and encouragement. I had seen the friendliness of the community and that's why I decided to post here.
I got in a few hours last night and got up to the last part of the X carriage. At that point I needed to measure and cut the belt and I decided that I was far too tired to risk making an oops. Good progress though. The videos are clear and very easy to understand. So far this has been far easier than I expected it to be.


 Reply With Quote


Ender 3v2 poor printing quality
10-28-2024, 09:08 AM in Tips, Tricks and Tech Help