Results 251 to 260 of 354
Thread: 370mm X 250mm X 300mm
-
06-28-2020, 01:37 PM #251
I am almost there, guys. The ptfe tube quick connect couplers came today. The titan aer comes with a stupid plastic arm that has a u shaped hole on top so I can not screw anything into it..
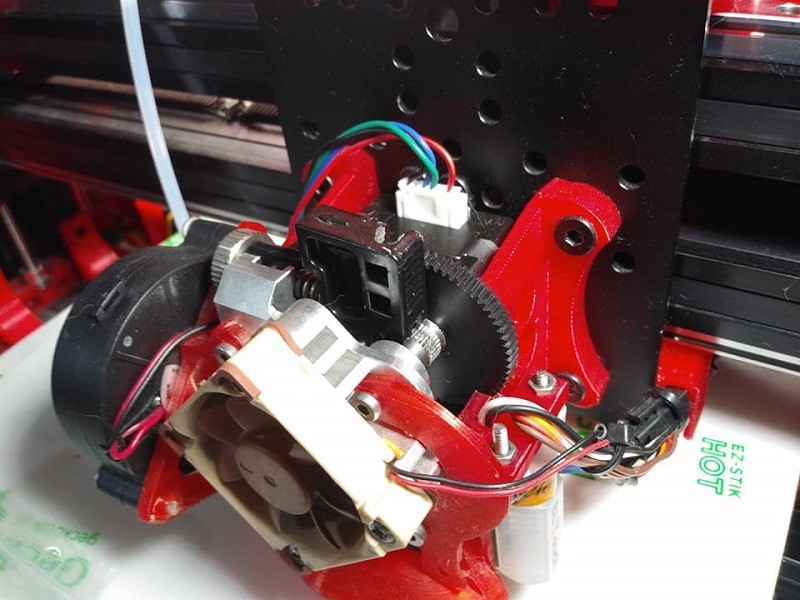 I tried to thread the fitting into it anyways but with no success and because the hole is at the top it would leave a large gap between the end of the coupler and the hobbed gear.
 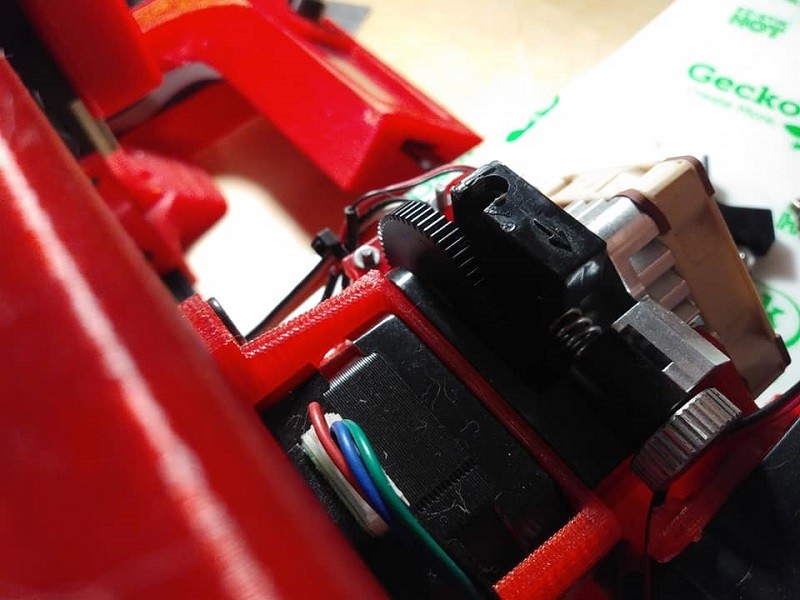 Here is my all metal arm and I had to order the couplers in a 10 pack.
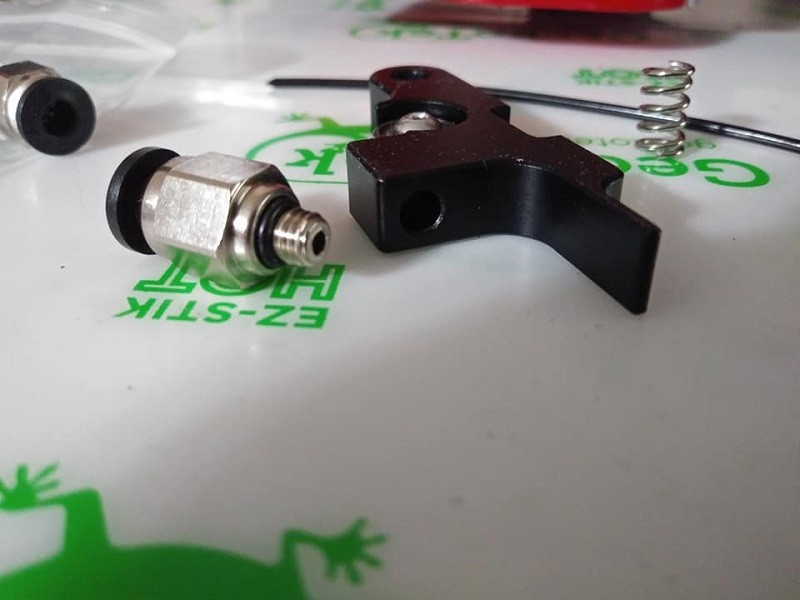
 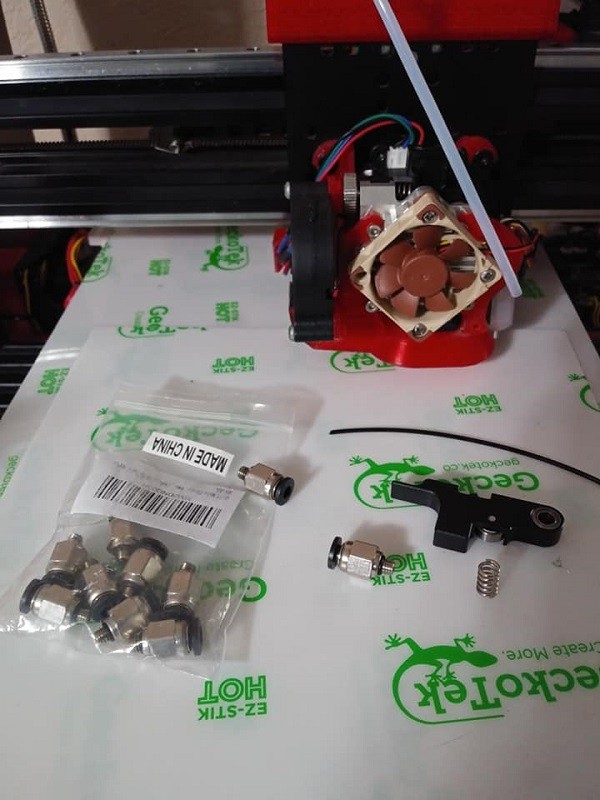 And all I have to do now is find a m5x0.8 tap so I can put some threads in this all metal arm and I am back in business. I just have to locate this tap.
-
06-28-2020, 06:57 PM #252
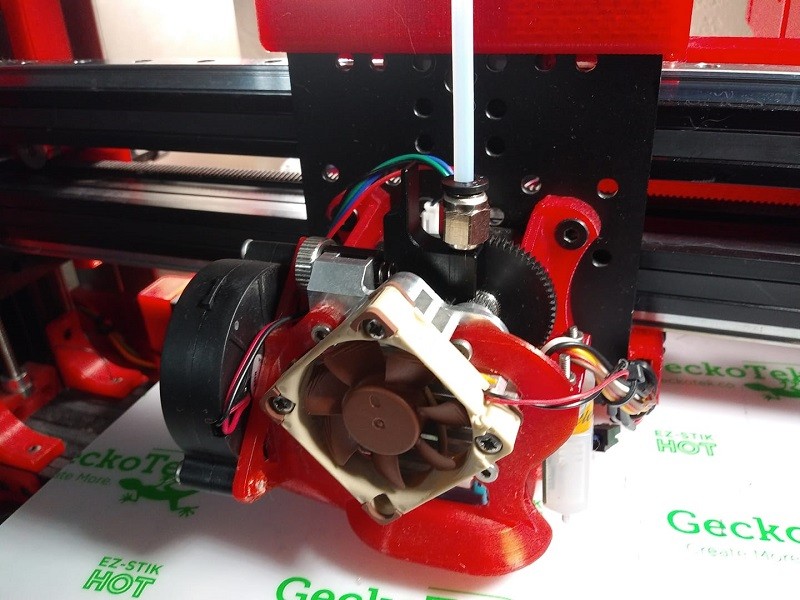
Well I had to go to my job on my day off to make it happen but I got the idler arm tapped to m5x0.8 and I got the quick connect mounted and got everything installed. From here I have to go back over a few calibrations to bring me back to where I was. This quick connect looks so much better than the hot glue..
-
06-29-2020, 01:56 AM #253Technologist

- Join Date
- Oct 2016
- Posts
- 184
Looking good, I have the original Titan and the arm seems to be the same as on the Aero. Good to know that there's a replacement arm that can be modded to take PTFE coupler.
Went and ordered MMU2S, been thinking about getting one for a while. Actually was going to make the order a while agoe, but Prusa shop didn't have it available at that time. Now it's in stock so should be getting one in few weeks.
I've been doing multi-material printing for a couple of years now so is not a new thing. But MMU2S is a interesting design and I want to experience it myself. Also as I've developed a tool to for supporting single nozzle multi material printing on different slicer I want to have a hw to test the tool properly. My tool does have a MMU2S support, courtesy of a user and apparently it is working fine, but having the hw is always the fastest way to test things.
-
06-29-2020, 07:25 AM #254
pretty sure you're 90% of the way there.
The mumu was definitely doing the right thing. Just looks like a standard normal extruder feed issue.
And you should be able to fix that in your sleep :-)
Hell your kids can probably do it ;-)
-
07-05-2020, 08:32 PM #255
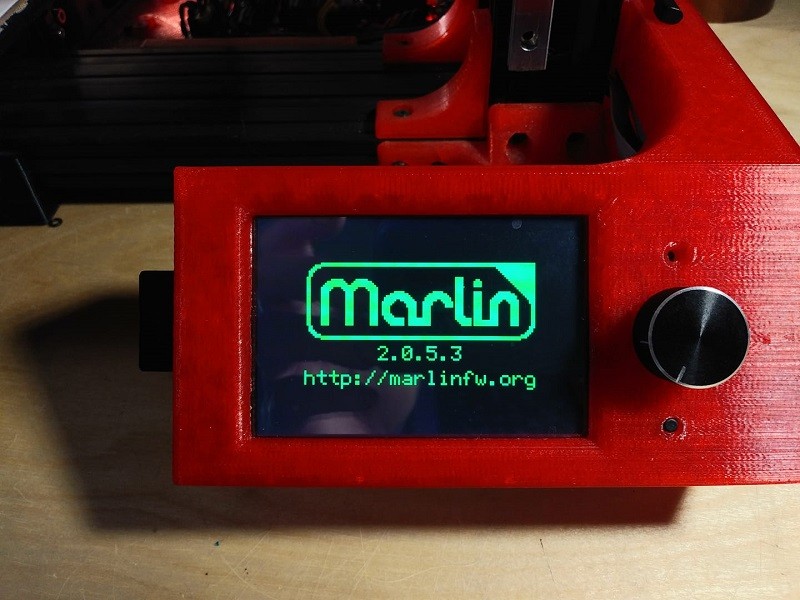
So I have got the latest version of Marlin up and going on all 3 of my printers. Marlin 2.0.5.3 and I also got the latest firmware installed on the MMU2S. 1.0.6. I am still not getting past the initial priming to get me to my first print. I have seen some people using a prime bucket and I think I am going to make one for this printer. It promises to save filament over building a prime tower and it definitely saves space on the build plate.
-
07-06-2020, 07:07 AM #256
what's a prime bucket ??
Oh and here's a video for you to think about your next project. 'cos you know, once the mumu is working you'll just get bored watching it move about. ;-)
What I really like about this machine is the three z-screws - which you can actually use for TRUE autolevelling.
And damn it's fast !
But his approach to building does seem very similiar to your own.
Plus I've just worked out why a corexy can be so fast - And yes I have a particlly assembled one.
I thought I'd done it wrong when I installed the belts because no matter how you move it - both the x & Y stepper motors move.
But just realised that's kind of the point lol.
The extruder carriage is always under tension and the head is always controlled, kind of like the dual motor setup you're using.
Got to extract my s3d profiles from the registry on the old workshop computer, then I think I'll have ago at finishing the sapphire pro off.
This has got me all intrigued now :-)
Oh - now i remember - The bedlevelling boltss need to soldered into position as they are under the bed print surface and just turn round when you turn the bed levelling wheels. Yeah, and I don't have any soldering gear - That's why I haven't finished it yet !
Damn.
Have to wait for my mate the electrician to come round.Last edited by curious aardvark; 07-06-2020 at 07:19 AM.
-
07-08-2020, 09:52 PM #257
I'm sorry CA, 'Purge Bucket' is an alternative to building towers and wasting bed space for filament changes. With a purge bucket the nozzle just moves to this location and extrudes X amount of filament at X speed and then goes back to printing and we can have multi material prints that take up the entire bed size. Here is my purge bucket installed in it's place..
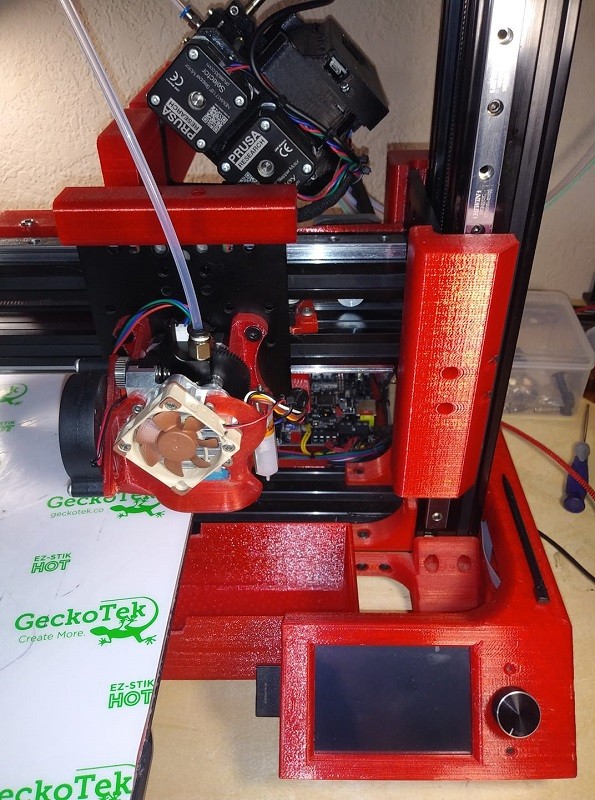 Now I just need to create something that can follow the z axis and wipe the nozzle after the filament changes.
-
07-12-2020, 01:39 PM #258
I have finished setting up the purge bucket and nozzle wiper. The nozzle wiper is attached to Z so it will always be at the right height..
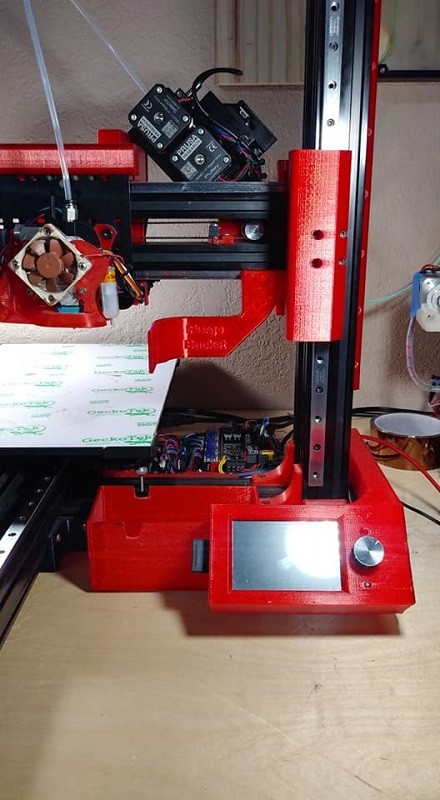
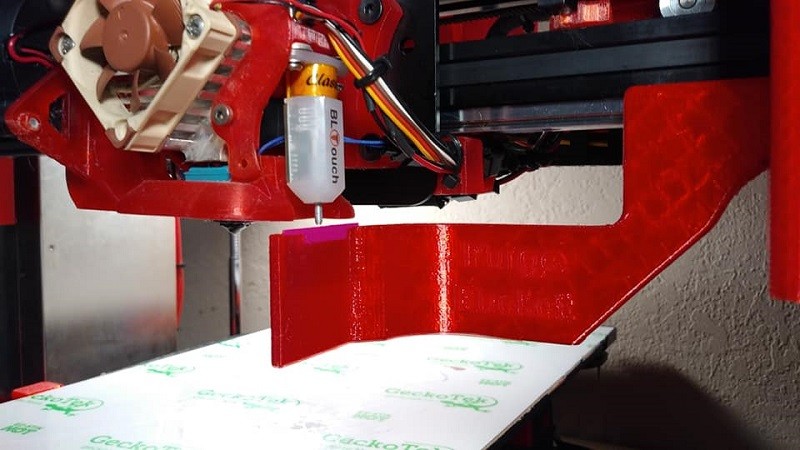
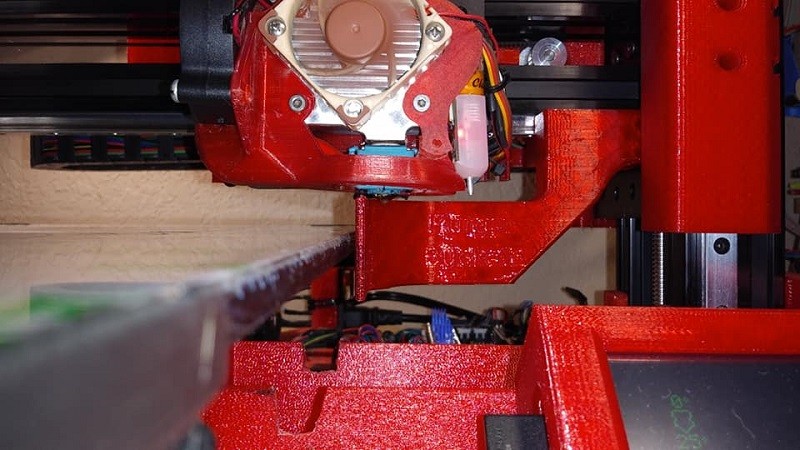
Now all i have to do is figure out how to set this up in Marlin and PrusaSlicer and I will be in business. Oh and I also have to make a similar purge bucket and nozzle wiper setup for My 3 Color Mixing Printer.
-
09-10-2020, 12:24 AM #259
Well alright after some big prints I have identified an issue with my printer's design. On this part the Z banding can be clearly seen on the vertical wall..
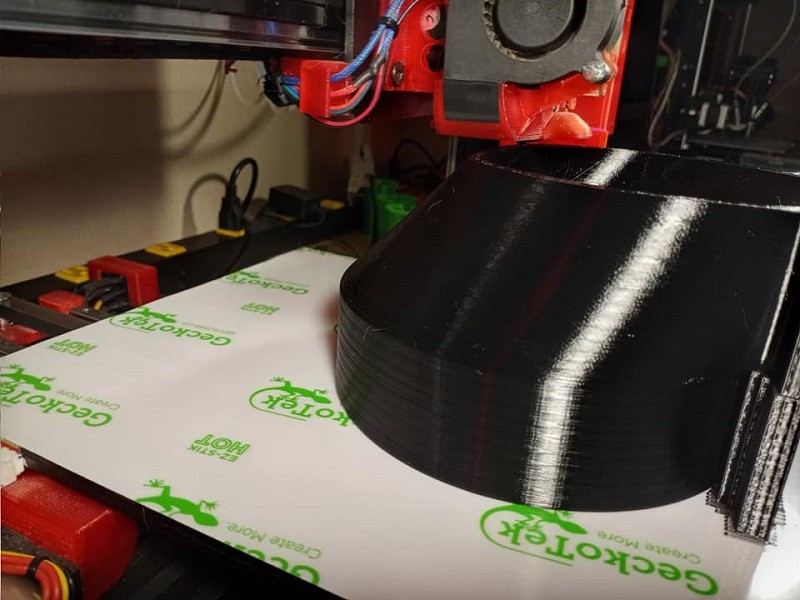
I know this is caused by the threaded rods being held to the frame and moving the gantry as they spin about. I have mulled the correct way forward and here it is. I need to remove the collar and bearing from the bottom of both threaded rods on Z and also raise the threaded rods so they are not inside the hole where the bearing used to be. Like this..
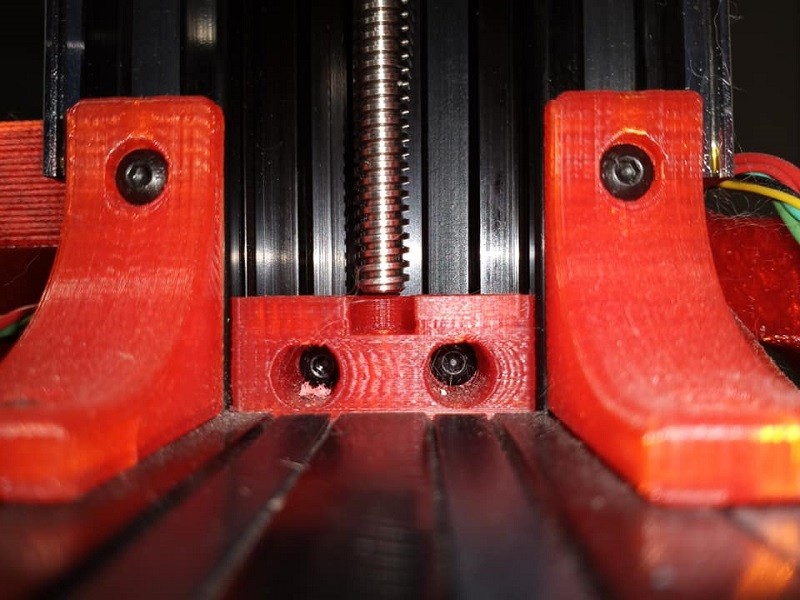
Because there is a lot of weight on the gantry it was a good idea to double up on the collars at the top of the threaded rod above what is now the only bearing locating each threaded rod..
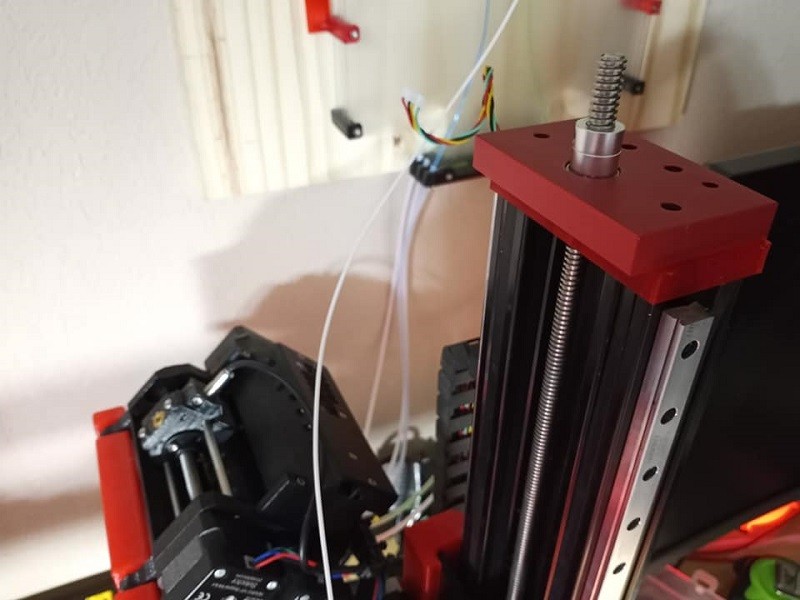
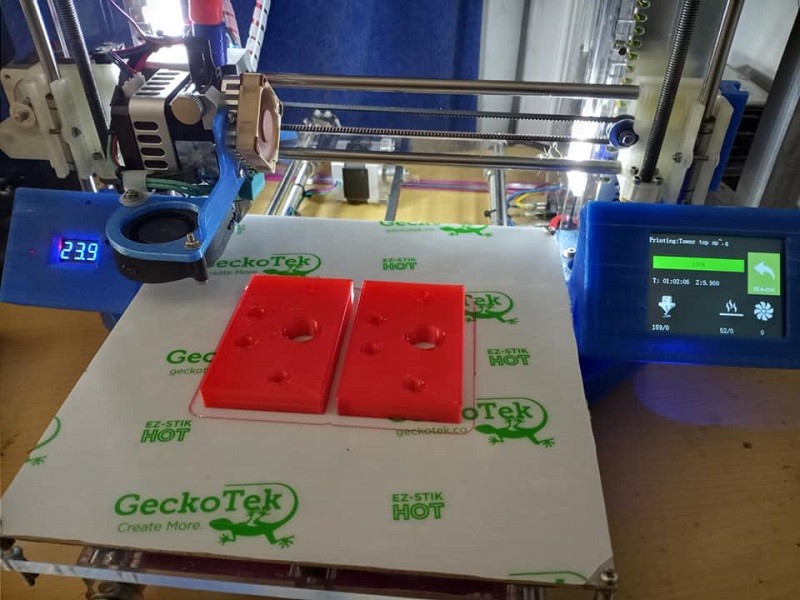
So now that the collar is twice as tall and there is more length of threaded rod sticking up above the frame I now need to print some spacers. Thankfully I already have those designed and in my Multi Widow thingiverse here: https://www.thingiverse.com/thing:4048939 so I just printed them out on Old Blue..
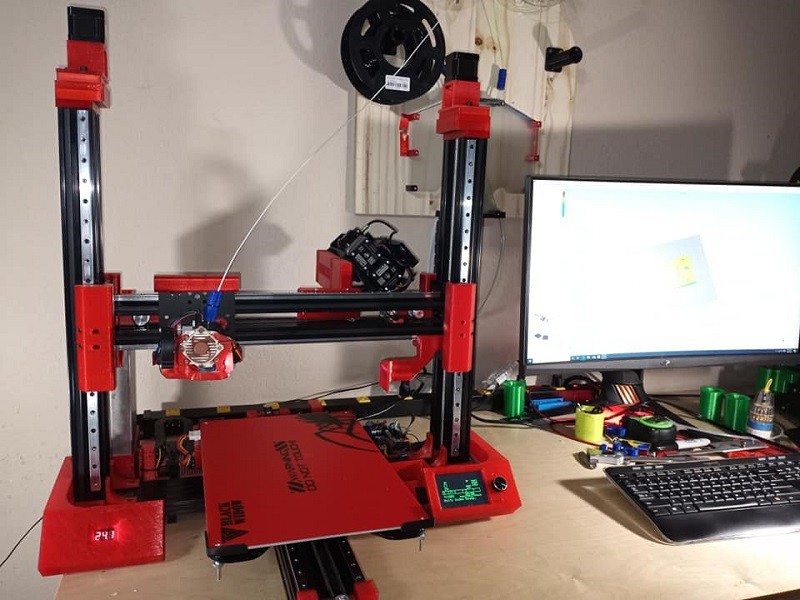
And things are all back together and ready to print. ... well, all except for the broken plate of glass. Which I just want to say hurts. The plate of 400x250x3 borosilicate glass cost $48 from Amazon and the 400x400 gecko tek hot build surface is another $36. I dont know how much I like glass build surfaces today. But anyhow, when the new glass and build surface arrive I will be able to verify the correction for the Z banding. And then get back to trying to get that darned MMU2S printing. In the meantime, here is the Multi Widow all back together and 10mm taller..
-
09-10-2020, 09:27 AM #260
just out of curiosity - could you put linear rails on the z axis - and would it make a difference ?


 Reply With Quote


Kickstarter campaing LEGENDARY...
Today, 08:02 AM in Free Self Promotion