Results 571 to 580 of 4110
Thread: Qidi Tech 1 - Replicator 1 clone
-
03-17-2016, 08:43 AM #571Technician

- Join Date
- Feb 2016
- Posts
- 57
Ah cool, thanks. I'll try that when I get home today. Maybe the person that originally used that script didn't have the fan attached to the side of their head?
Another thing I've noticed (and I have no idea if it's related to the script or not), is my build plate is only heating up to about 25C, when I'm pretty sure I told it in Simplify3D to heat up to 40C, and then drop to 0 after the 5th layer. Is this an issue with my configuration of Simplify3D, the script, or both? I still don't really know how to read all those gcode parameters, so it's hard for me to understand what it's doing just by looking at them.
-
03-17-2016, 08:48 AM #572Student

- Join Date
- Jan 2014
- Posts
- 4
I have had mine for a couple of weeks now. I am very happy with it. Leveled the bed and started printing right away.
Now I am using a 1/16 (0.063") aluminum plate right on top of build plate. Harispray or glue for adhesion. I do not need a Z shim.
Just compensated for the thickness with the leveling screws. Works great. I use tape to hold the plate for now, but am working on some corner clips.
-
03-17-2016, 08:56 AM #573Technician

- Join Date
- Feb 2016
- Posts
- 57
-
03-17-2016, 09:00 AM #574Technician

- Join Date
- Feb 2016
- Posts
- 57
I was wondering if something like that would work. Didn't even think about the fact that you could just adjust the leveling screws a bit instead of using a shim; that's even better. Does 1/16 inch aluminum really stay flat enough though? It seems like that could distort pretty easily.
I have a sheet of 1/16 inch galvanized steel. I wonder if that would work okay.
-
03-17-2016, 11:01 AM #575Student

- Join Date
- Jan 2014
- Posts
- 4
I think steel has more tendancy to warp, but it may be worth a try.
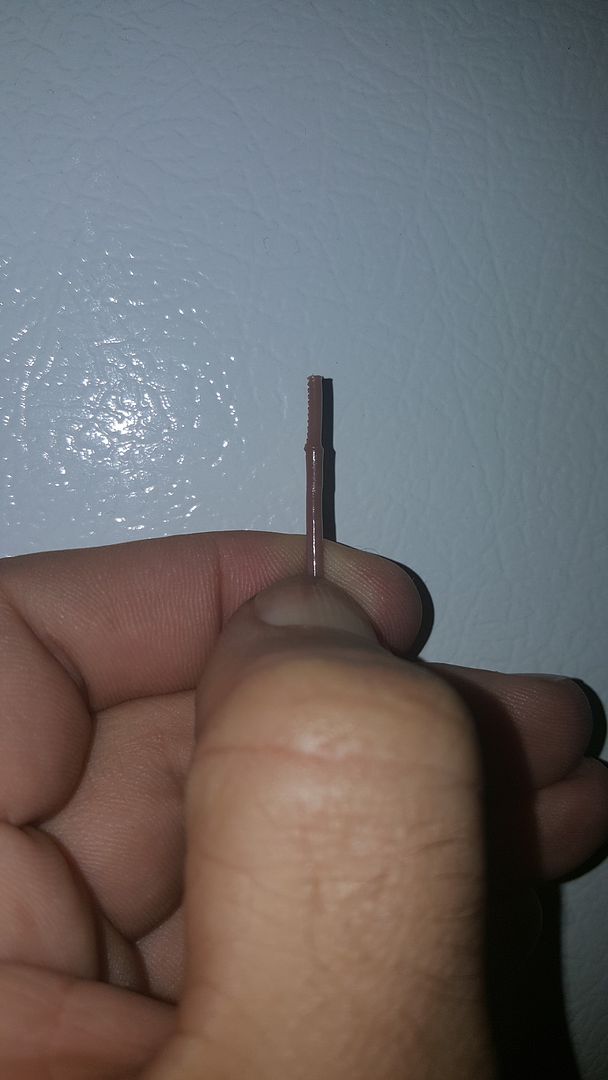
The above picture looks like heat creep in the extruder tube. Is the extruder fan ( not the print cooling fan ) running the whole time you are printing?
-
03-17-2016, 12:20 PM #576
The platform lowering isn't going to affect Leveling. The build plate will home back to the top before each print.
Yes though, try not to flex things around too much There is quite a bit of spring in the whole system so just try not to permanently bend something and it should be fine. It only takes a minute or 2 to re-level so check it every once and a while. It shouldn't get more than 1/8 turn out of whack at any time after initial leveling.
-
03-17-2016, 02:55 PM #577Student

- Join Date
- Jan 2016
- Posts
- 5
Ok, so I've been following this group for a few weeks and pulled the trigger on a Qidi. I've been playing with it for about a week and decided to order a couple .25 glass plates for the top of the bed. I printed out these corner clips: http://www.thingiverse.com/thing:613685 but can't figure out exactly how to attach them to the bed and glass?! Do I need to remove the blue pad and back out one of the screws in the OEM plate or do I need to purchase some additional hardware? I'm sure I'm overlooking something obvious, but I'm trying not to create more work for myself. Appreciate any help!!
-
03-17-2016, 04:09 PM #578
Remove the aluminum bed completely from the machine by unscrewing the leveling screws and springs.
Then remove the blue pad. It will take a little effort but make sure it's perfectly clean and smooth.
You can now put the aluminum build plate back on using the same leveling screws and springs.
On the corners of the build plate that your glass mounts attach to find/buy longer M3 screws to replace the originals.
Put the new screws in both corners and tighten the original nuts up under the aluminum plate.
Then slip your corner brackets on.
I use an M3 washer and wingnut under the corner brackets to make the brackets adjustable.
-
03-17-2016, 05:16 PM #579Technician

- Join Date
- Feb 2016
- Posts
- 96
Can you guys share some of your retraction settings? In other news, I remember why I gave up on ABS temporarily. PLA prints flawlessly for me but ABS has all sorts of issues with adhesion, overheating, etc. So annoying.
-
03-17-2016, 05:50 PM #580


 Reply With Quote


New to 3d printing looking for...
05-20-2024, 12:56 AM in Tips, Tricks and Tech Help