Results 1 to 10 of 125
Thread: 10" Pegasus Build
-
02-28-2016, 01:17 PM #1
10" Pegasus Build
Howdy, I've been lurking for a while now and I've finally pulled the trigger and ordered a 10" Pegasus. Since I am not seeing a whole lot of info about these yet I thought I'd post my experience with building the kit. I am a complete novice, having done nothing but read forums and watch youtube videos so far. So lets get started, shall we?
Yesterday I went and picked up my kit which I had ordered from Makerfarm. I ordered the printer kit with a single extruder with e3d-v6 hot end instead of the lite version, graphical lcd, and I also upgraded the X, Y, Z Motor Mounts, X idler and X carriage to Metal. When I opened the package I found everything well protected and well wrapped along with a checklist to make sure everything was in the package.
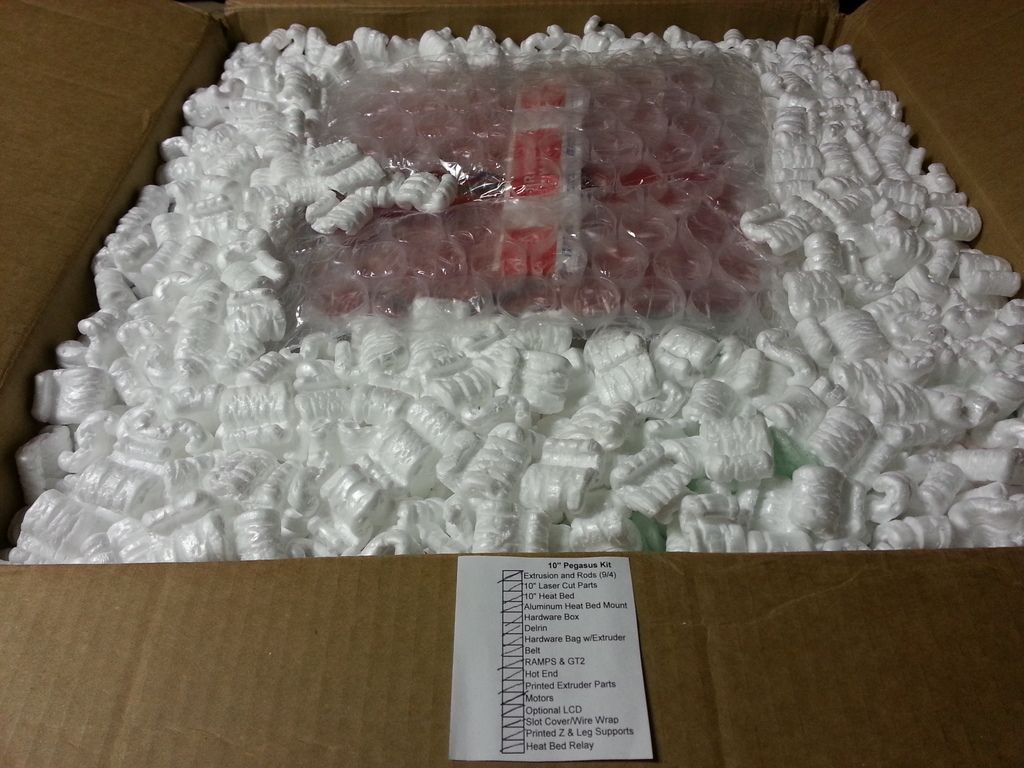
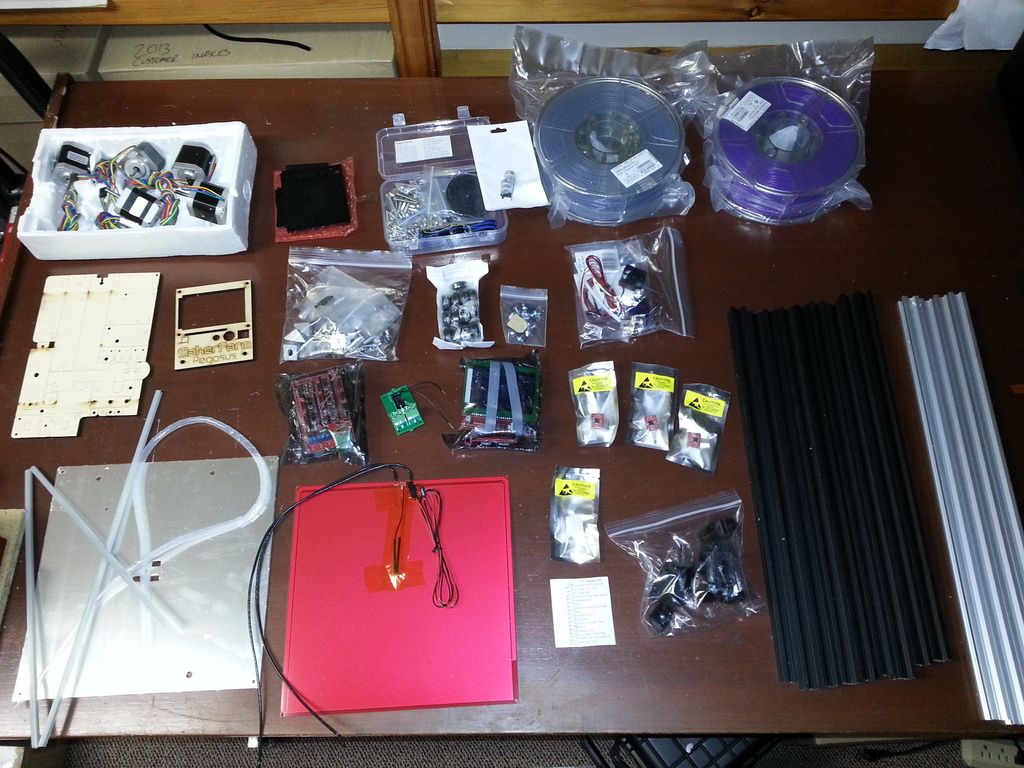
And here's what all the parts look like once unpacked...
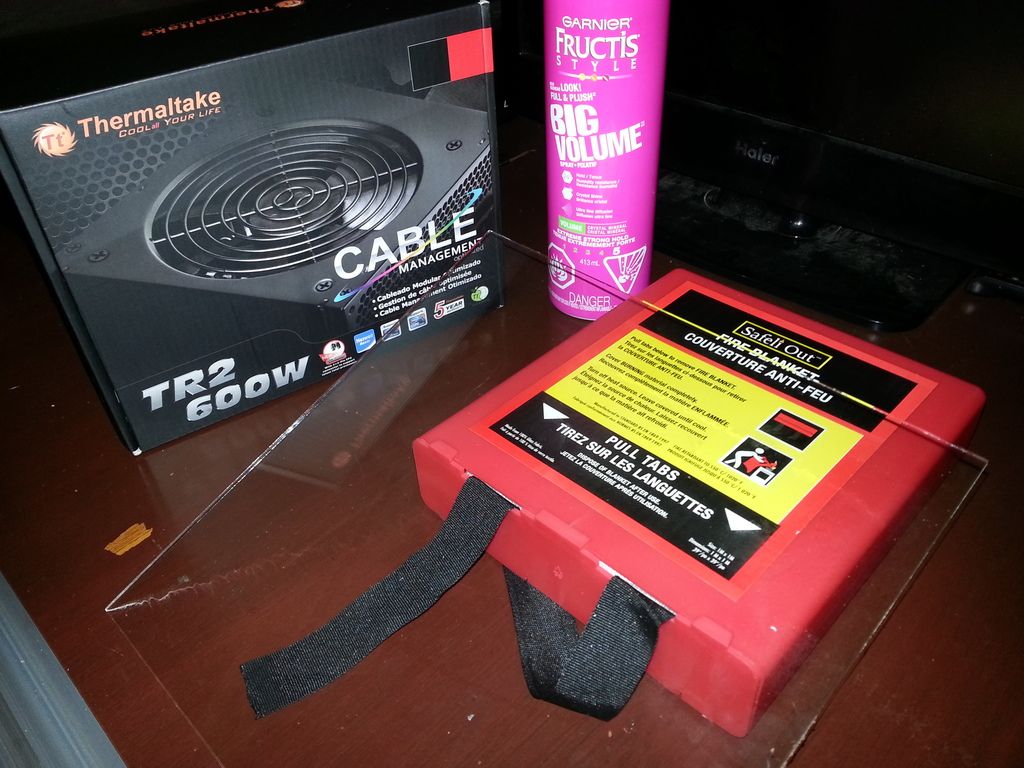
And here is my contribution over and above what the comes in the kit:
You will have to stay patient with me as I'm busy trying to keep a business afloat and busy with lots of kids so I may only get an update or two per day as opposed to a marathon build to the end. Everything looks to be in order as far as the kit goes and next I will start putting together the frame as per the instructions. Chow for now.
-
02-28-2016, 01:37 PM #2Technician

- Join Date
- Nov 2015
- Posts
- 73
Return the fire blanket if you can. My attempt to use it was a disaster. I highly recommend the felt I used in my thread though. Single layer of the 1/4" stuff could just be cut and used.
-
02-28-2016, 05:20 PM #3Engineer-in-Training

- Join Date
- Jul 2014
- Posts
- 305
I will be watching. A little birdie told me they may be making a 12" Pegasus soon once that comes out I am buying a second printer.
-
02-28-2016, 08:06 PM #4
OMG my wanhao just fried it's wiring, 2 month old. So I found the pegasus 10 and reading about maker farm putting out a good product. Now look here, a thread in the forums talking just about that very printer!
Congrats on your purchase, have fun building!
-
02-29-2016, 07:44 AM #5
Alrighty then, I will start assembling the frame as per the build instructions. First little bundle of parts required are gathered as shown.
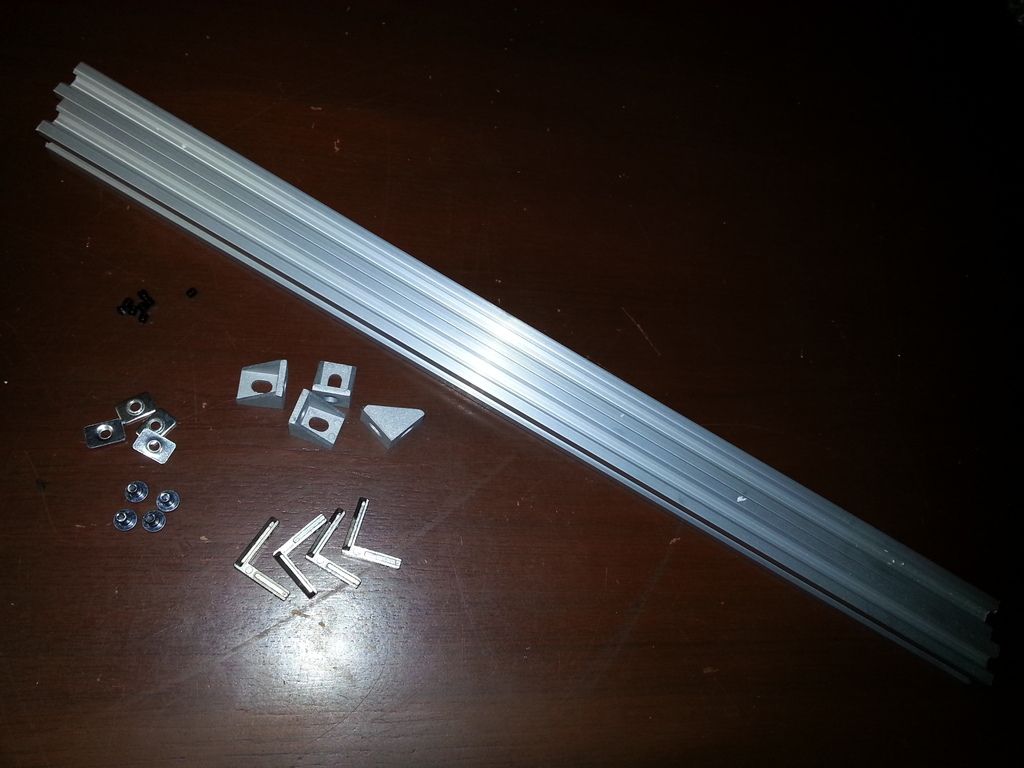
The hardware gets installed into the brackets.
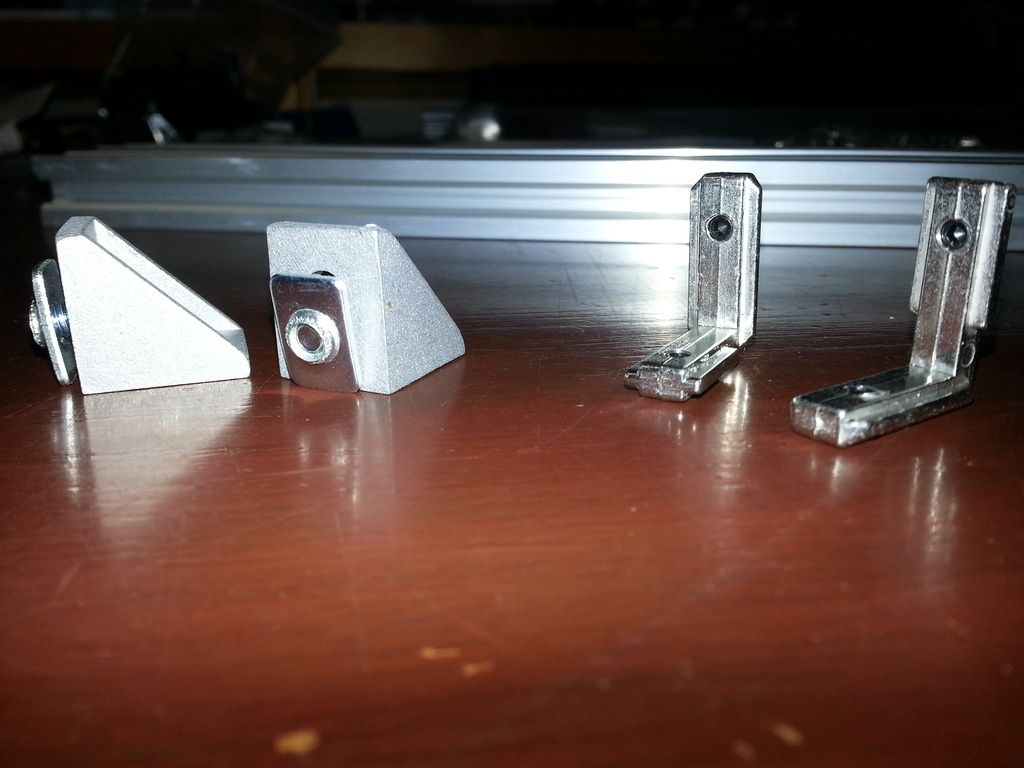
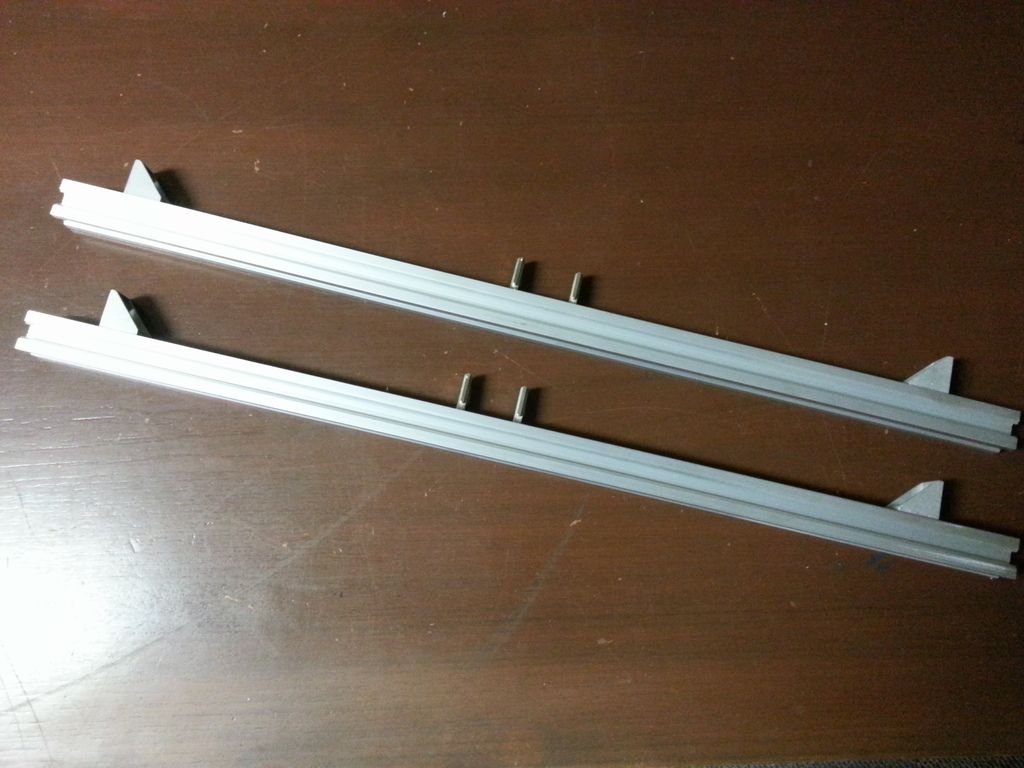
And the brackets into the long extrusions as so:
-
02-29-2016, 10:40 AM #6
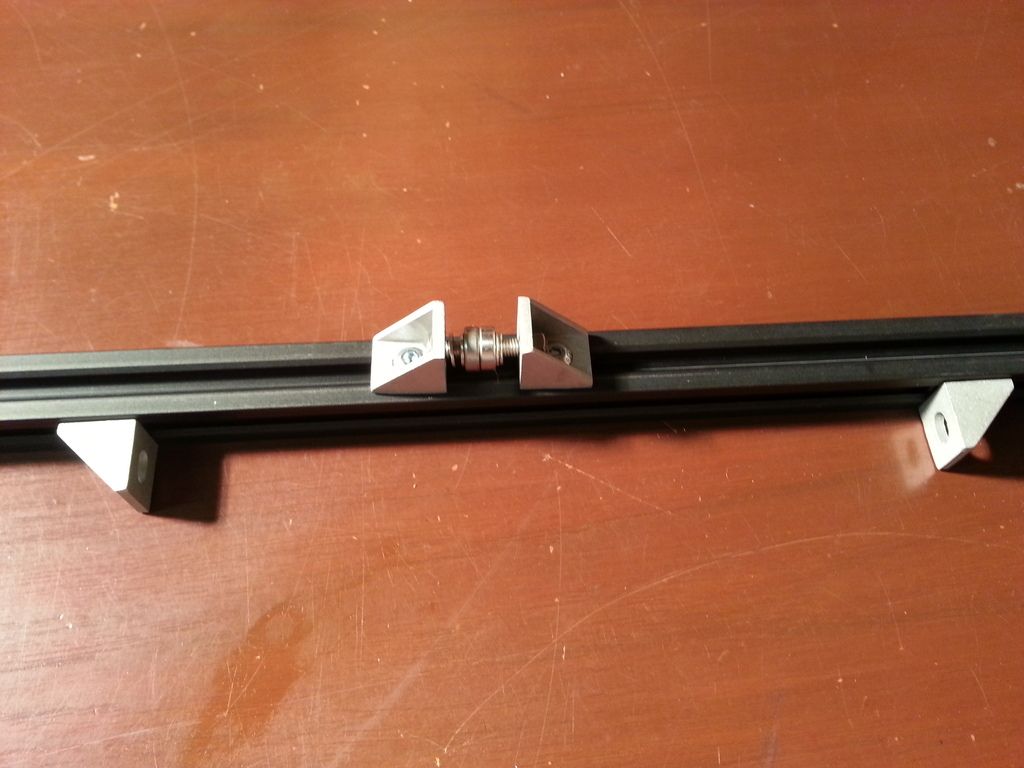
Continuing on with the frame, here's the next group of parts
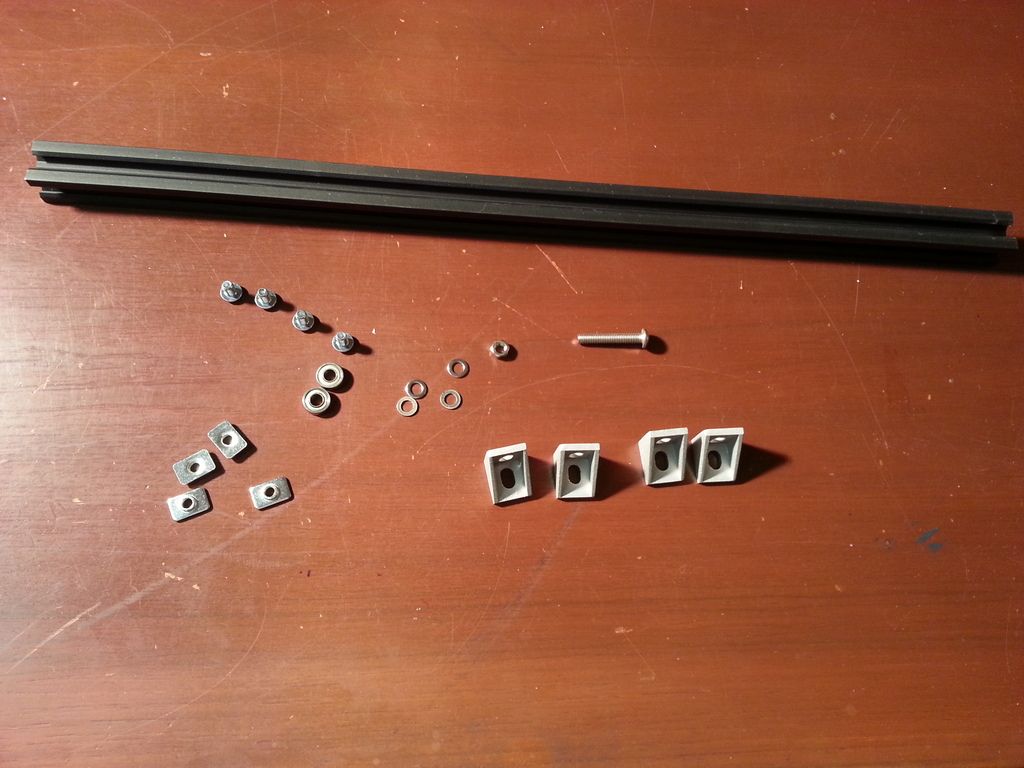
Corner brackets are installed in a piece of short extrusion
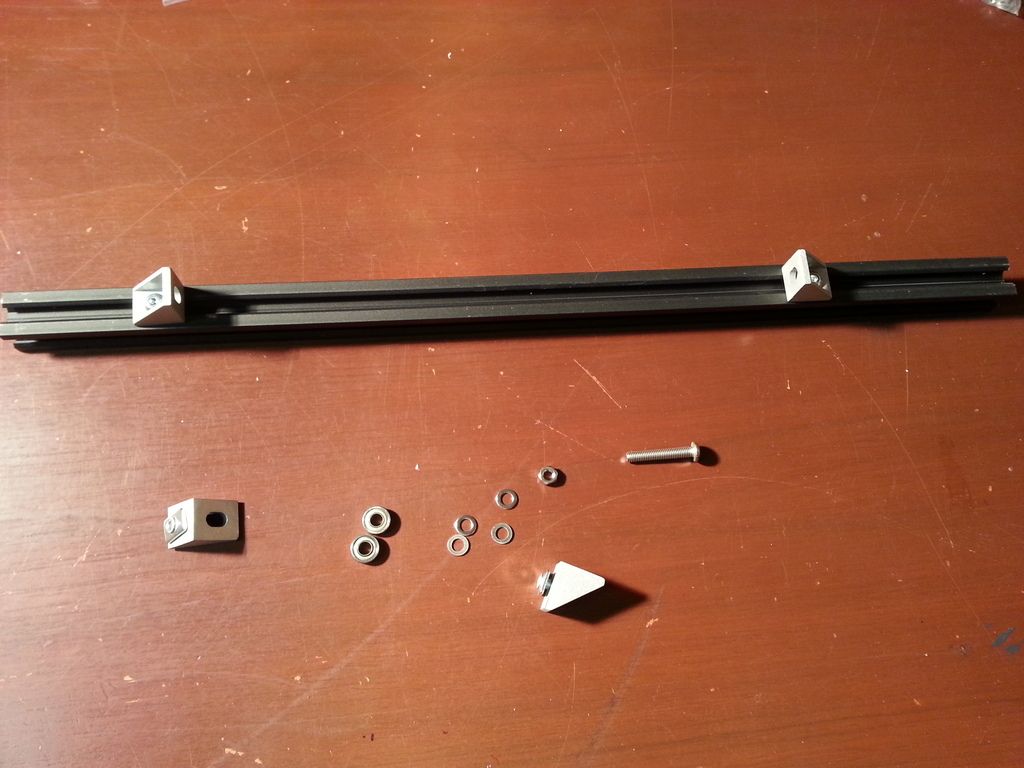
And then the extrusion is flipped 90 degrees for the rest of the parts to be installed.
-
02-29-2016, 10:52 AM #7
Onto the next piece of frame...
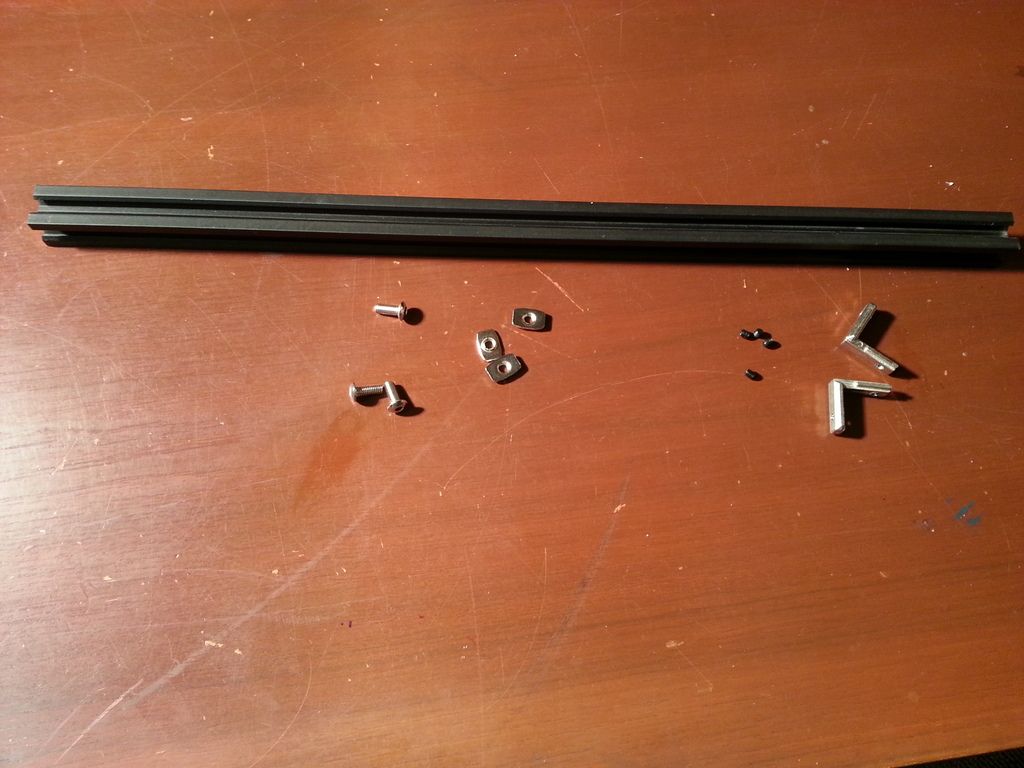
Assembled as so:
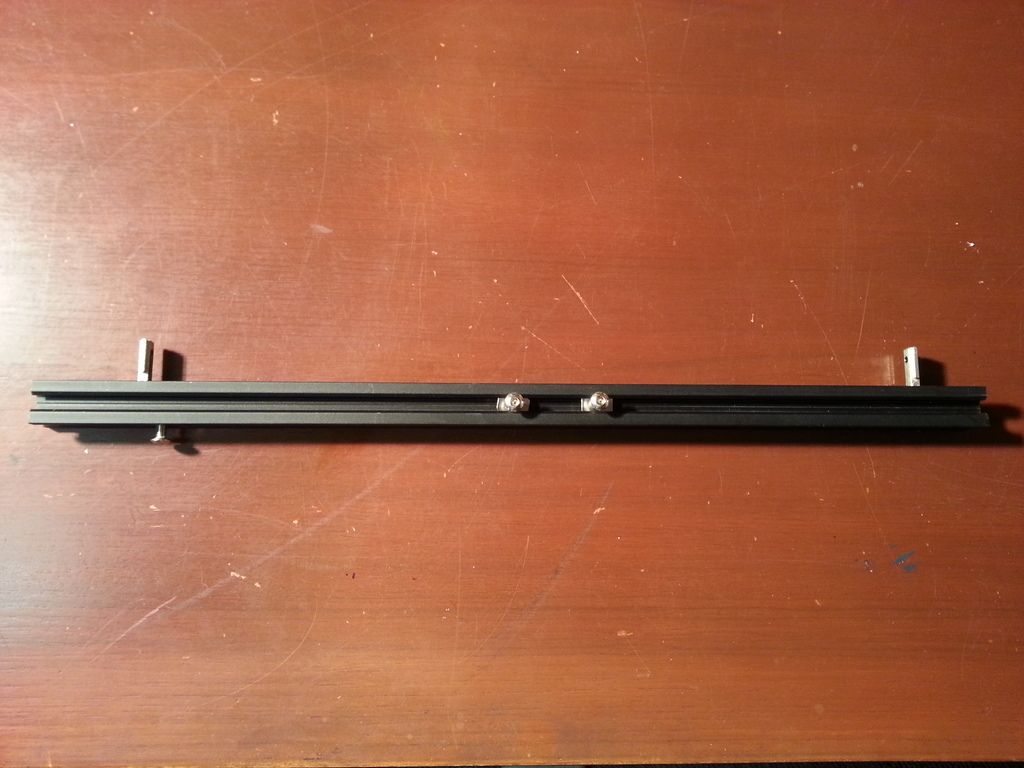
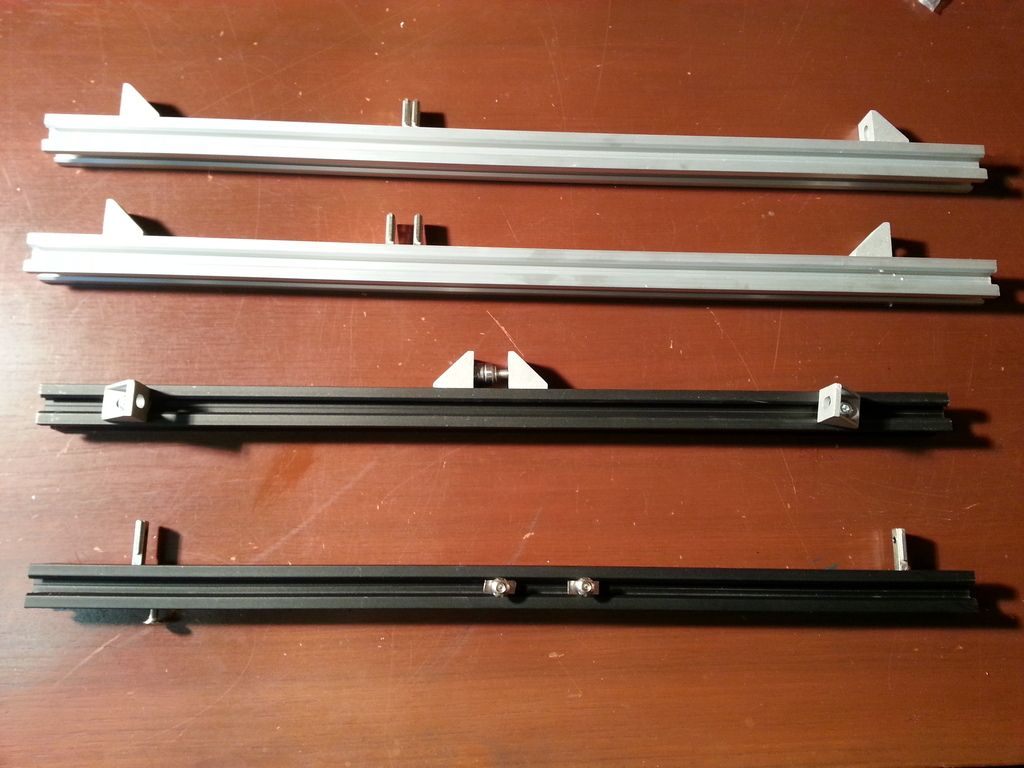
And there we have it. My build instructions jump to some motor mounts next, so what I end up doing with these frame components will have to stay a mystery for now.
-
02-29-2016, 11:18 AM #8Student

- Join Date
- Jan 2016
- Posts
- 34
Im just ahead of ya
 Got mine 2 weeks ago, had a smashed finger so I waited for it to heal up enough to not hurt every time I moved it. Been working on mine since Friday morning, doing a little bit then taking a break. Had a 4 day weekend.
Got the bed leveled dismorning. Had a few small issues that Colin was quick to reply on so I should be printing in a few days.

Once I get a small desk for it its going into my closet and I will be enclosing/filtering it later so I can do ABS.
-
03-01-2016, 08:08 AM #9
-
03-01-2016, 08:17 AM #10
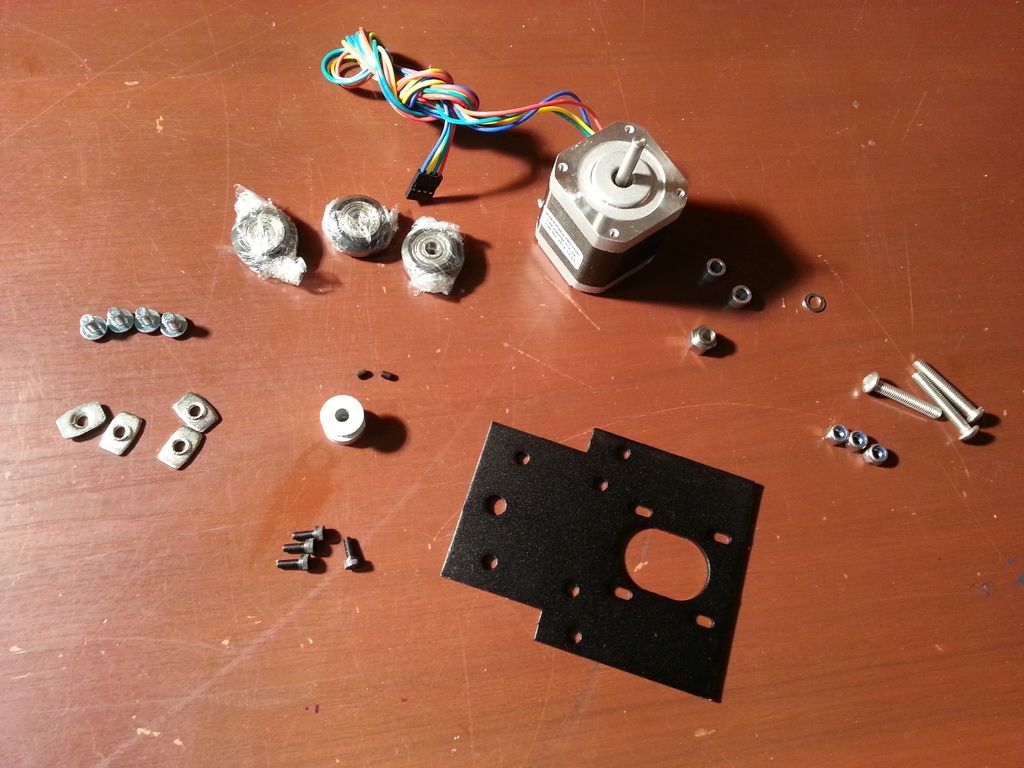
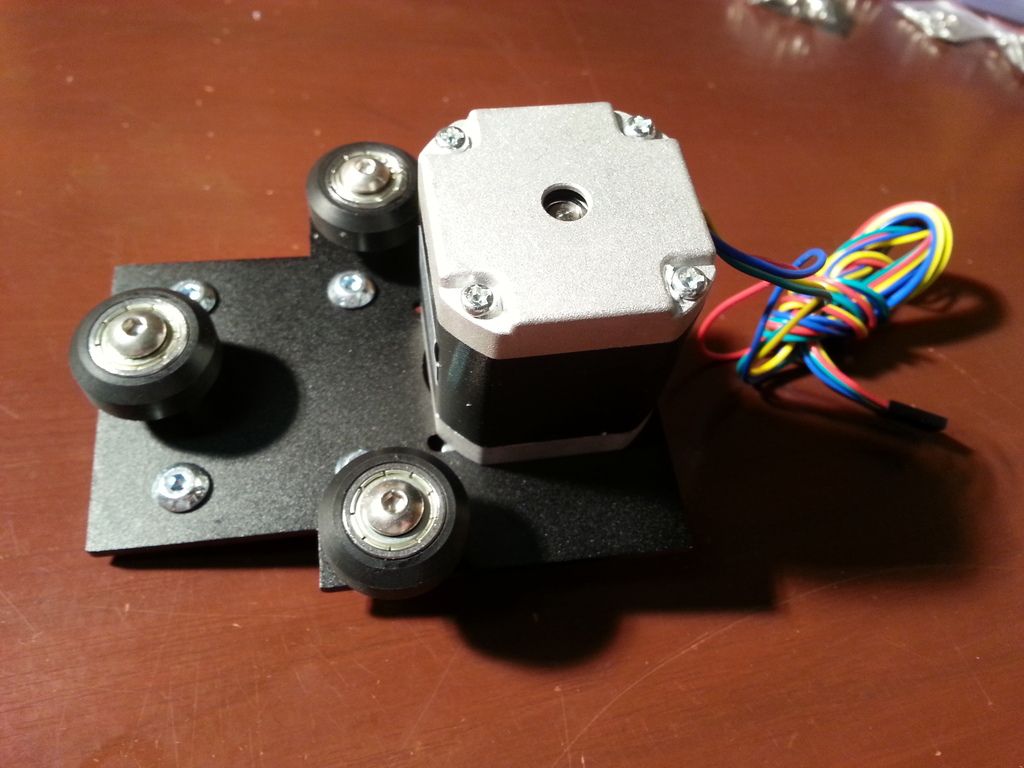
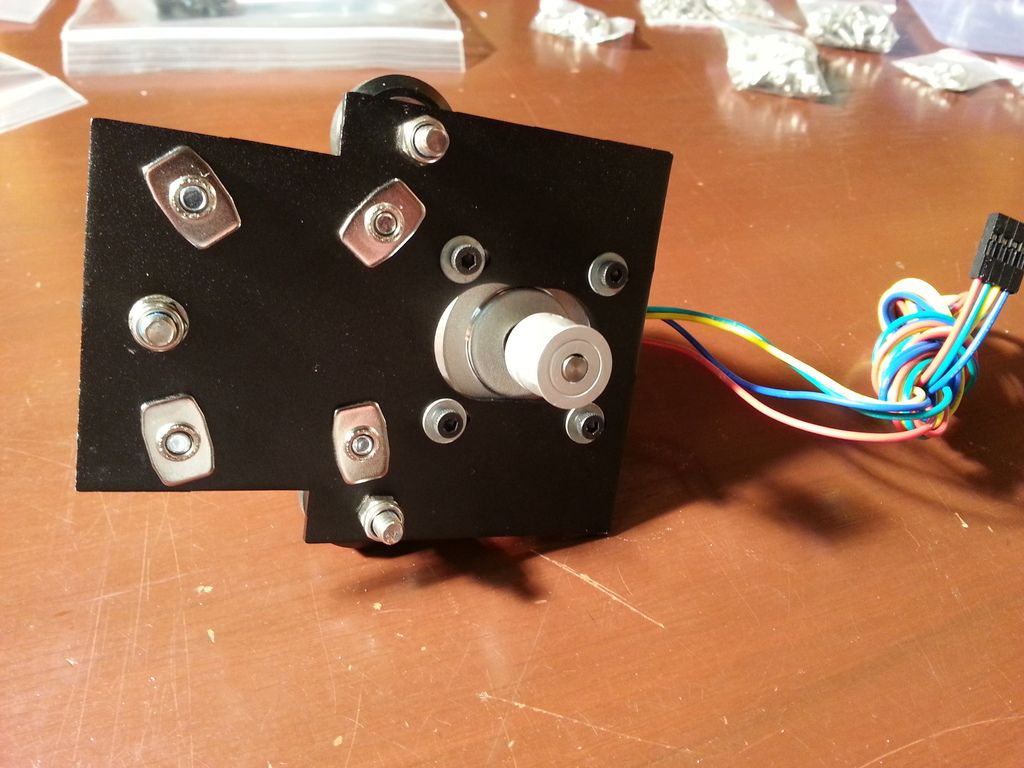
OK, moving onto the motor mounts and other stuff... Here are the parts required for the Metal X Motor assembly:
And this is what it looks like when assembled:


 Reply With Quote


Ender 3v2 poor printing quality
10-28-2024, 09:08 AM in Tips, Tricks and Tech Help