Results 1 to 6 of 6
Threaded View
-
12-04-2014, 07:05 PM #2
PRINTBUS RESULTS
Using the scoring criteria on the Thingiverse page, I came up with a self assessment of 24 points out of a possible 29. I lost three points for only being able to remove the two pins with the largest gap in the negative space tolerance print, one point for fine strands between spires remaining on the positive space features print, and one point for drooping beyond spec on the bridging performance test.


Additional photos and setup information is in my build thread starting at http://3dprintboard.com/showthread.p...ll=1#post37555. Repetier-Host v1.0.6 and integrated Cura Engine were used for the prints, with gcode.ws used as a gcode viewer in assessing infill and layer time attributes before printing. MakerFarm 1.75mm black PLA was used on the final prints. Everything was printed at a 0.2mm layer height.
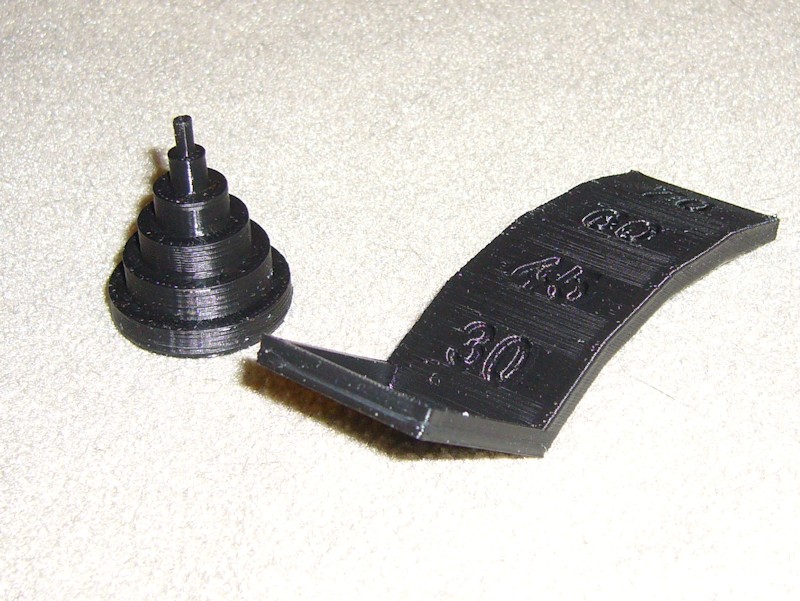
The dimensional accuracy print was pretty straight forward, but I did apply print cooling airflow in order to maintain a good narrow post at the top of the print. I made multiple passes at the overhang test, mainly experimenting with different print cooling airflow orientation. I found the print was best oriented so that airflow from my print blower hit the side of the arch.
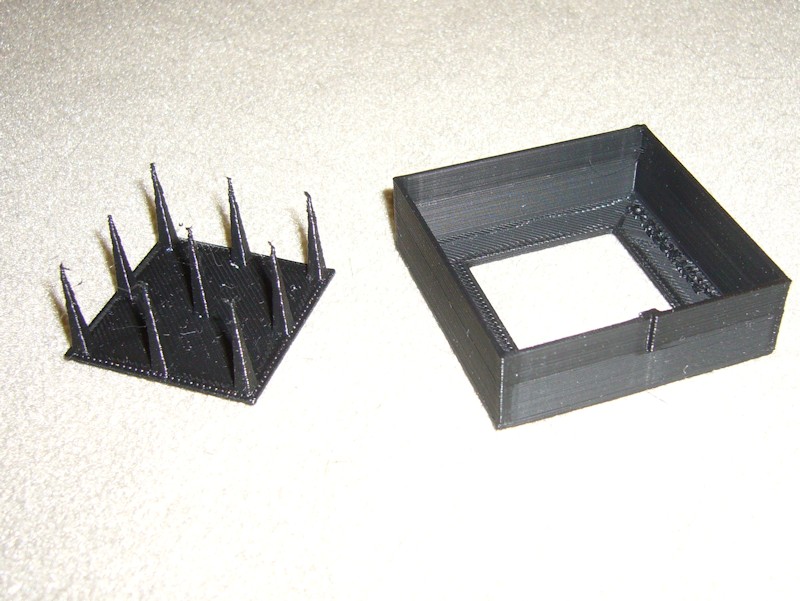
My best print of the fine positive space features model involved a combination of retraction settings, print time layer management, and print cooling airflow. I kept the nozzle moving fast so heat didn't soak into the spires as they got smaller, and ended up with retraction set to 1.5mm retraction distance and 0.02mm minimum extrusion before retraction. Another print at a slightly higher retraction distance might have eliminated the very fine strands between the upper part of some of the spires, but I didn't want to use up another length of filament for it.
All my initial prints got discarded after I realized the Cura Combine Everything Type A mesh error correction was enabled and seemed to messing up the fidelity of the resonance in XY print. Unchecking that resulted in a pretty fine step and notch on the one side of the print.
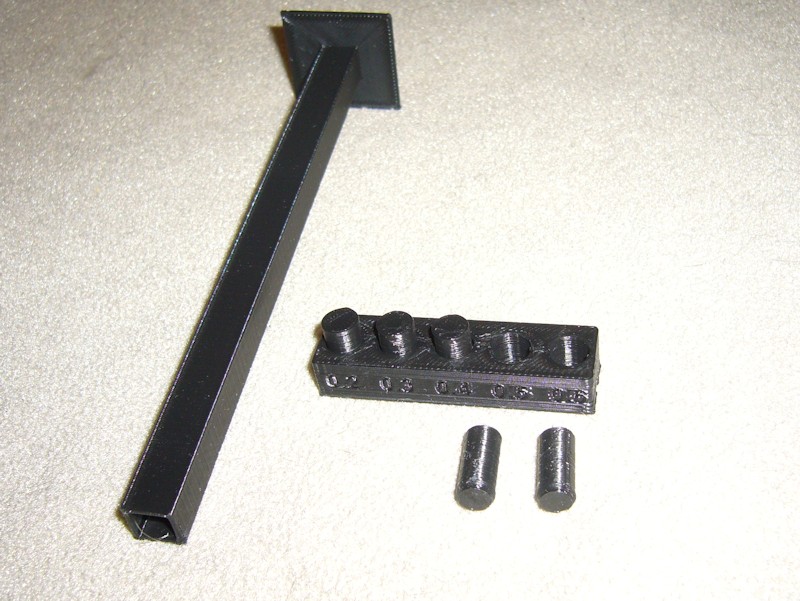
The tall resonance in Z print came out as good as I think it could. Layer time management and print cooling airflow were used to ensure the nozzle was always printing on solid material. Cura's desire to add dabs of infill between the inner and outer perimeter was eliminated by turning off infill for this print.
Hole clearance in the negative space tolerance test is my problem print. I could only remove the two pins with the largest hole clearance.
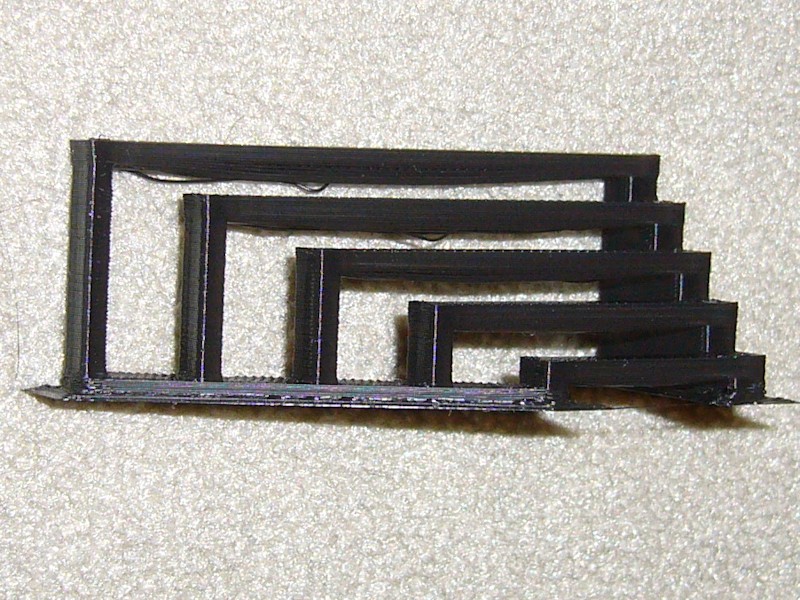
Considering Cura has no settings specific to bridging, I thought the bridging performance test came out surprisingly well, with no dropped filament over even the 60mm span. I hit this print with a hefty amount of print cooling airflow with the print oriented so the airflow was inline with the spans.
In summary, I thought experimenting with the test models was a good learning experience. I have a better understanding of retraction settings, print thermal management (layer time and print cooling airflow), and the value of previewing prints in a viewer like gcode.ws to observe the planned print speeds, layer time, and the effect of infill settings.Last edited by printbus; 05-22-2015 at 06:11 PM.


 Reply With Quote


New to 3d printing looking for...
05-20-2024, 12:56 AM in Tips, Tricks and Tech Help