


Results 71 to 80 of 354
Thread: 370mm X 250mm X 300mm
-
07-21-2018, 11:09 PM #71Staff Engineer

- Join Date
- Jul 2016
- Location
- South Florida, USA
- Posts
- 1,244

The outer Z wheel kit has arrived. Here are the parts..
These are the same size wheels that are used for the X and Y axes. And X and Y wheels also are on the outside of the aluminum extrusion. This makes adjusting the slack on that axis easy and simple. But the Z currently has these tiny rollers that go inside the aluminum extrusion and once together adjustments are near impossible or a real pita at the very least. So this upgrade is a must for me because I need to be able to make frequent and simple adjustments to my machine as I chase better print quality.
-
07-21-2018, 11:21 PM #72Staff Engineer
- Join Date
- Jul 2016
- Location
- South Florida, USA
- Posts
- 1,244
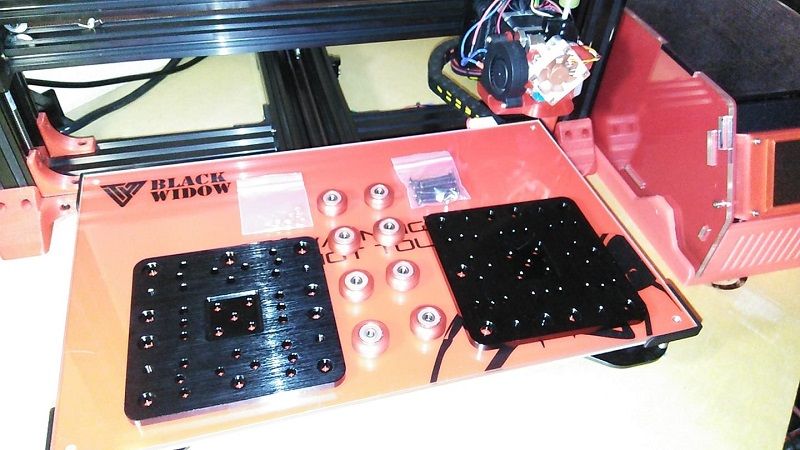
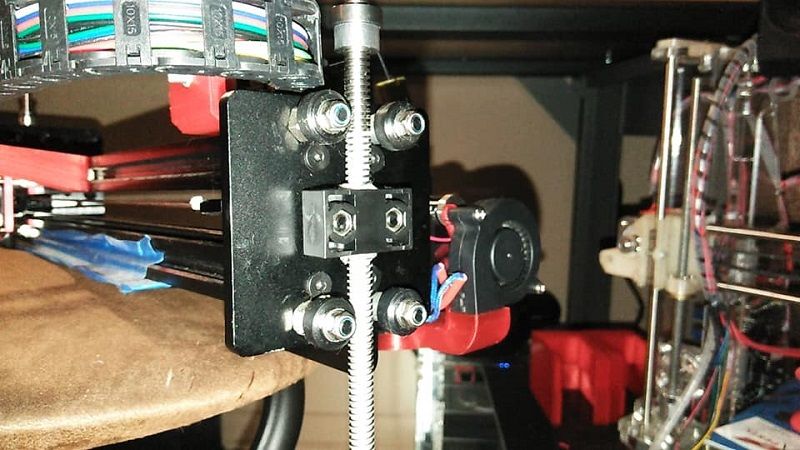
With the entire X axis removed from the printer we can see the tiny rollers on the small plate i am replacing..
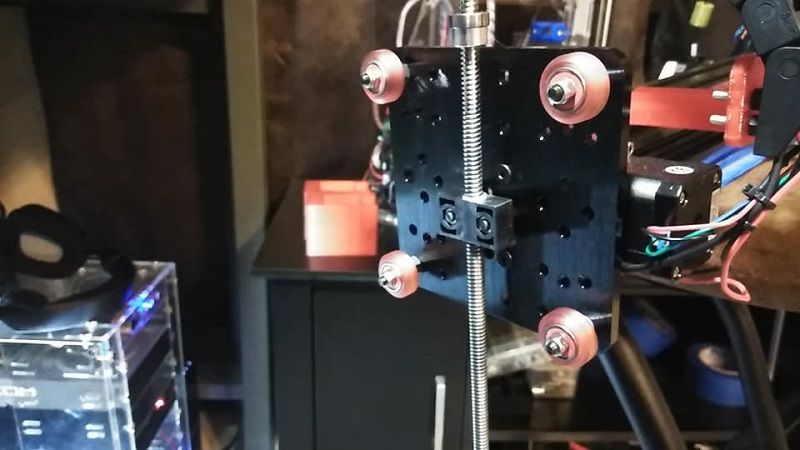
And here is the larger plate installed with the larger wheels attached..
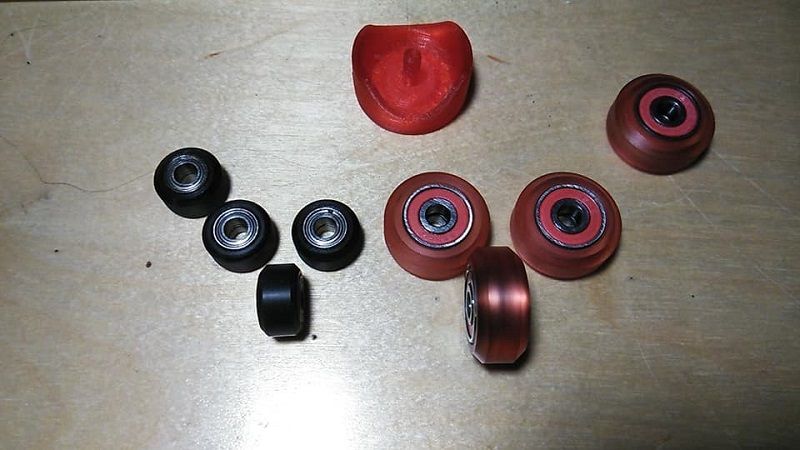
And here are both of the rollers with their bearings side by side. The printed piece at the top is a tool to press the bearings..
-
07-22-2018, 01:08 AM #73Staff Engineer
- Join Date
- Jul 2016
- Location
- South Florida, USA
- Posts
- 1,244
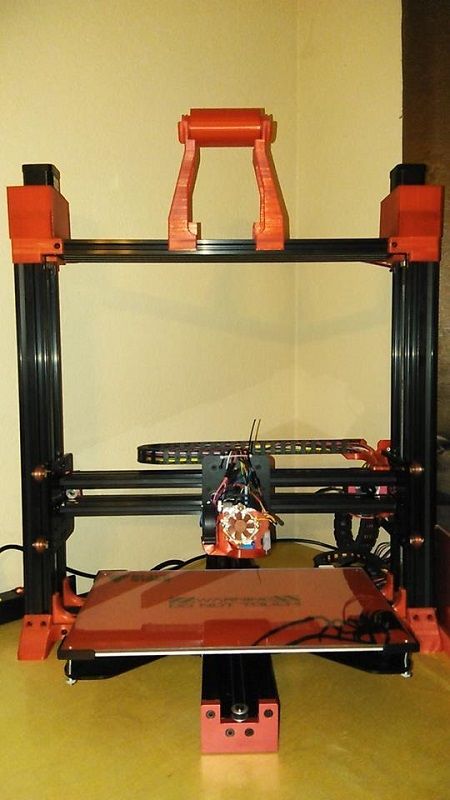
I still have to do something with the drag chain for the Z axis. It used to sit right where the wheels now roll on the frame. No big deal. But the machine is back together and looking beefy. I am so happy with the results of this so far and can't wait to start printing again with my Black Widow.
-
07-28-2018, 09:20 PM #74Staff Engineer
- Join Date
- Jul 2016
- Location
- South Florida, USA
- Posts
- 1,244
So my Black Widow Is all together and printing like it should. One more thing I am doing is I am changing the wheels on the X and Y axis to the same red wheels that I just put on Z. They are currently black and I just think all the wheels need to be the same. Here is a video of my printer doing its thing..
https://www.youtube.com/watch?v=UuDXfhSqMoQ
-
07-30-2018, 11:34 PM #75Staff Engineer
- Join Date
- Jul 2016
- Location
- South Florida, USA
- Posts
- 1,244
I designed and printed a simple cover for the extruder wires. This will also serve as a protector to keep the wires from chaffing against the top of the frame on them large prints..
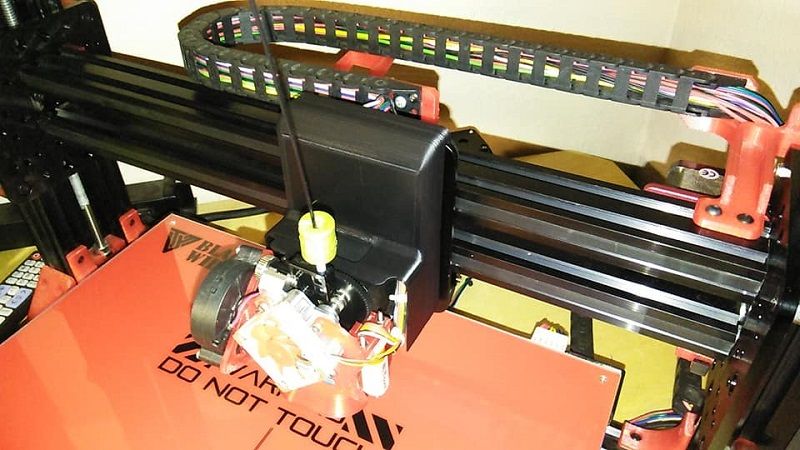 It is 1 and 2 mm thick so it does not add any real weight..
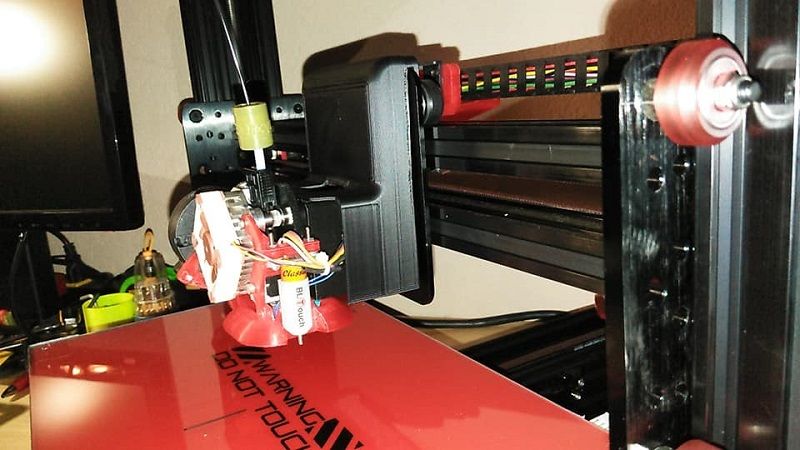
-
07-30-2018, 11:36 PM #76Staff Engineer
- Join Date
- Jul 2016
- Location
- South Florida, USA
- Posts
- 1,244
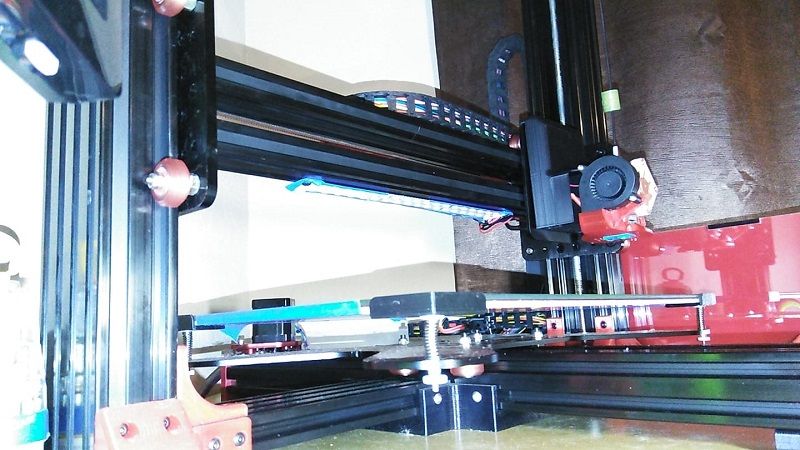
I also swapped the rest of the wheels on the frame to the same red wheels that I got with the outer Z wheel kit. So now my Black Widow has 15 red PC V-wheels, all with precision bearings..
-
08-26-2018, 05:12 PM #77Staff Engineer
- Join Date
- Jul 2016
- Location
- South Florida, USA
- Posts
- 1,244
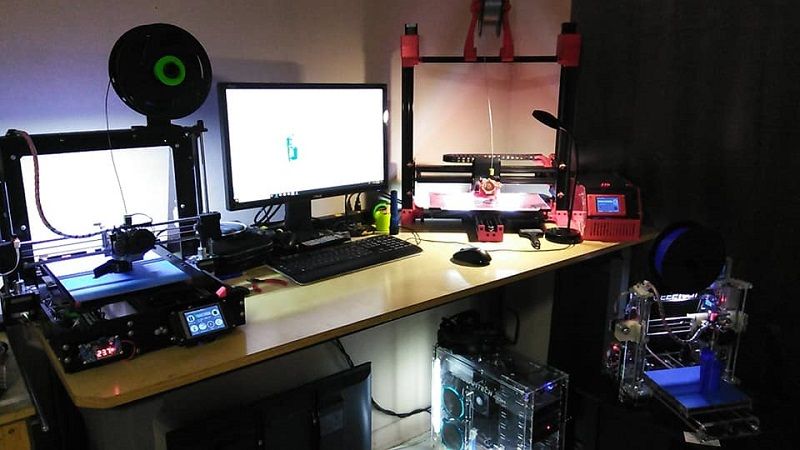
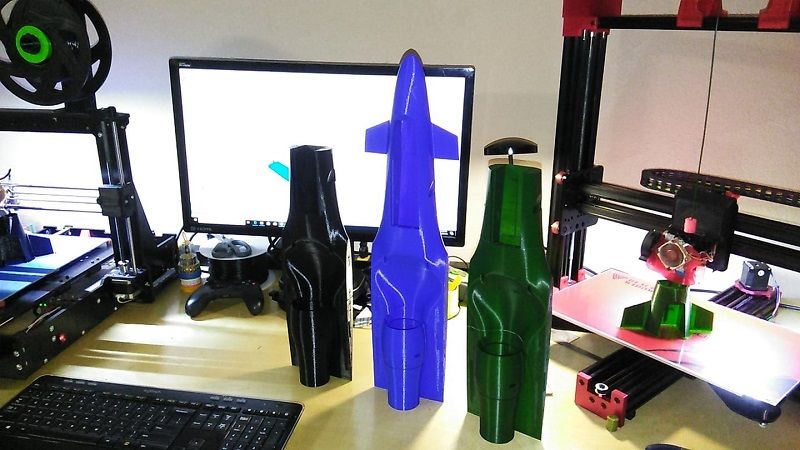
Today I have all of my machines back together and have got the printers calibrated enough to start with the test prints. I never wanted a 3d printer to print out busts or trinkets or figurines or stuff, For me it was always just another way to make a part. So I am not going to demonstrate what my printers can do with a test print from maker's muse or anything like that. For me the test print is going to be this airframe that comes with incredibly detailed build instructions: https://www.thingiverse.com/thing:1831295 To make things interesting for me I am running this test side by side with my other 2 printers. So I will have 3 different color airframes when I am done. Here ismy workbench with all 3 machines working on their own airframes..
-
08-26-2018, 05:18 PM #78Staff Engineer
- Join Date
- Jul 2016
- Location
- South Florida, USA
- Posts
- 1,244
Because there is such little surface area on the bed I am printing a 5mm 1 layer brim around my print. I have done this for all 3 printers..
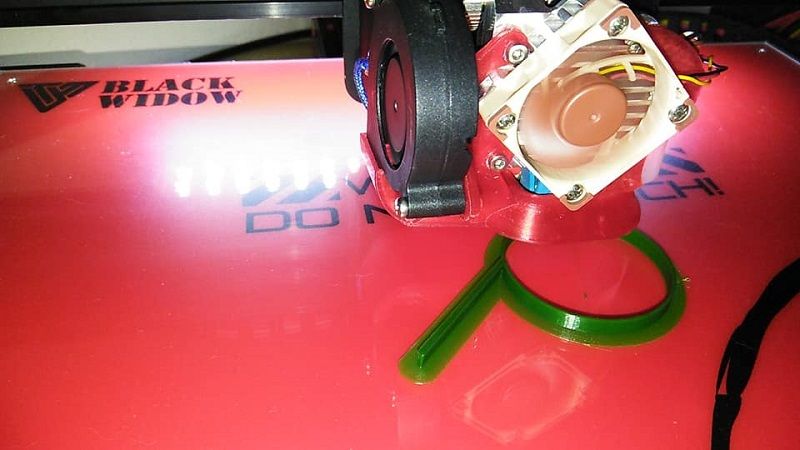 The reason I am using this airframe for my test print is because in order to be light it wants a 0.36mm wall thickness with 3% infill. with a .4mm nozzle diameter this means the structure has a 1 layer perimeter with practically no infill..
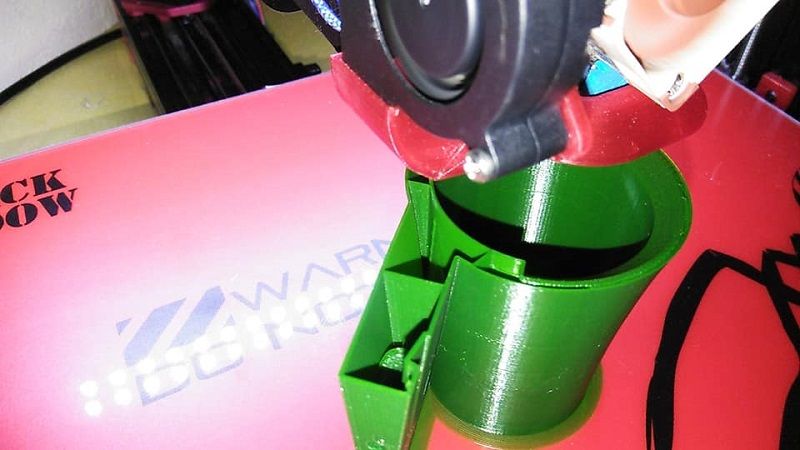 The real test will be if the structure is strong enough to withstand flight..
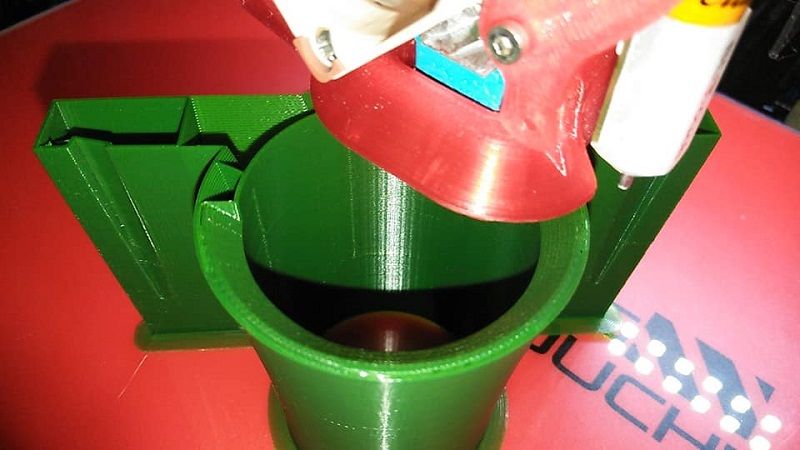
-
08-26-2018, 10:45 PM #79Staff Engineer
- Join Date
- Jul 2016
- Location
- South Florida, USA
- Posts
- 1,244
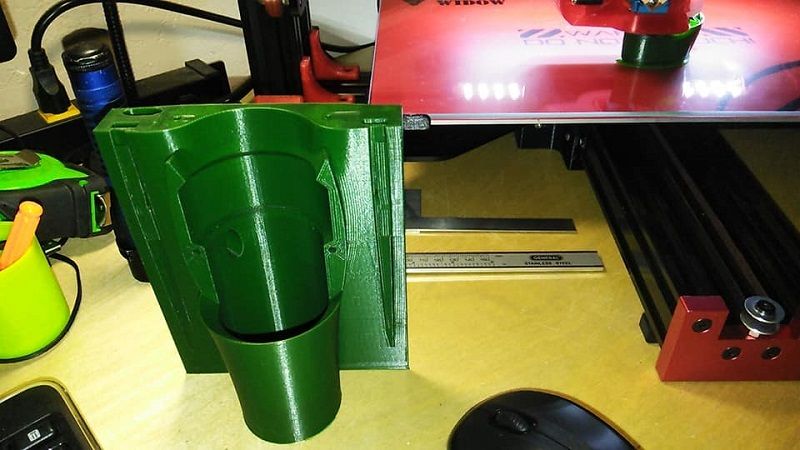
Here is the finished EDF housing..
 And here are all 3 EDF housings for the 3 airframes I am printing from different machines..
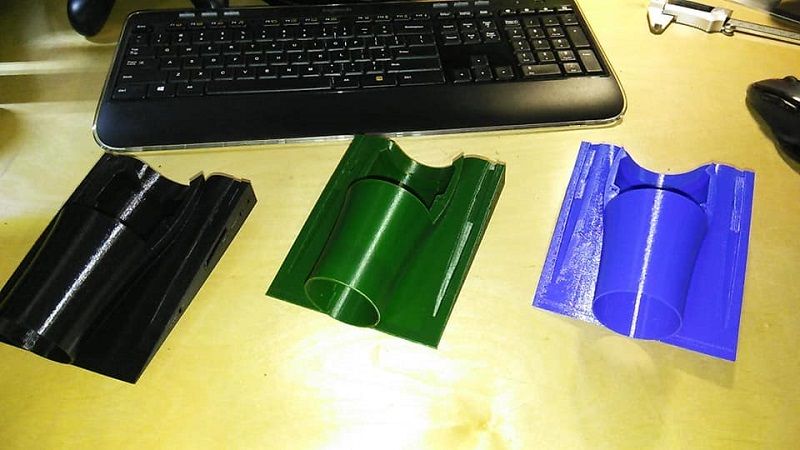 It actually looks like they were all printed by the same machine. Which is awesome. This is a good test of my manufacturing capabilities for the purposes of selling 3d printed ideas. Obviously not this as it is not my idea. And these will live a very short life anyways because I have never flown an r/c craft before.
-
08-27-2018, 08:44 PM #80Staff Engineer
- Join Date
- Jul 2016
- Location
- South Florida, USA
- Posts
- 1,244
I will start printing the wings and vertical stabilizers tomorrow..


 Reply With Quote


Design not printing solid
09-17-2024, 06:12 AM in 3D Modeling, Design, Scanners