Results 41 to 50 of 101
Thread: Network Printers
-
08-27-2017, 01:50 AM #41
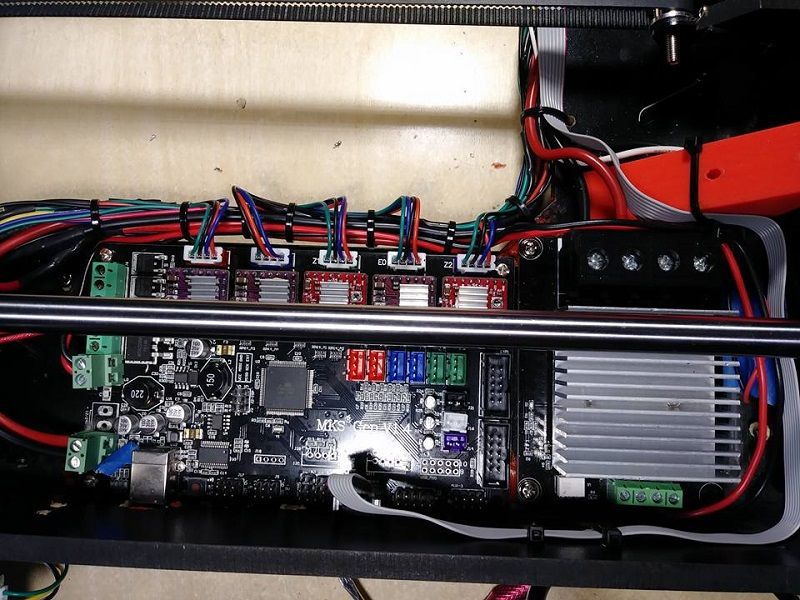
I always thought the 300x200 heatbed was a lot for the mainboard to handle on its own. So with the mks gen board there is also a solid state relay or mosfet to install..
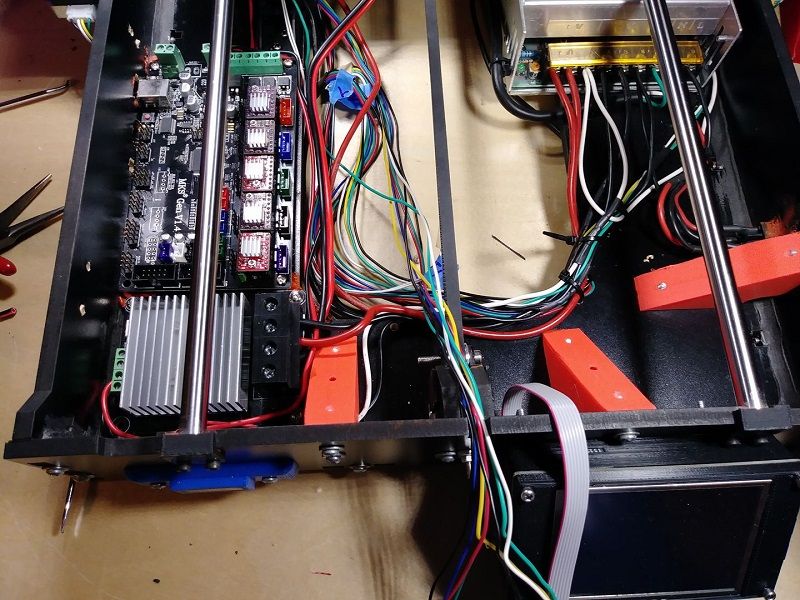
It is good to have because the printer supports a larger bed and I might very well find my way to the max dimensions heatbed so it is good to get ssr installed now. Also I am switching the z axis back to the a4988 drivers. While I am always trying for more steps/mm I fear the z axis is overkill at 5120. So the a4988 steppers will bring that back to 2560. Now I just gotta change a bunch of connectors and get this bad boy wired up.
-
08-29-2017, 05:26 PM #42
It is not uncommon for me to juggle multiple projects at the same time. While I am working on this controller upgrade I have the GEEETech i3 printing out more parts for the printed printer I am making. Unfortunately my spool holder has failed. This was a bad design on my part..
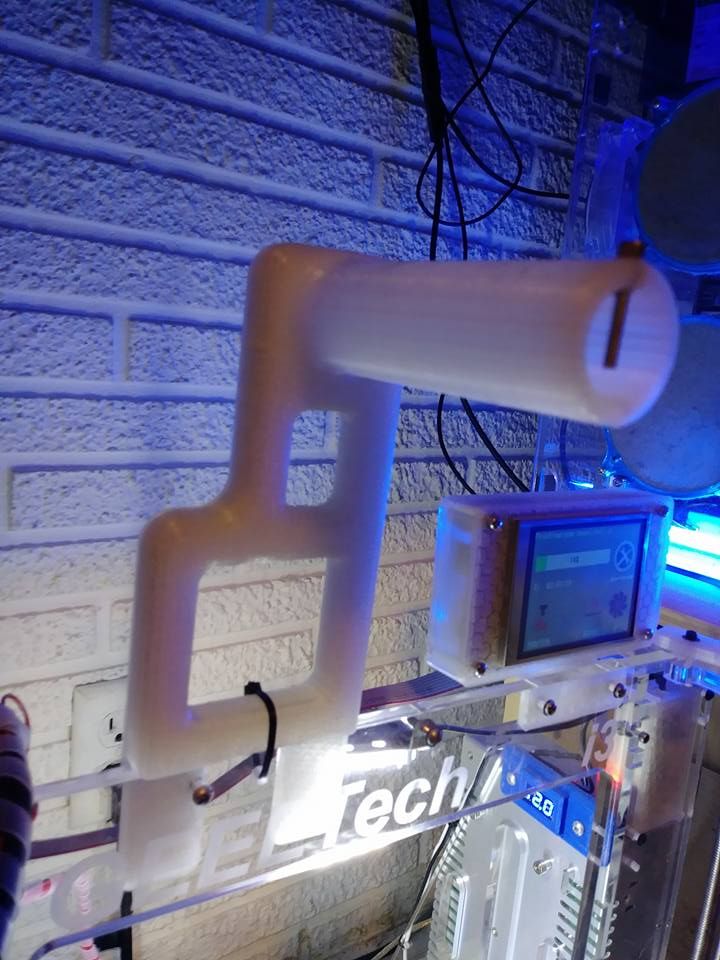
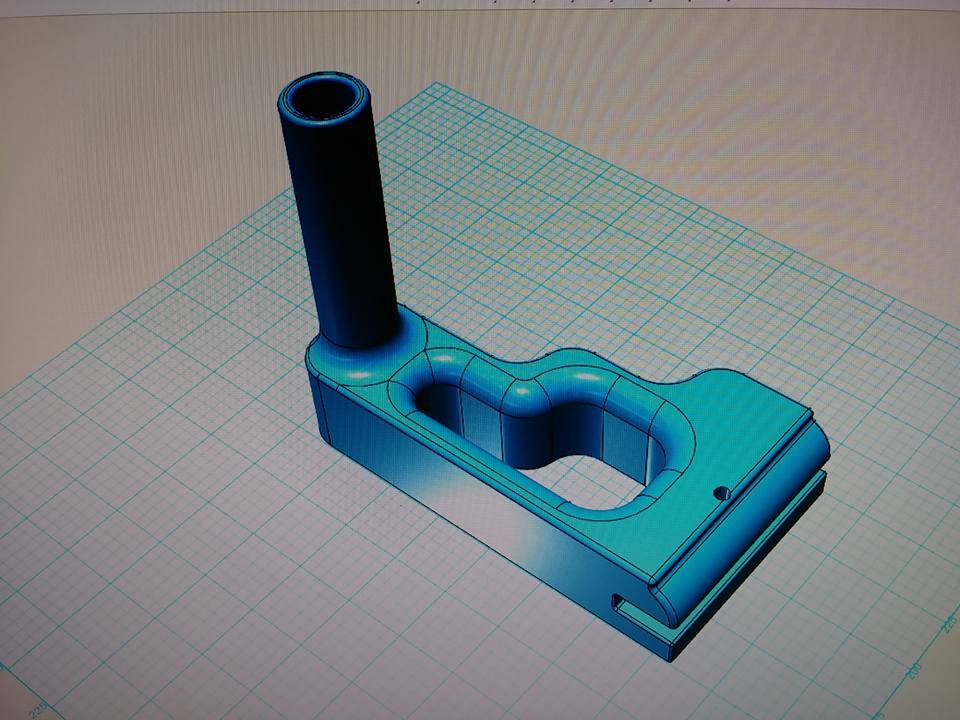
The legs were too thin and the one in the front broke off and the 2.2lb spool always made it bow. So I drew up something a little thicker in autodesk 123d design..
And with the filament spool on a tabletop spool holder sitting on a chair in front of the printer I printed the part out with the i3..
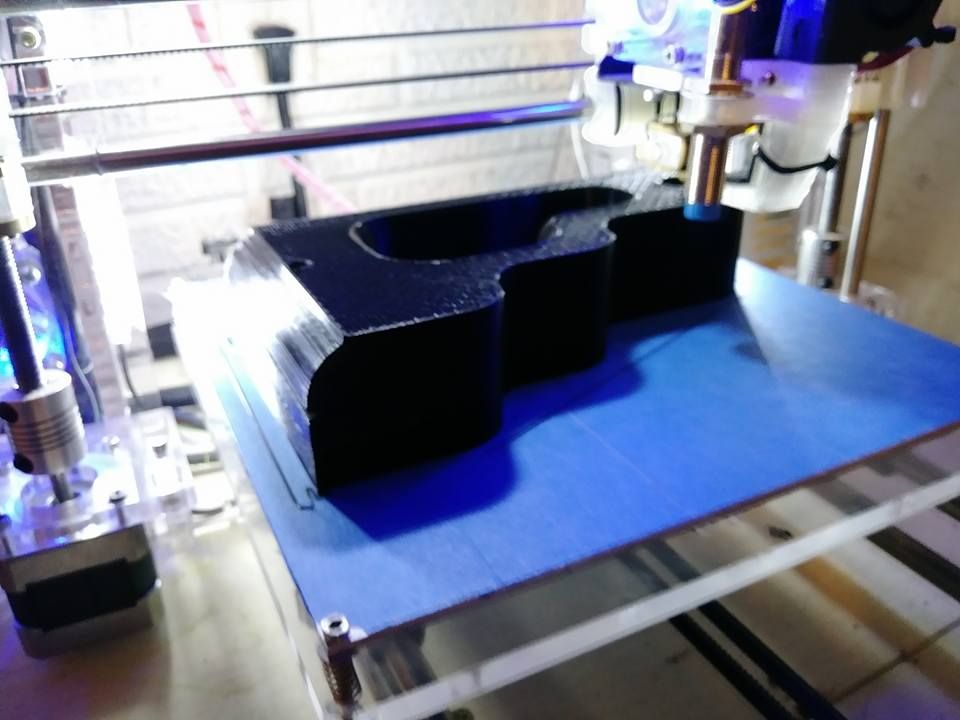
As always with this machine, I am very happy with the results..
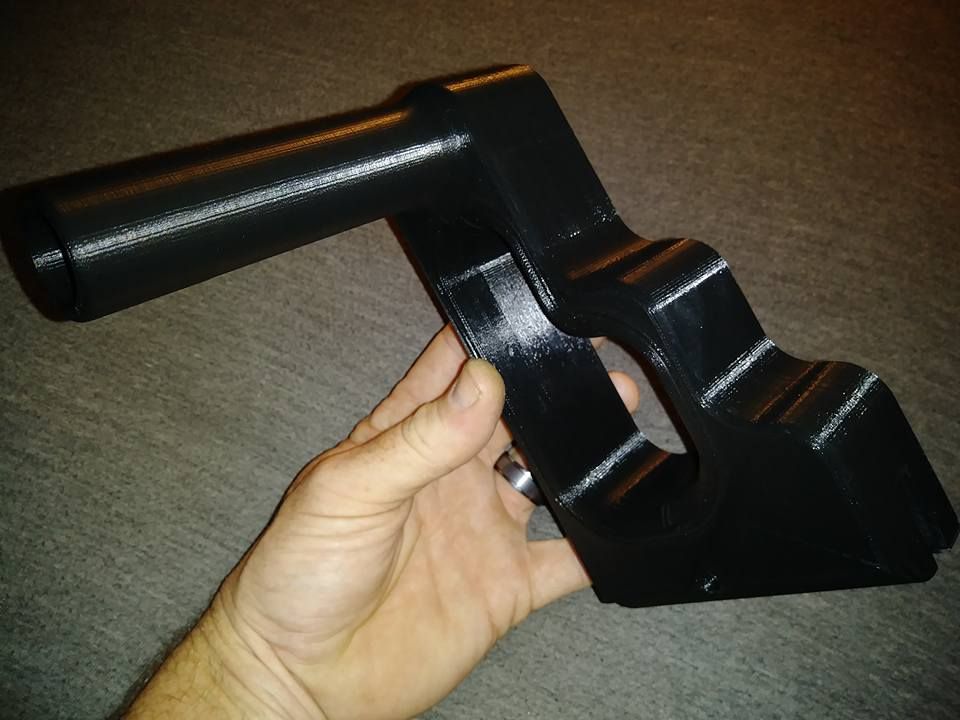
It fits nicely on the frame and has no deflection with a fresh spool of filament sitting on it..
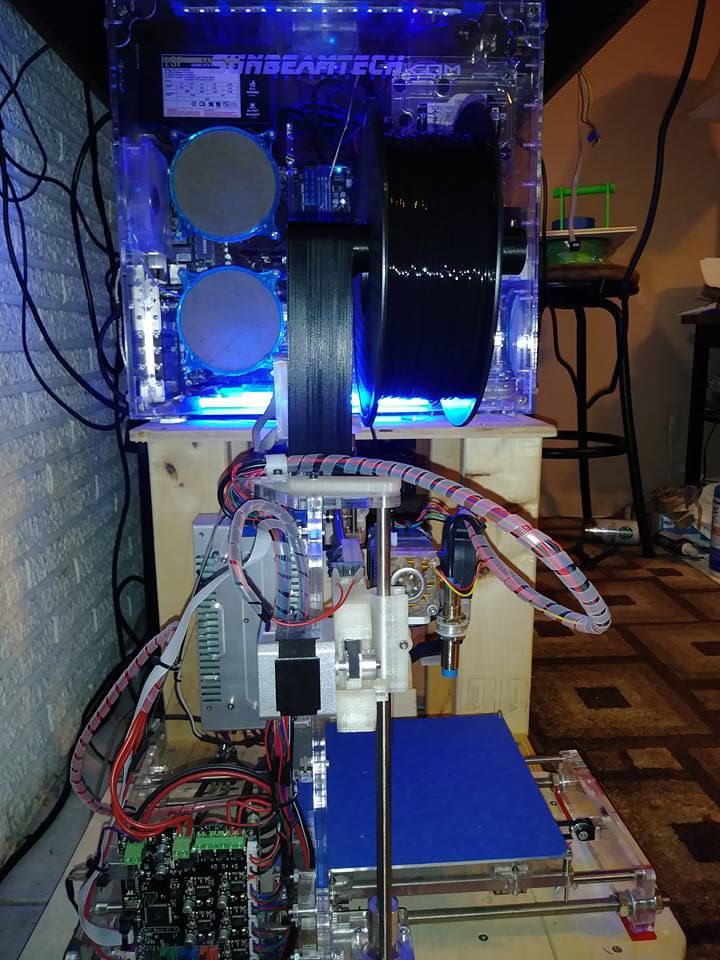
-
08-29-2017, 05:52 PM #43
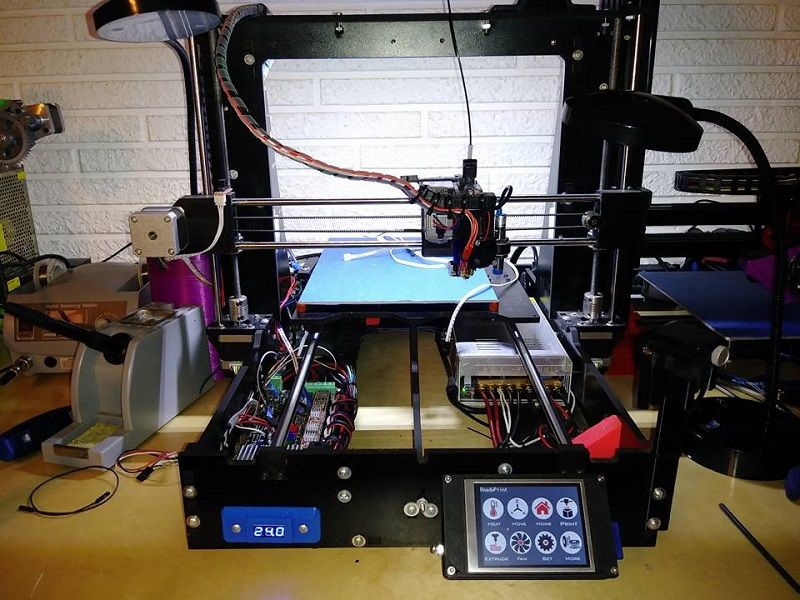
With that out of the way we can get back to Printalicious. The mks board uses different connectors for everything which means I get to use my awesome radio shack soldering station again. yea..
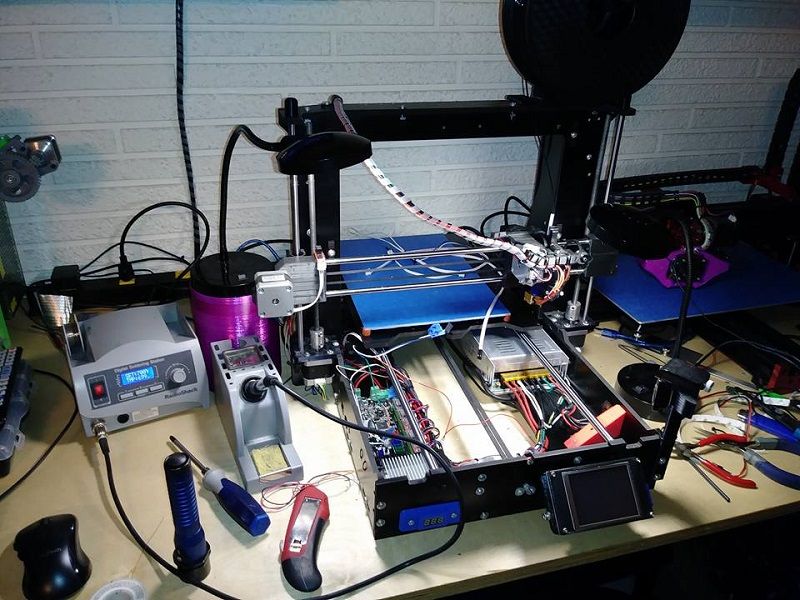
No excuses for sloppy wiring..
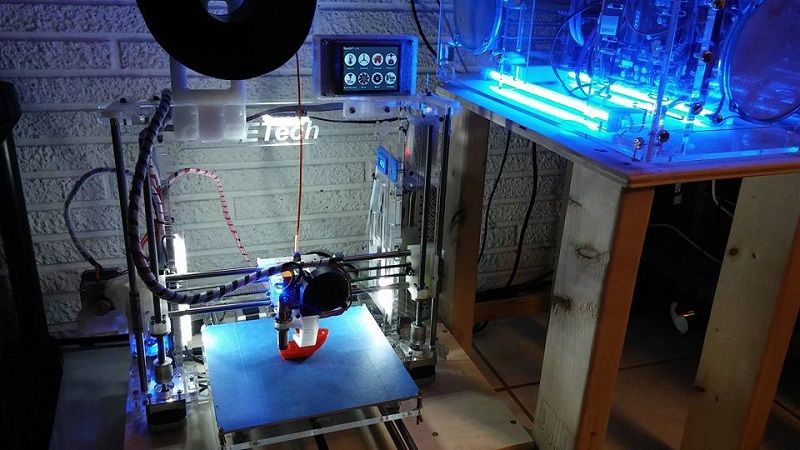
Now, I really want to show off this achievement. And this is an achievement. All 3 of my printers have the same input setup. That is for my kids using them it only matters that they chose the right printer before slicing. But all 3 machines are identical for them to use. Here is printalicious powered up with the new touchscreen..
The Tevo Black Widow..
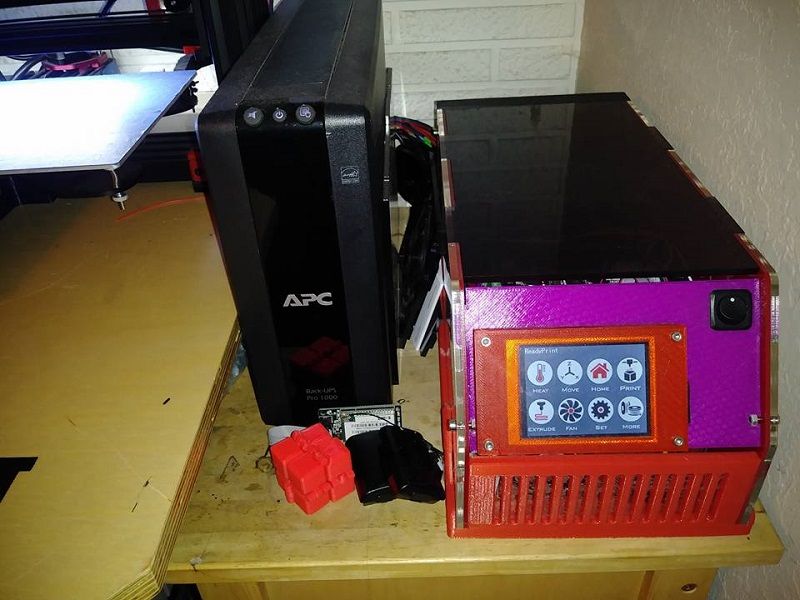
And the GEEETech i3..
-
09-02-2017, 01:03 AM #44
my printer selection..
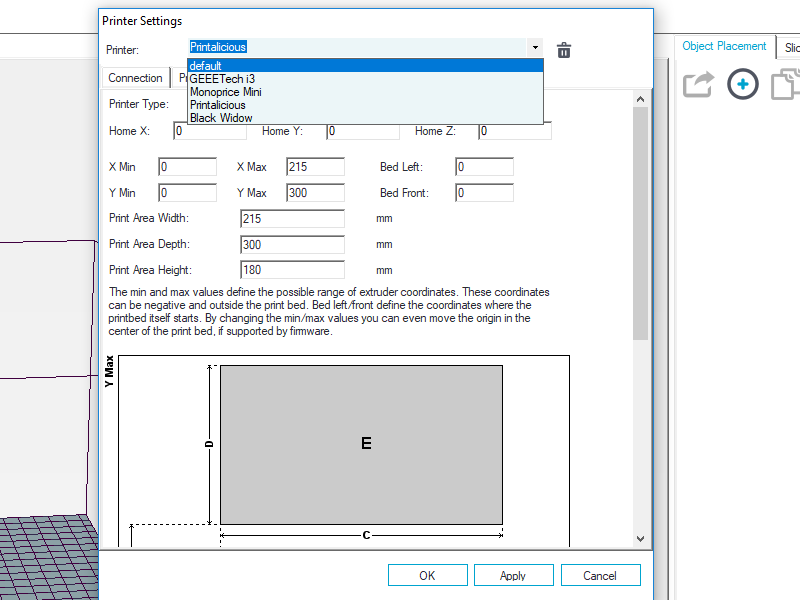
and all printers can operate completely independent of any other hardware. Just load up the file, choose the printer you want to use, slice the file, stick it on an sd card put it in the printer and hit print. all of my printers find home on their own and really require no prep before print. The touchscreens make printing from sd an enjoyable thing.
-
09-02-2017, 01:19 AM #45
-
09-02-2017, 07:26 AM #46
question for you.
You know the 8 pin connector wire for the tft touch screen.
Any idea where I can get a longer one ?
Given the delta I'm building will be 1.5metres tall. The control panel will need to be able top be moved around depending on where the printer is kept. ie - if on a table, it'll need t come about half way down the printer. if on the floor probably best on top. So I need a longer cable.
Can't even find a listing anywhere for the connectors let alone the actual cable.
Guess I could make up a cable with individual crimped connectors, but would be nice to get the proper thing.
-
09-02-2017, 11:18 AM #47
In my darker and more evil days before I was doing so well building on these corvettes I had to do harsh things to get by. One of the things I used to do was open xbox 360 consoles, remove the optical drive, open it, and reflash the firmware in the optical drive so it would read burnt games. I also used to open Motorola surfboard 5100 and 5101 modems and solder in a male 10 pin header to the board so I could connect a cable and flash new firmware to that and get free internet using a dns number that the cable company uses for their techs. From doing that I have a bunch of these..
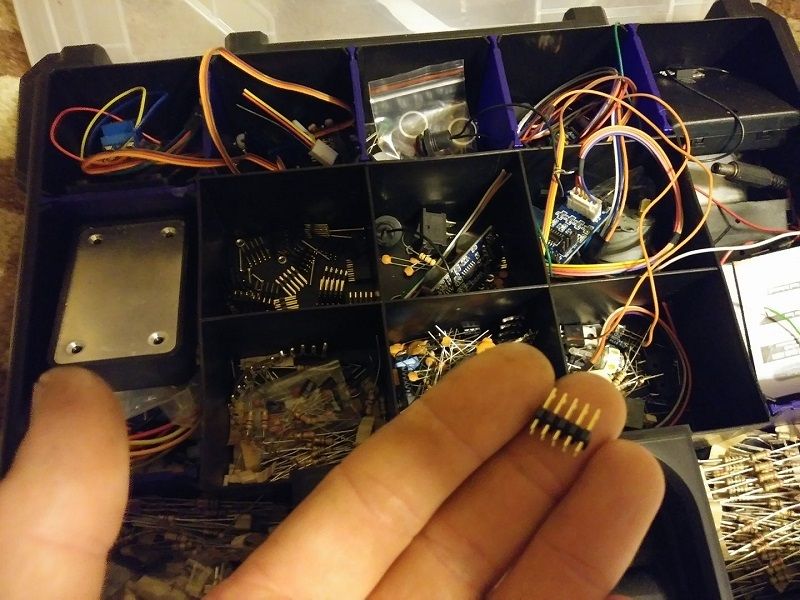
You can use one of these to connect 2 or as many lengths of your ribbon together as you like. cut 2 pins off one end so it is an 8 pin header and then slide the black plastic to the middle of the pins. This is a 10 pin male header. dirt cheap on ebay.
-
09-07-2017, 08:42 PM #48
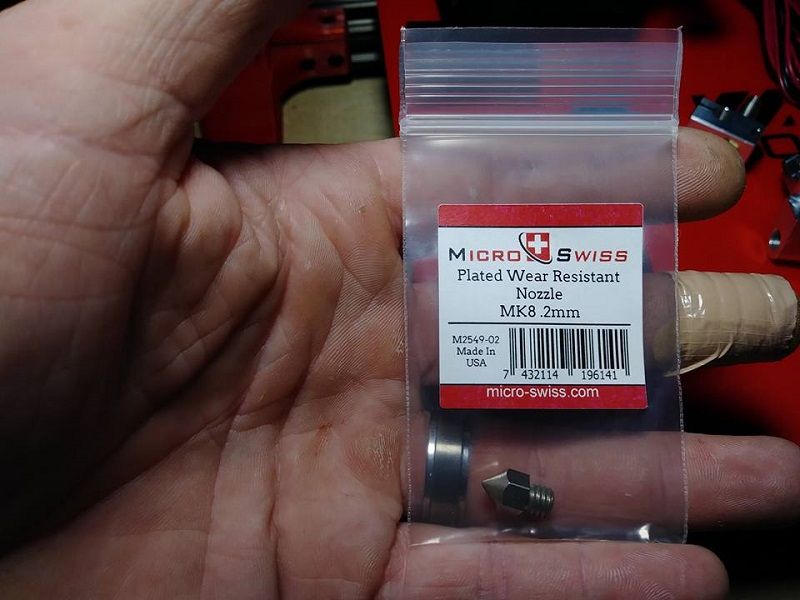
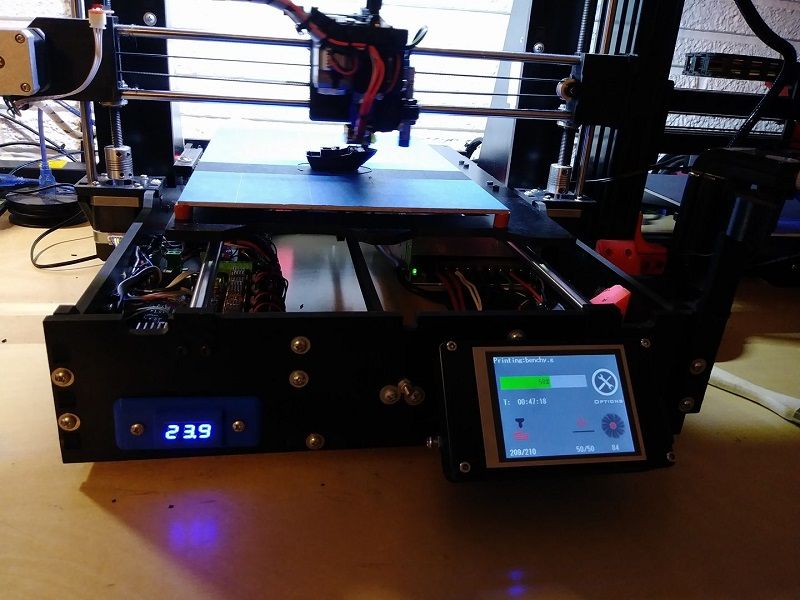
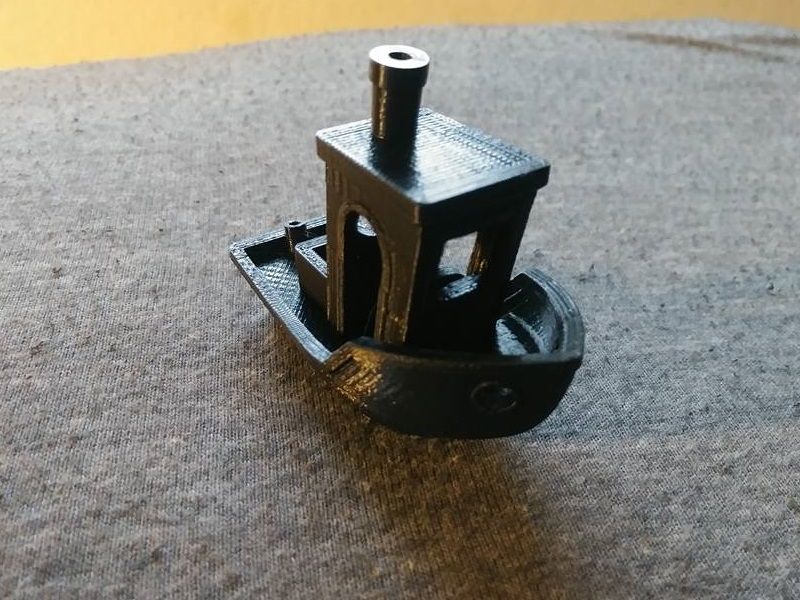
It is time to start having fun with these printers already. I have been upgrading on them for a while now and it is time to start seeing some results already. So here is the .2mm nozzle for the GEEETech i3..
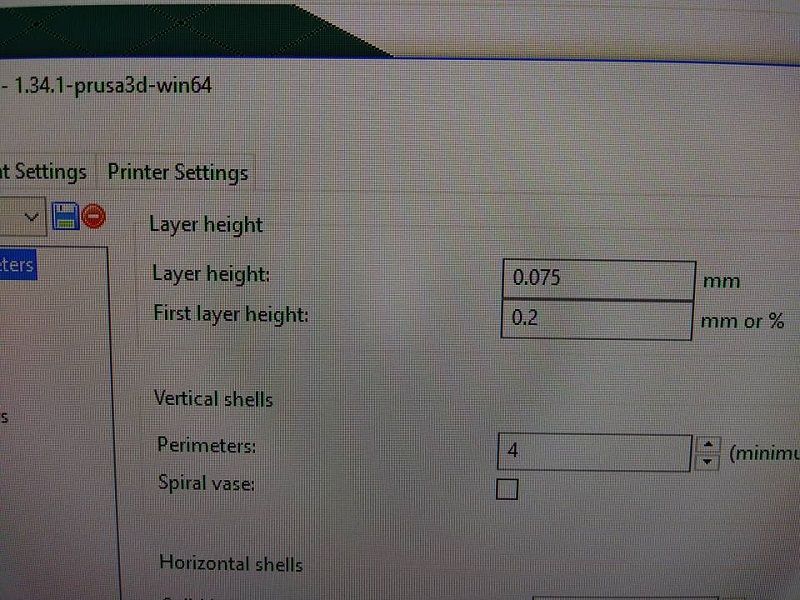
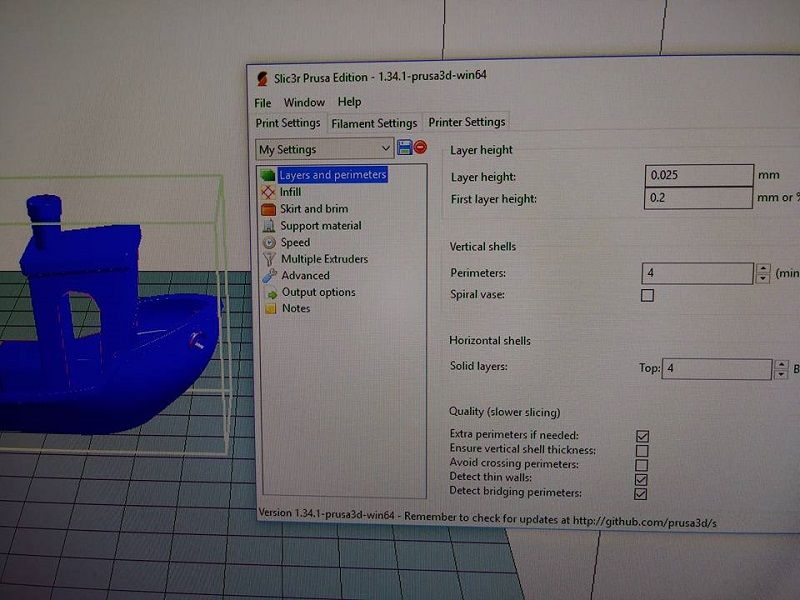
And we are going to start with .075 layer height..
And we are going to try these settings on a boat named benchy..
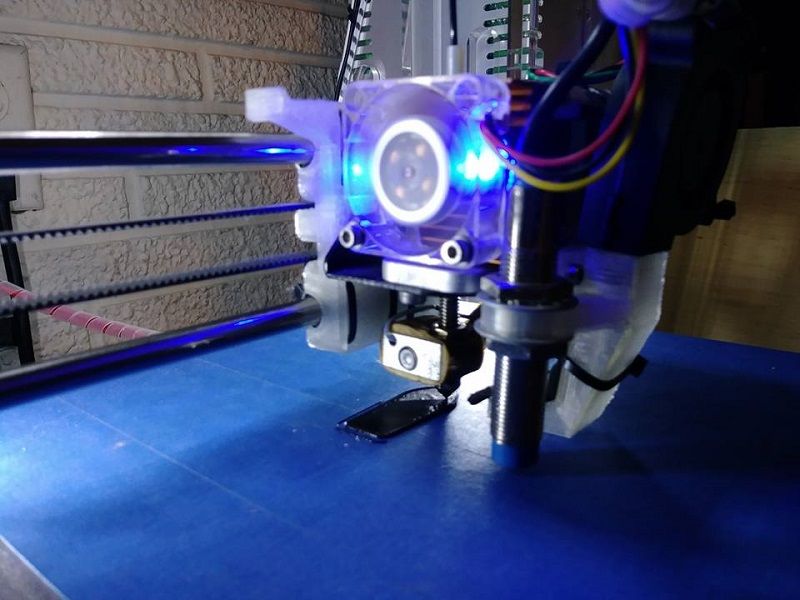
Slic3r says it is going to be 638 layers and take 4.5hrs to print this little boat
-
09-09-2017, 07:14 PM #49
-
09-13-2017, 09:18 PM #50
So Irma blew by and tested my battery backup. Friday evening multiple transformers atop power poles outside my home exploded or burnt in such a way that made a loud electrical shorting noise and lit up the sky a blue-greenish color for a few seconds. And then everything went dark. Except my 3d printer..
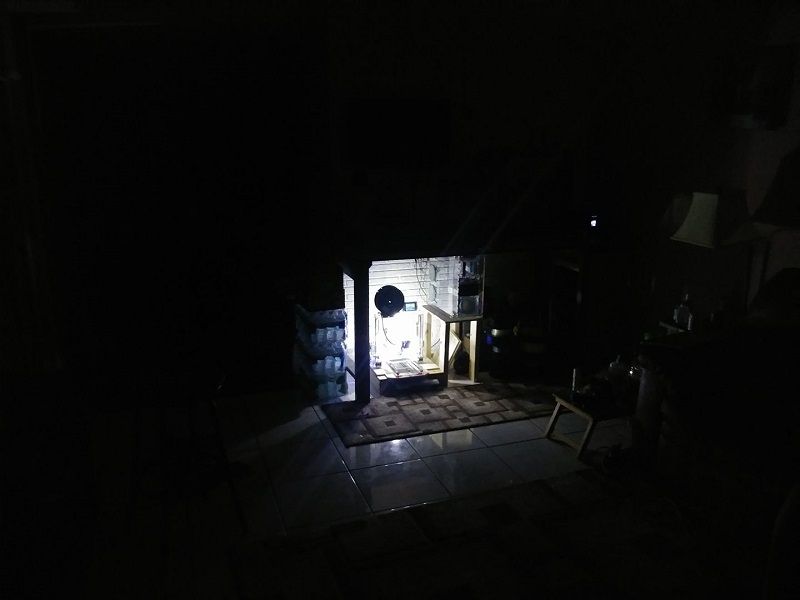
Ya unfortunately this happened about 5 hours into the 13.6 hr print from the above post and the battery backup is good for ~ 2 hours. So I lost the print anyways but this counts as a test of my backup system and it kicked in and worked flawlessly and the printer never missed a beat. We got our power on today. Still no internet/cable and bad cell phone reception in areas. I am on the east coast of South Florida. In Broward County.


 Reply With Quote



Ender 3v2 poor printing quality
10-28-2024, 09:08 AM in Tips, Tricks and Tech Help