Results 31 to 40 of 354
Thread: 370mm X 250mm X 300mm
-
05-08-2017, 10:55 PM #31
It's a really large printer. I am toying with the idea of printing out the largest lego man this printer can handle. With the ability to make each leg over a foot tall I think this machine can produce a lego man the size of a small child. I have already ordered some yellow pla for the head and hands.
-
05-15-2017, 11:34 PM #32
It kinda sucks I ran out of transparent red at the end. The layer fan really stands out. But I can fix that later. For now here is my finished printer..
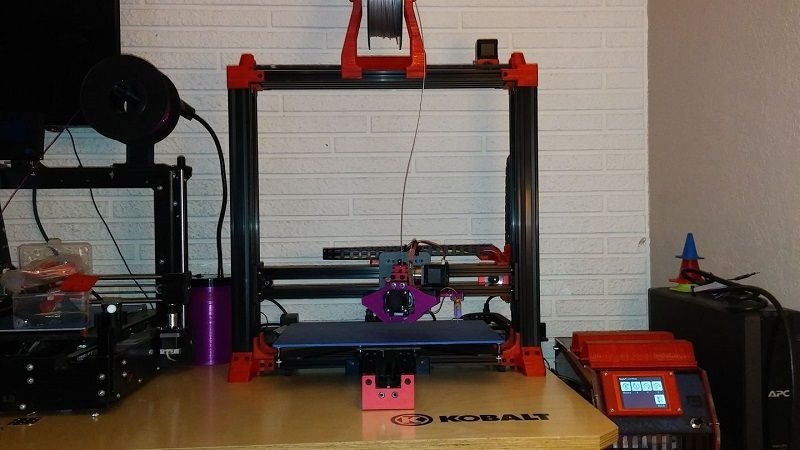
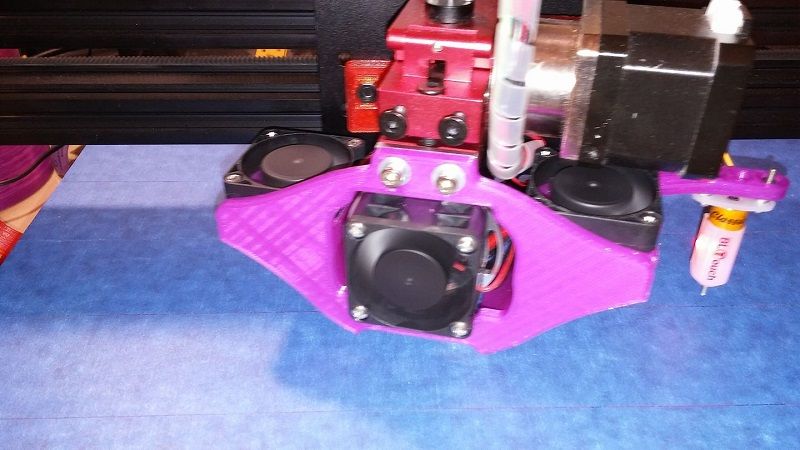
And here is the printer homing with the bltouch:
https://www.youtube.com/watch?v=Pdg2gvuYPWQ
-
05-16-2017, 08:12 PM #33
-
06-16-2017, 08:43 PM #34
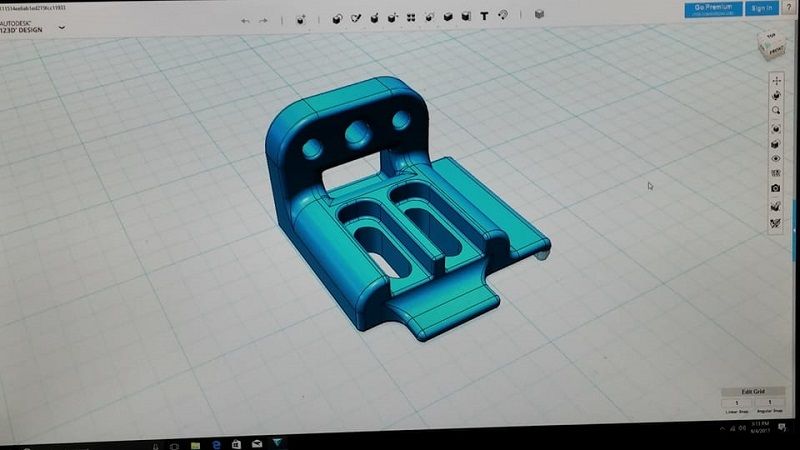
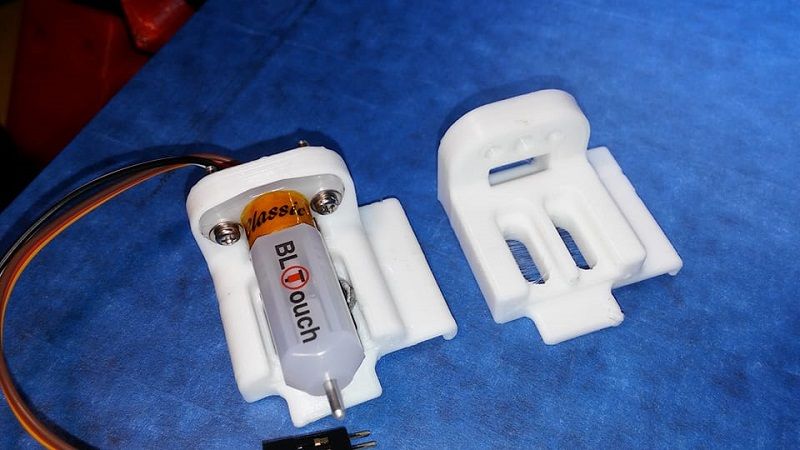
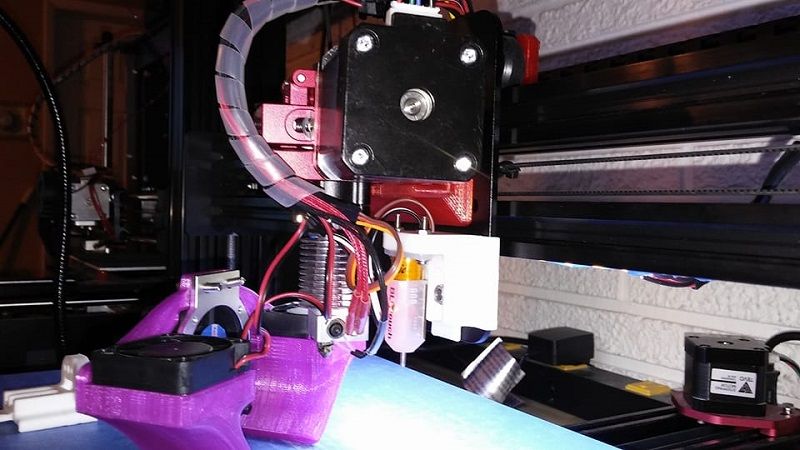
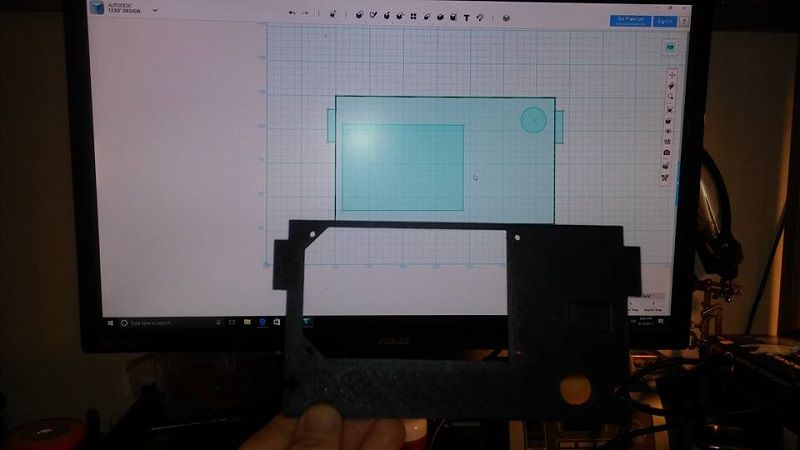
From the time I was turned on to the facebook group of people or a community of people who owned the same printer I made it a thing to go and hunt down all the mods I could find on thingiverse that made sense for this printer. I have had a blast and thus far have not had to design any pieces. Moving forward there are 2 pieces that I need to make to get all these mods to work with each other happily. First is the mounting for the bltouch. The way it is currently mounted allows for considerable flex and ultimately unstable performance from the z axis end stop. I found an awesome solution that mounted to the carriage plate but it was not at a compatible height because the 15 degree extruder mount raises the extruder to give a few more mm's to the z axis. So I had to design this piece that is based off a design I saw on thingiverse..
Of course there were a couple revisions on the way to right..
-
06-16-2017, 08:52 PM #35
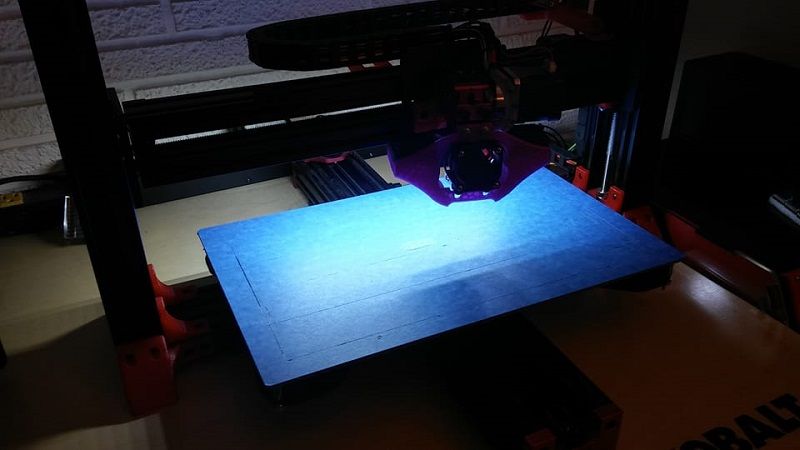
With the BLtouch corrected I got the 24v led strip mounted to the bottom of the x axis aluminum extrusion..
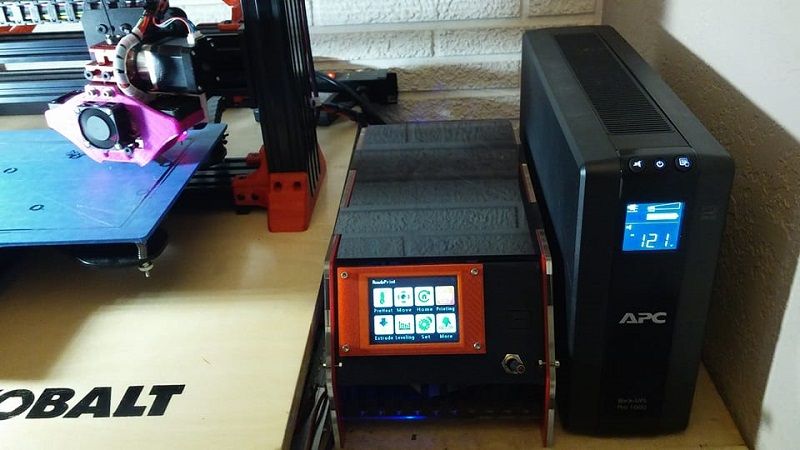
And because this is a large printer and I have every intention of printing the largest things I can, I added this battery backup. It will power 600 watts for over 2 hours. Definitely not long enough to finish a print without power but surely enough to cover any kind of power surge or momentary loss of power..
And I think we are ready for the control box mod
-
06-16-2017, 09:08 PM #36
Here is the first piece I need to print for the control box mod. The new base..
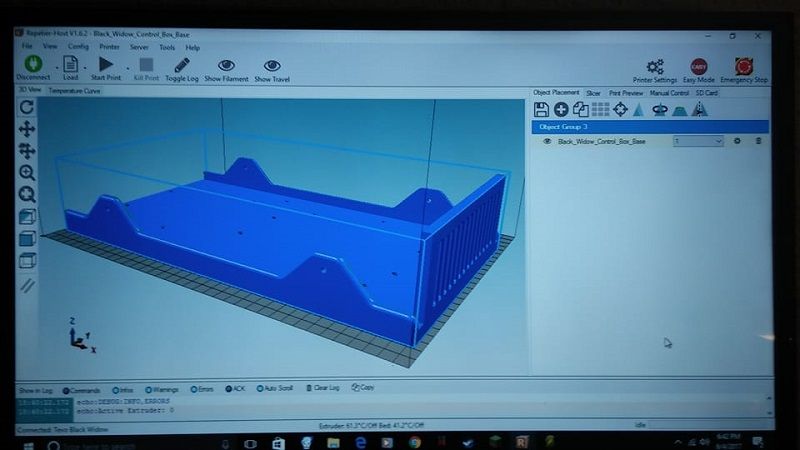
This piece is huge. It uses an insane amount of filament and takes an equal amount of time to print. Here is an estimate of that timetable..
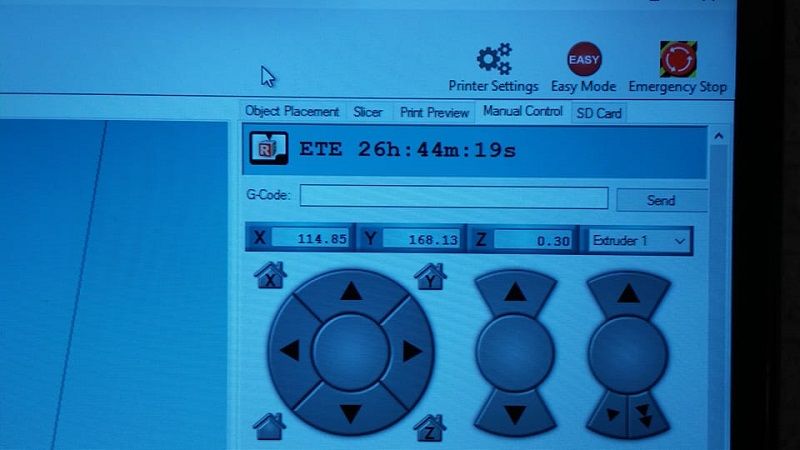
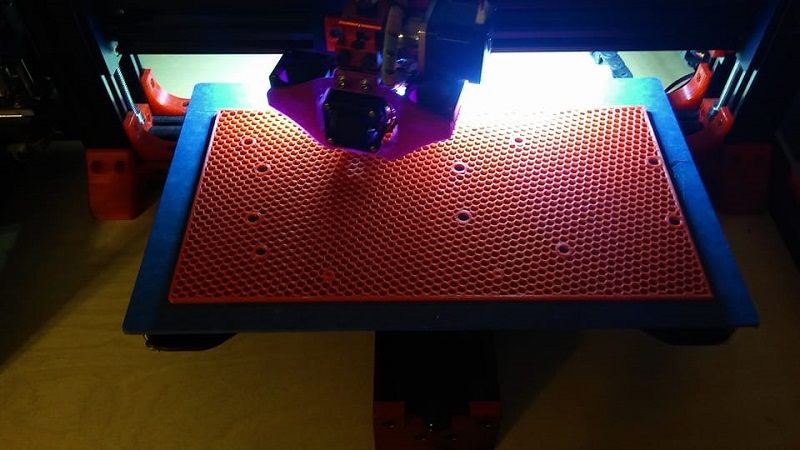
Fast forward past a few days worth of printing and we have all the parts we need for the control box mod. albeit in multi colors..
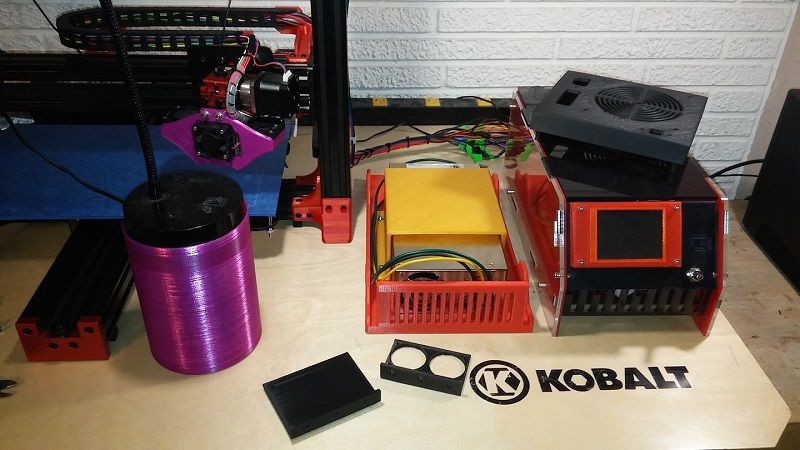
From here we obviously need to break down the control box..
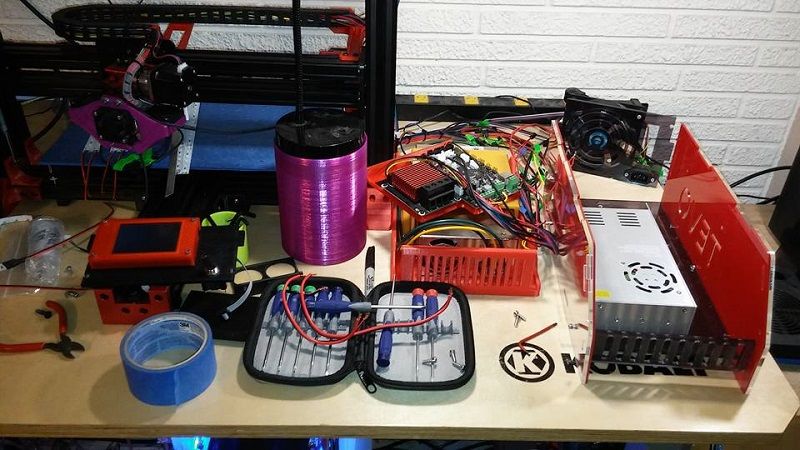
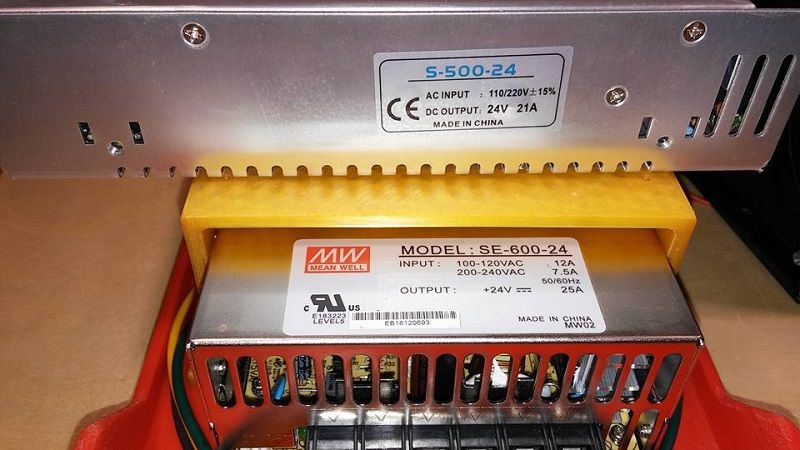
Here is a side by side of the two power supplies. The one that came with the black widow in my hand and the meanwell already mounted to the printed base..
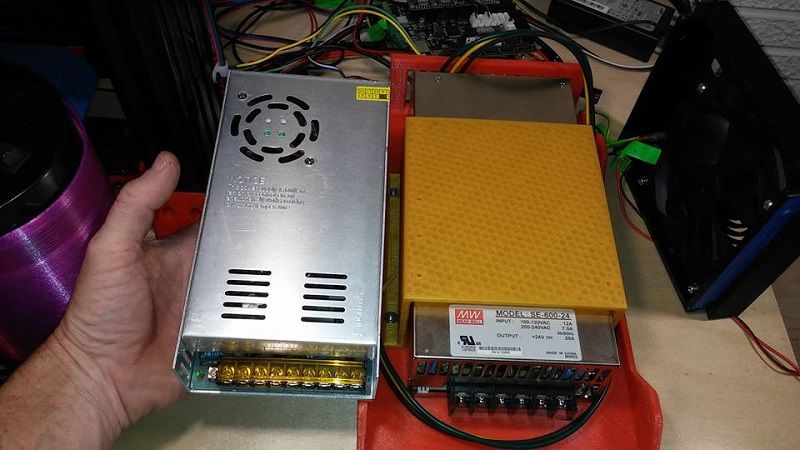
And here is why this mod had to go down. for an extra 100watts. While the extruder and stepper motors are common to other printers, the heatbed is very large and that warrants the larger power supply..
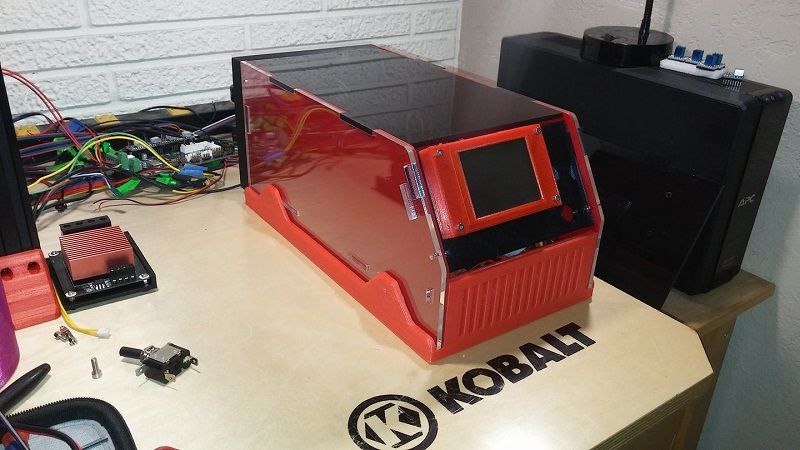
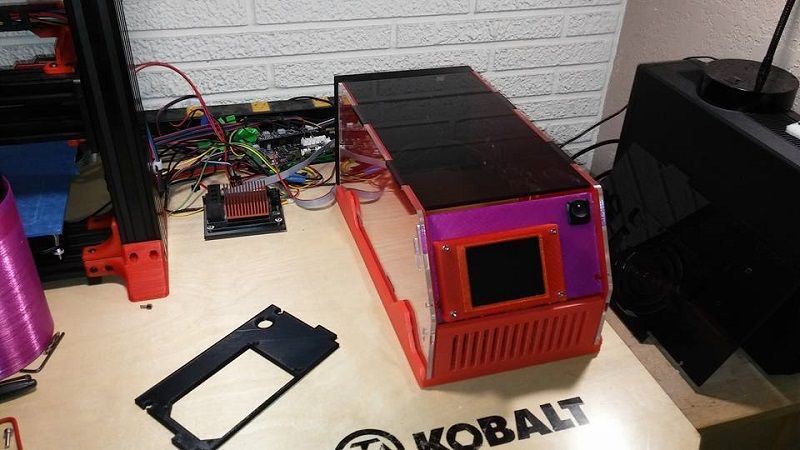
And here is the first mock up of the new control box..
-
06-16-2017, 09:16 PM #37
-
06-17-2017, 02:01 AM #38Student

- Join Date
- Jun 2017
- Posts
- 38
Nice build and modifications. Huge plus to the UPS! I have been bitten twice now by slight power losses.
-
06-17-2017, 12:38 PM #39
I think it is a good time to give credit where it is do. First and foremost I need to thank fredk for post #7 of this thread. Absolute genius. Best advice ever given to a 3d printer owner. Seriously. facebook group or even other community of owners of your printer. Once I found this group, I then found the thingiverse collection of stuff people designed to modify the black widow printer. I want to list and detail each modification I used and who really designed it. and what its purpose or function was.
The first and arguable the most involved of the modifications was the Black Widow Z-Axis G2T Belt Relocation by Anthony Harmon. I actually got to chat with this person in the facebook group I was suggested to join and he was very helpful and that modification added a lot of usable height to the z axis. The link to that modification is here: https://www.thingiverse.com/thing:2168986
There was a Drag Chain X Alternate Mount that lays the drag chain on its side and gives some more extra height to the build envelope. This mod was created by bdwalker1 and is a great design I feel because it worked well even with the oversized drag chains I used. That mod can be found here: https://www.thingiverse.com/thing:1777681
Then to get the x axis to reach the edges of the heat bed there was this 15 degree extruder mount that was also made by bdwalker1. Like the name implies this mod hinges the extruder out 15 degrees and also raises the extruder so it adds to both x and z axes. Here is the link to that: https://www.thingiverse.com/thing:1789293
The layer fan I went with uses 2 40mm fans and blows air from 2 sides. It was designed by Elzariant and it can be found here: https://www.thingiverse.com/thing:1726112
The bltouch mount that I designed and printed was a near duplicate of a design by adriansm. Had it not have been for the 15 degree extruder mount I would have used this exact design: https://www.thingiverse.com/thing:1950504
I used this to install the 3.2" touchscreen: https://www.thingiverse.com/thing:2096501 . It is a well thought out design by bgsteveg.
And then there is the control box upgrade by dot_bob. This was necessary to fit the meanwell power supply. And after printing it out and assembling it, It was very much worth the time it tool to print. Here is the link to this mod: https://www.thingiverse.com/thing:2002667
I have very much enjoyed exploring other peoples designs as a way to upgrade my printer. I have learned that there are a lot of very smart and skilled people out there. I strongly recommend others to try to duplicate what I have done here. The end result was incredible. I got to chat online some of the skilled individuals that came up with these modifications. And it has just been an all around good experience.
-
08-15-2017, 06:18 PM #40Student

- Join Date
- Aug 2017
- Posts
- 1
Hi - nice build. I'd like to add the y-axis drag chain to mine. Did you download a special bracket for it?


 Reply With Quote


Ender 3v2 poor printing quality
10-28-2024, 09:08 AM in Tips, Tricks and Tech Help