Results 21 to 30 of 132
Thread: My 3 Color Mixing Printer
-
11-03-2016, 08:53 PM #21Technologist

- Join Date
- Oct 2013
- Location
- Honolulu, HI
- Posts
- 199
I'm assuming that this is the diamond hotend clone that you are using? If it is you might take a look at this video:
https://www.youtube.com/watch?v=N60tm2eItUw
He explains how to rework the heat break to match an original E3d. Worth a try.
-
12-04-2016, 02:10 PM #22
This diamond hotend uses 3 E3D v6 heatsinks and all metal heatbreaks. it was not the cheapest diamond hotend I could find. I converted it away from all metal because I am only printing in pla and have been chasing this strange filament jamming issue. I replaced the hotend and still have the same trouble. Obviously I am missing something somewhere. I have 2 other 3d printers now. A geeetech prusa i3 pro b and a monoprice select mini which is a rebranded mylan 200. It has a small build envelope but prints surprisingly decent. And the geeetech has just been a workhorse printing almost every single day of its life since I assembled it.
I built this entire printer from scratch. I've already been picked on for its chunkiness. And the filament jamming issues have really prevented me from properly assessing all the other important aspects of the 3d printer aside from filament extrusion. So I am going to temporarily remove the diamond hotend and replace it with a traditional single e3d v6 hotend and make some runs. I can even swap extruders to make sure all are fine and verify that all my problems are in the hotend. And then I can swap back to the diamond hotend with a better picture of what my problem is. hopefully. I have already printed out the mount for it and ordered the hotend. Hopefully I will have this printer going shortly.
-
12-16-2016, 08:59 AM #23Student

- Join Date
- Dec 2016
- Location
- Sunny Florida
- Posts
- 2
Hey AutoWiz!
"I've already been picked on for its chunkiness. "
Yeah, well forget them. I love it for all it's chunkiness!
There's a real Rube Goldberg feel to it, and I think you did a great job. Fine tuning is always the end step, and Version 2 will be better.
You DO know you'll build a Version 2 don't you? You don't have a choice, it's in your genes to tinker, just like me. LOL
Keep us up on it as you go. Did you get a chance to single it up and test the extruders ?
I'll only be around sporadically, but you've got me watching with anticipation to see for Frankenstein can walk! (Said with the greatest love for your creation!)
Keep plugging, you'll get there.
PuterPro
-
12-16-2016, 02:39 PM #24
-
12-18-2016, 12:12 PM #25
Hey thanks guys. So I am desperately trying to get this printer back up and running before Christmas. I have decided to swap to a single e3d v6 hotend and 1 wade extruder just to get some use out of the printer. So I ripped everything apart..
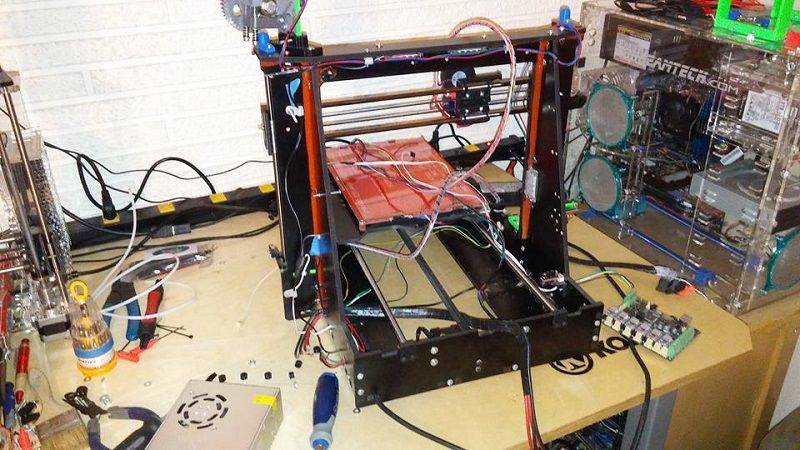
I found this awesome design of a mount with integrated fan duct and I printed it out with the monoprice mini printer..
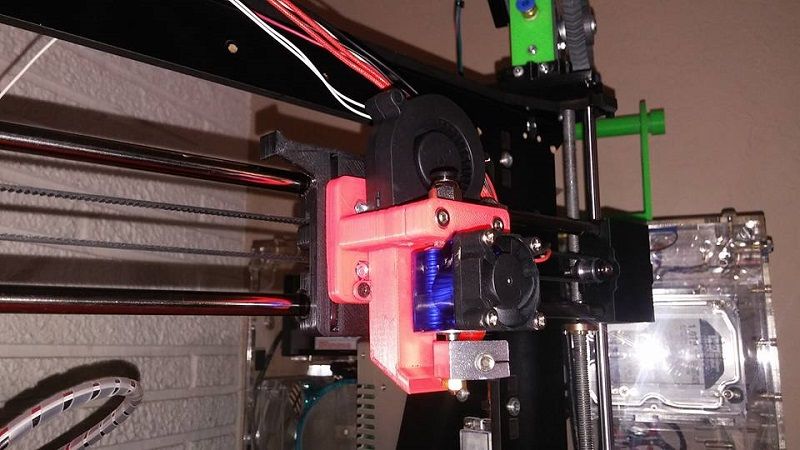
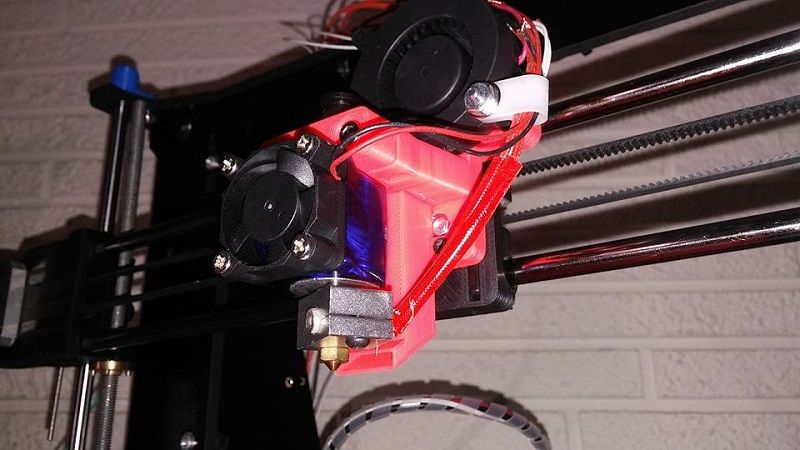
The X axis ends and carriage are the same parts that came with the ebay printer. Geeetech prusa i3 pro b. I really liked these parts so I printed out a set and used them on this printer but because of a lack of clearance between vertical rods and the frame behind them I had to flip the x axis and mount the stepper motor on the opposite side of the frame farther away from the controller requiring me to use longer wires. So I figured out this trick. I loaded up both x ends in repetier and then before I sliced them in object placement I mirrored the images. And now the motor can mount on the correct side of the frame and it is still facing in front of the frame so it wont rub on anything..
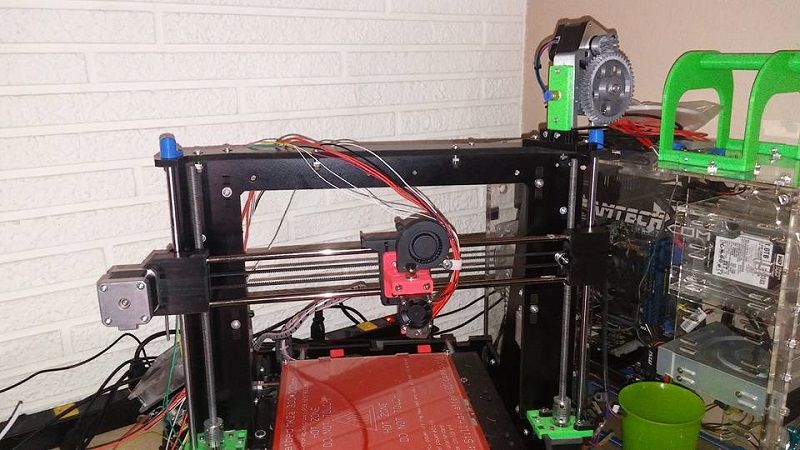
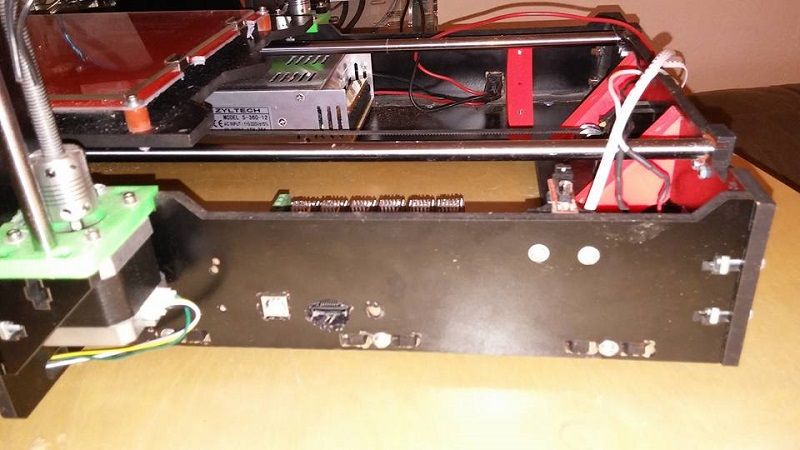
In an effort to make my printer smaller I have taken all the electronics and moved them inside the printer. I have also made a bunch of red support beams to add strength to my structure..
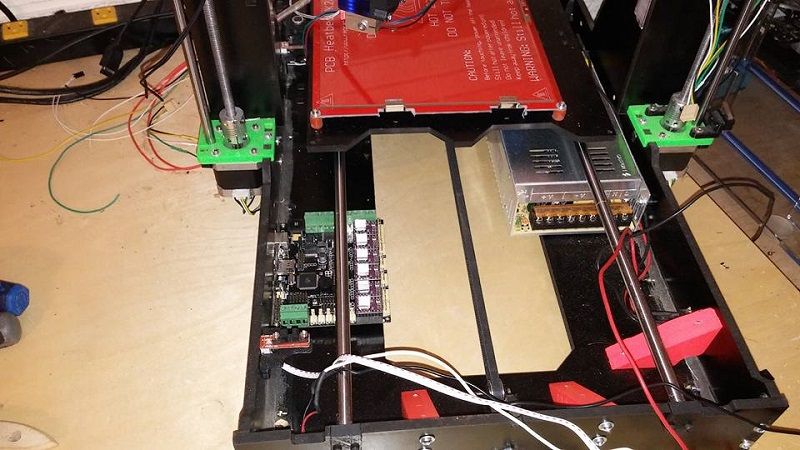
And I cut some holes and put the usb and sd slots right through the side of the printer..
-
12-19-2016, 07:17 PM #26
Almost done. All the hardware is mounted. This is the smallest I could get things in this frame. I will admit that this was my first custom frame. I am thoroughly disappointed with just about every single aspect of this frame and in the future I have every intention of building a frame myself. All opinions aside, the pieces weren't cut right. I had to modify it to make it fit together when I got it. The holes for the smooth rods at the base of the z axis were not aligned with the top holes in the frame. I had to redesign and print the z axis stepper motor mounts with the holes in the right place. And then it creaks when it is running. I believe this is the y axis stepper motor and idler pulleys pulling the front and rear of the frame together. I made beefy triangulated supports on either side of both the z axis stepper motor and idler. I am anxious to see how that does for the creaking..
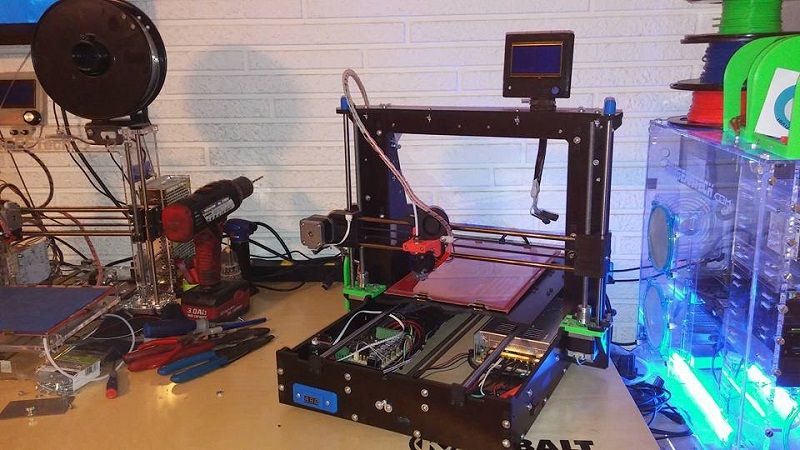
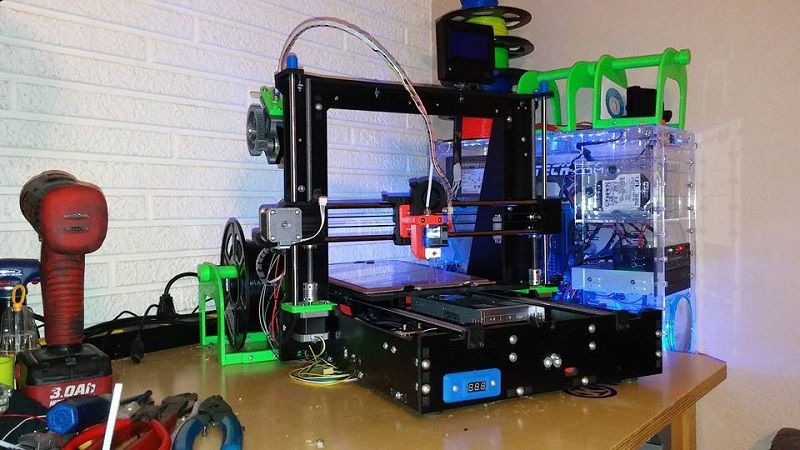
I have also converted the x axis end stop to optical to match y and while I am leaving the z axis as mechanical for the moment, I have already acquired 2 proximity sensors for auto bed leveling and when I convert the printers to aluminum beds I will be able to dump the z axis altogether.
-
12-20-2016, 06:01 PM #27
And we are back to life..
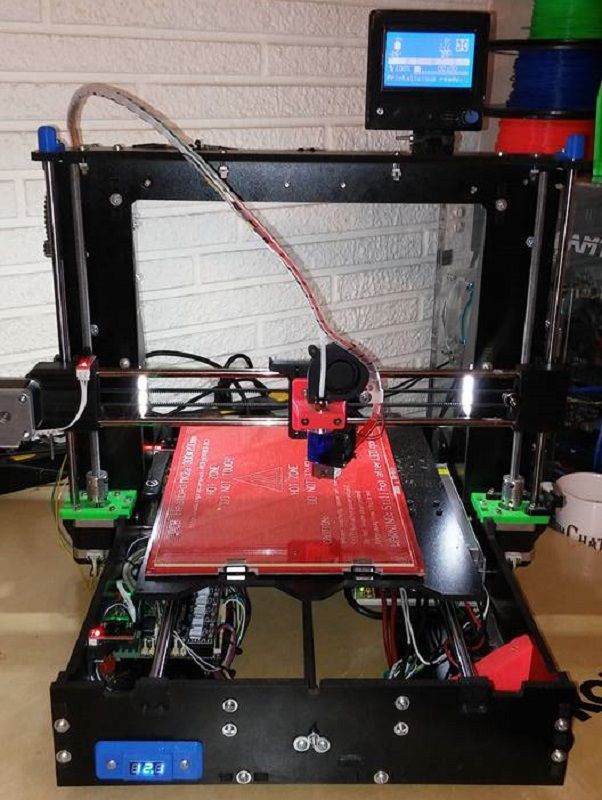
Every printer should have optical end stops just because of the cool red leds. I have no good reason why I put a max position Y end stop other than to add a cool red led to the rear of the frame. Last step is to design and print a flag for the new x axis optical end stop. And hopefully I will be trying to print with this tonight.
-
12-21-2016, 04:49 PM #28
Here are some pictures of my Creation Station. The place I go to create when I want to build with plastics..
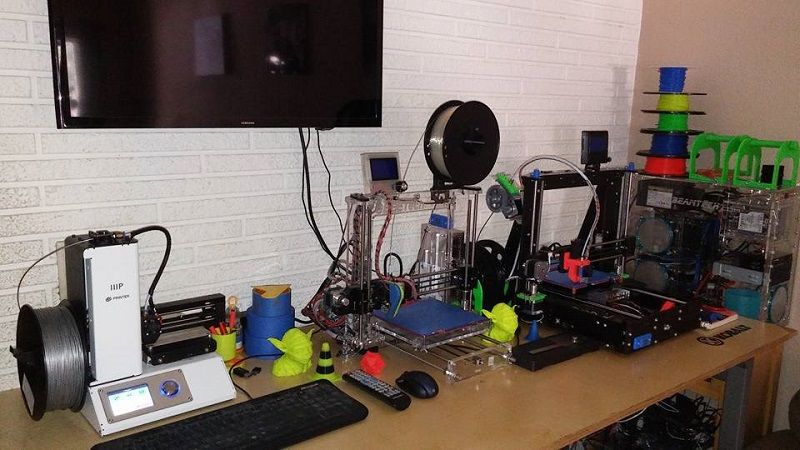
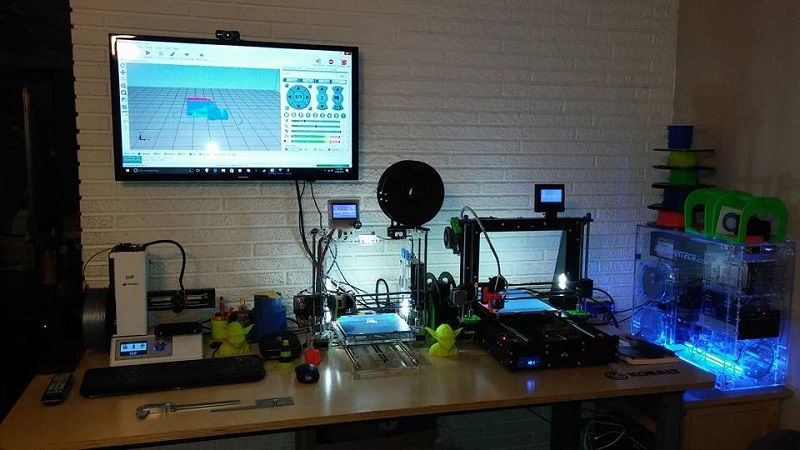
My printer is done and ready to print but when I tried to start a print last night it heated up but wouldn't start printing. I know this is my settings in marlin. I tuned these for the diamond hotend and had it hold an abnormally long residency time before starting to print to let it heat soak real well, and I had it at a close threshold for the residency timer. So because my extruder temp setting are so far out the hotend swings +/- 10 degrees at times trying to hold a temp. I will correct this tonight and post up some video of my printer printing.
-
12-21-2016, 07:45 PM #29
-
12-21-2016, 09:24 PM #30


 Reply With Quote


Ender 3v2 poor printing quality
10-28-2024, 09:08 AM in Tips, Tricks and Tech Help