


Results 41 to 50 of 71
Thread: 3D Printed 3D Printer
Hybrid View


-
08-07-2017, 11:19 AM #1Staff Engineer

- Join Date
- Jul 2016
- Location
- South Florida, USA
- Posts
- 1,248

I upgraded the control board and screen on my GEEETech i3 just for a touchscreen. So those parts will be going in here. This printer will get this gt2560 board..
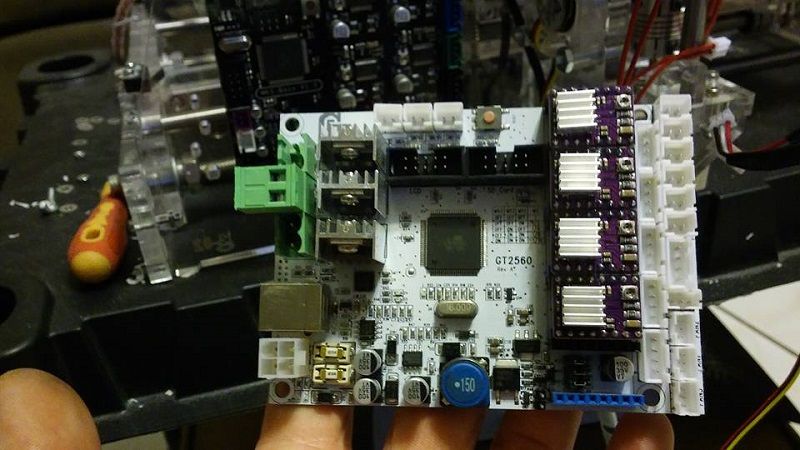
And it will get the reprap discount 12864 screen that is in my hand in the below pic..

haven't figured out where and how I want to mount them just yet. but we will get there soon.
-
08-07-2017, 05:47 PM #2Staff Engineer
- Join Date
- Jul 2016
- Location
- South Florida, USA
- Posts
- 1,248
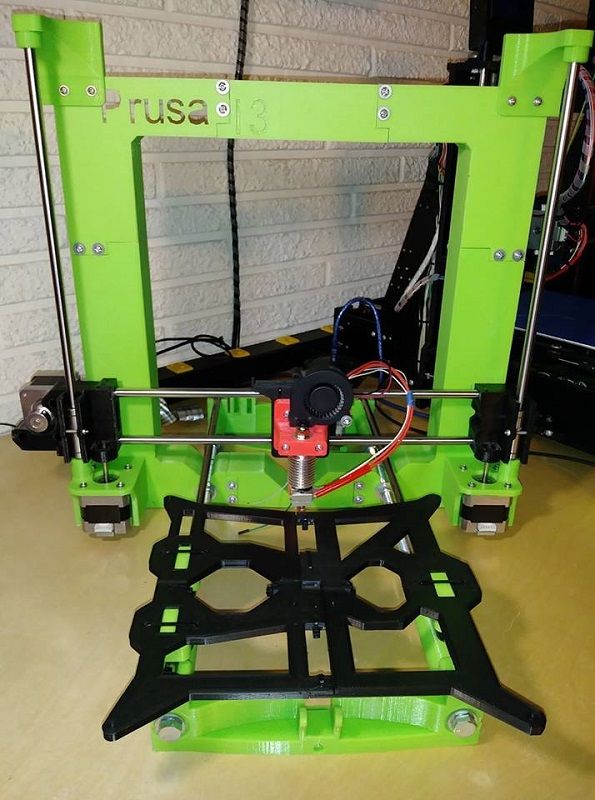
I got x y and z linear rods all in place. Still need leadscrews and top mounts for the z and belts for the x and y..
-
08-07-2017, 09:13 PM #3Staff Engineer
- Join Date
- Jul 2016
- Location
- South Florida, USA
- Posts
- 1,248
I made the top mounts like this so everything will be tight and secure..
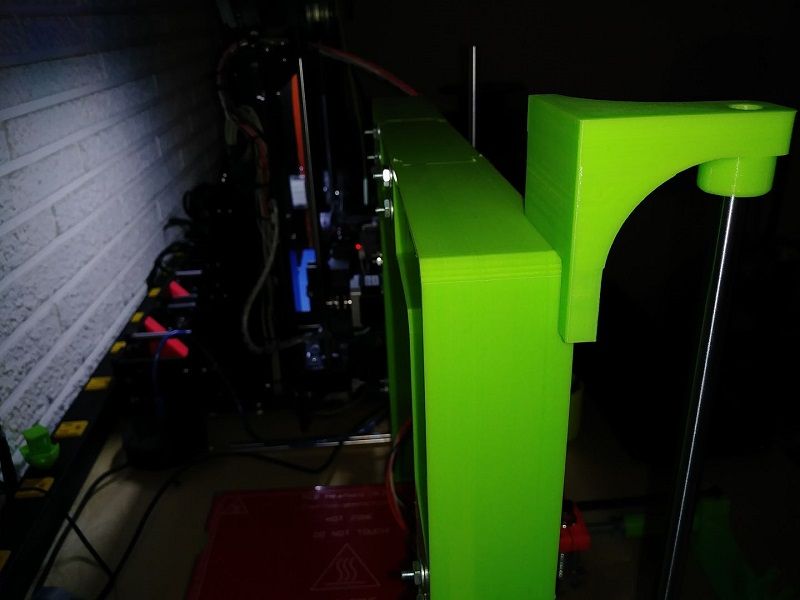
Where the bottom mounts wrapped around the side the top support can wrap around the side and the top.
-
08-07-2017, 11:03 PM #4Staff Engineer
- Join Date
- Jul 2016
- Location
- South Florida, USA
- Posts
- 1,248
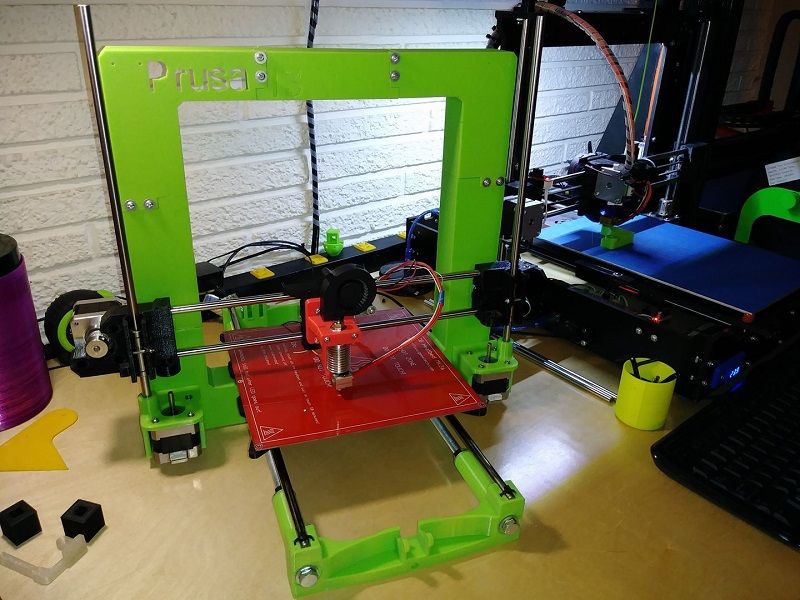
Here is all the printed parts assembled. I have never posted up anything on thingiverse but I feel I should share the extra files I made to complete this printer..
all axes move free and smooth. When the x carriage is all the way up on the z there is sway fore and aft of the frame that I know will show in print quality so I will design the power supply mount and mainboard mount to also be supports for the frame. Still a little ways to go.
-
08-13-2017, 09:40 PM #5Staff Engineer
- Join Date
- Jul 2016
- Location
- South Florida, USA
- Posts
- 1,248
So the next thing I need to draw up and print out is a mount for the gt2560 control board. Here is the space I plan to mount the control board..
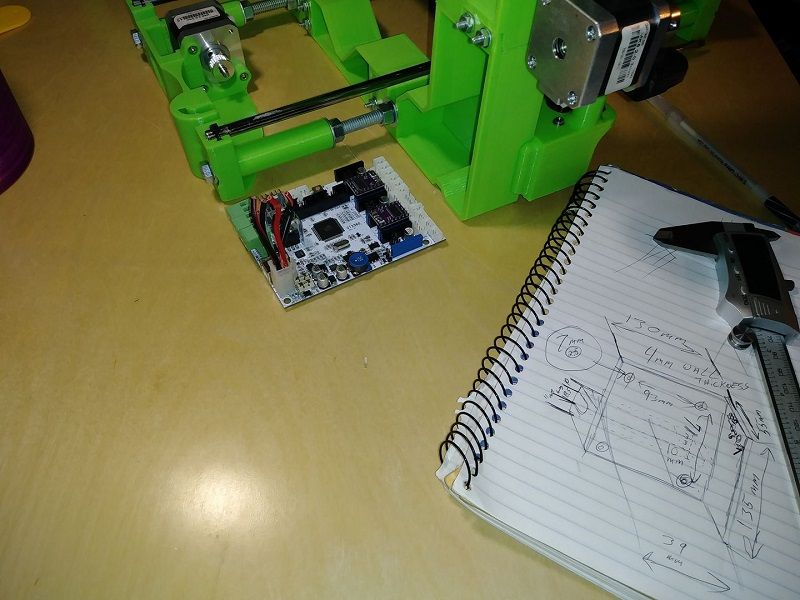
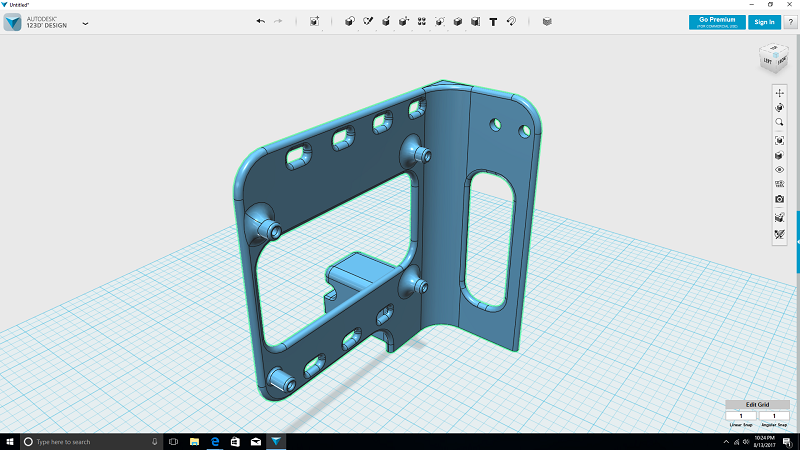
Hopefully my design will add to the rigidity of the frame. Here is my design in autodesk..
-
08-14-2017, 06:59 AM #6Super Moderator
- Join Date
- Jul 2014
- Posts
- 8,816
looking good :-)
just out of curiosity (why i do most things)
what print settings have you been using for the printer parts ?
-
08-14-2017, 11:23 AM #7Staff Engineer
- Join Date
- Jul 2016
- Location
- South Florida, USA
- Posts
- 1,248
0.2mm layer height. both 0.3mm and 0.4mm nozzle diameters(geeetech is 0.3, printalicious and black widow are 0.4mm) bed temp is at 50c and I have been keeping the hotend at 210c to ensure good layer adhesion. I have good layer fans that do a good job of cooling the filament so I can get away with using the higher temps without degradation of my print quality.
-
08-14-2017, 06:44 PM #8Staff Engineer
- Join Date
- Jul 2016
- Location
- South Florida, USA
- Posts
- 1,248
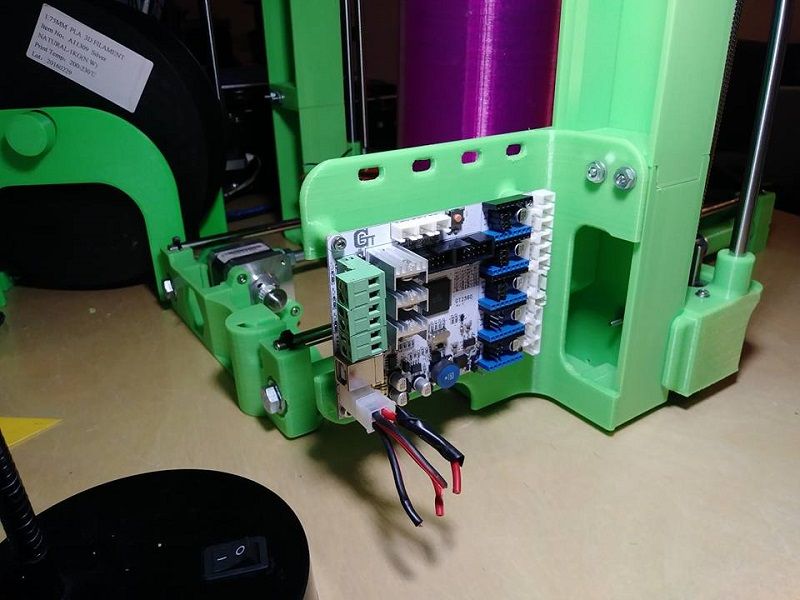
yes pla. And the controller mount finished printing..
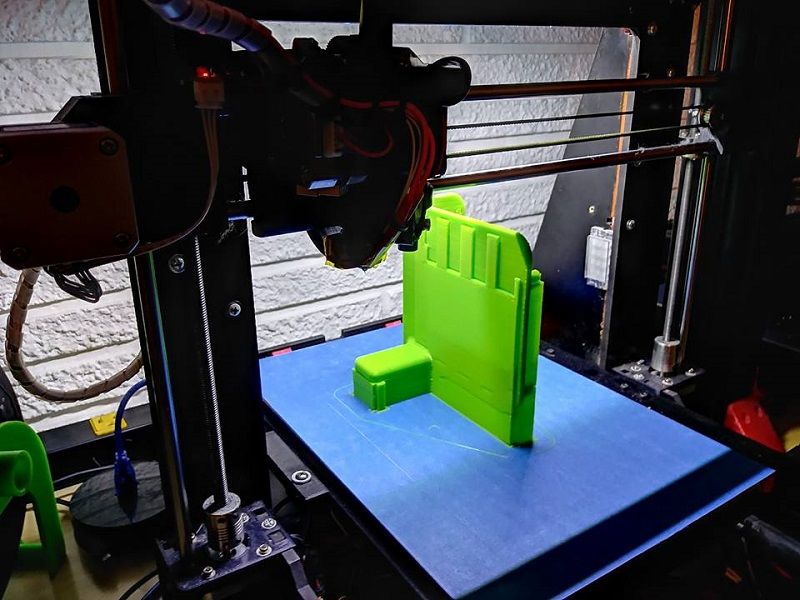
Removing all the support material was fun. And it revealed the weak points in my print. I may or may not re design and reprint this part..
-
08-19-2017, 12:37 PM #9Staff Engineer
- Join Date
- Jul 2016
- Location
- South Florida, USA
- Posts
- 1,248
Finished the blower swap..

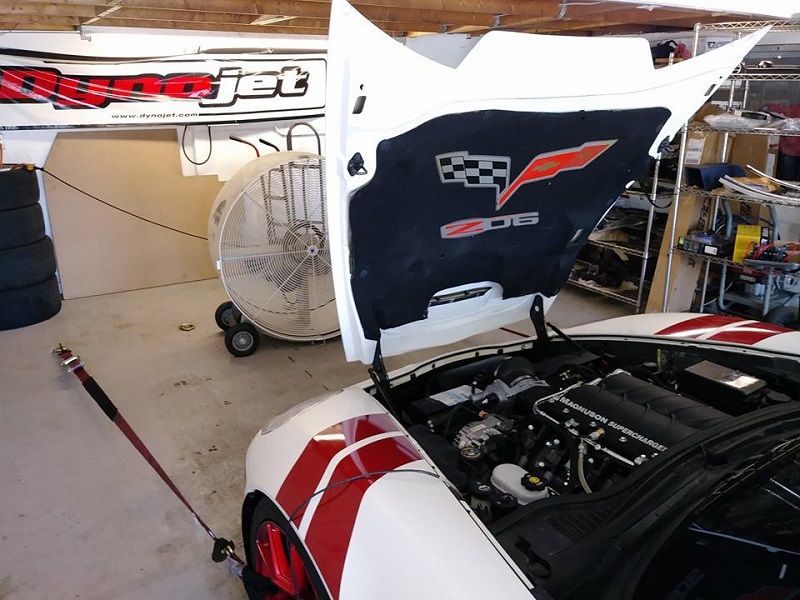
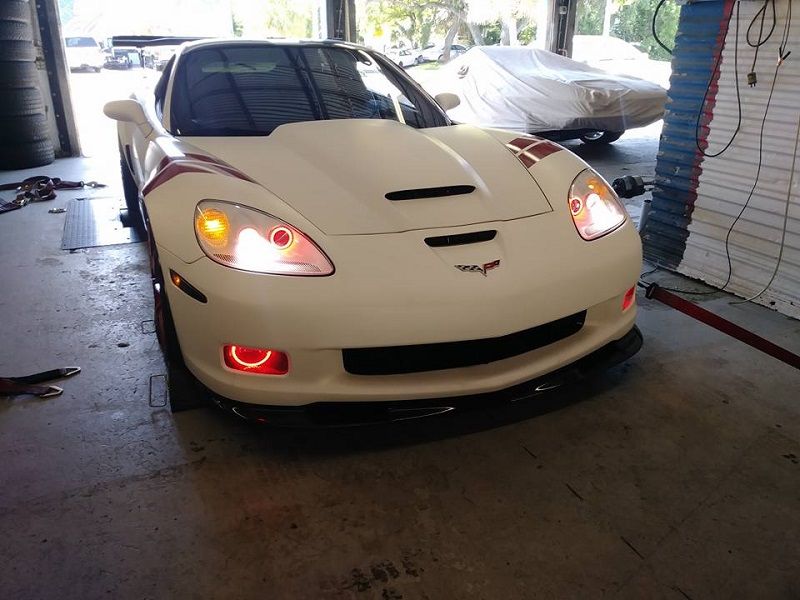
I have a thread just for this car here: https://www.superchargerforums.com/t...lown-z06.5348/
-
08-19-2017, 07:59 PM #10Engineer-in-Training
- Join Date
- Jan 2016
- Posts
- 326
Did I see what looks like a leaf spring under the front frame cross member at the other forum?


 Reply With Quote


Please explain to me how to...
05-17-2024, 12:15 PM in 3D Printer Parts, Filament & Materials