


Results 11 to 20 of 354
Thread: 370mm X 250mm X 300mm
-
03-09-2017, 08:43 PM #11Staff Engineer

- Join Date
- Jul 2016
- Location
- South Florida, USA
- Posts
- 1,248

The main support finished. It took 7 hours to print this. It is thick and has 40% infill. it came out nice..
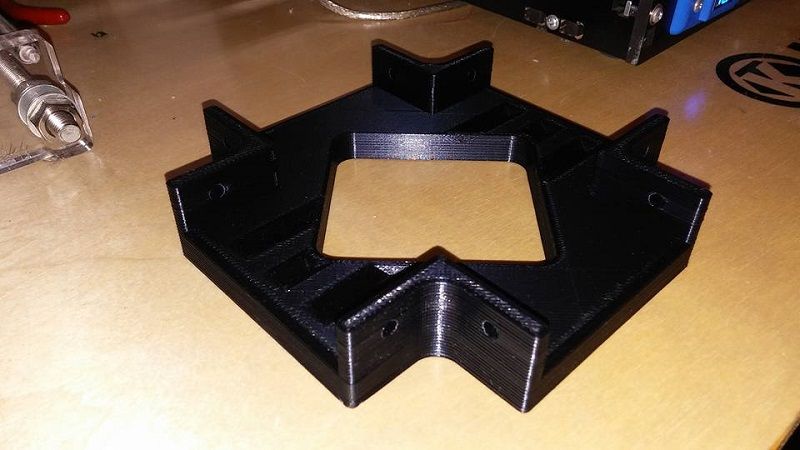
All I can say is wow this printer is gonna be big. I am currently printing the 4 feet that will go with this piece and keep the frame off the ground..
I joined the facebook group for black widow owners and discovered that there is this power supply issue. So to add to the parts that I have ordered for a printer that still isn't here, I have ordered a mean well se 600 -24 power supply. I now need to print some more parts so this power supply will fit and mount correctly inside the control box.
-
03-10-2017, 03:13 PM #12Student
- Join Date
- Nov 2016
- Location
- Earth
- Posts
- 28
The PSU is a hit and miss issue. Some people are fine. Some have a thermister on the input side go pop. Those with the skills replace the thermistor. The root issue is that the V2 heatbed draws close to the 480w output of the psu at startup. Seems to be a combination of heatbed resistance and where the thermister sits in is spec.
There is now a V3 heatbed with a reduced power draw. I have not seen anyone post the actual draw yet.
-
03-10-2017, 05:16 PM #13Staff Engineer
- Join Date
- Jul 2016
- Location
- South Florida, USA
- Posts
- 1,248
This will not be a hit or miss issue for me( ... I hope). It's really just the rigid frame and heatbed I am using. I need this to be reliable and not burn my home down. So aside from the control board upgrade to mks base 1.5 and the power supply upgrade to mean well se 600-24 power supply, I also hunted down an external mosfet to wire in to control the heatbed. But not the same external mosfet that others are using for this. The makers of the control board, mks, makes an external mosfet that is good for 30a and it has a much larger heatsink. here is what that looks like.. Originally Posted by fredk


-
03-10-2017, 06:30 PM #14Staff Engineer
- Join Date
- Jul 2016
- Location
- South Florida, USA
- Posts
- 1,248
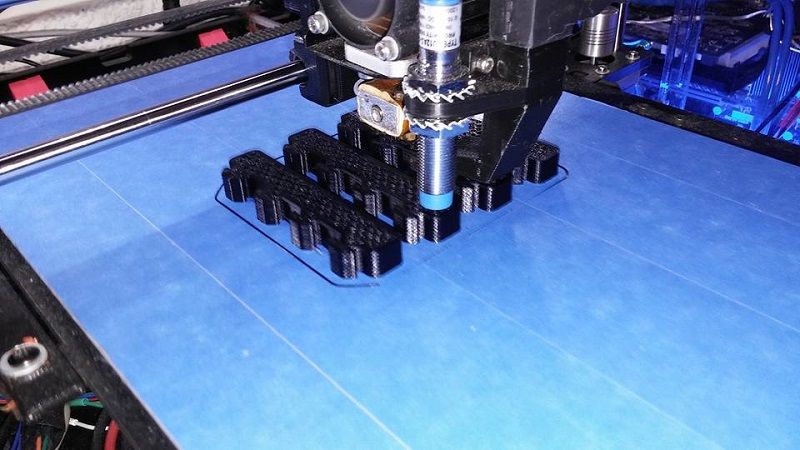
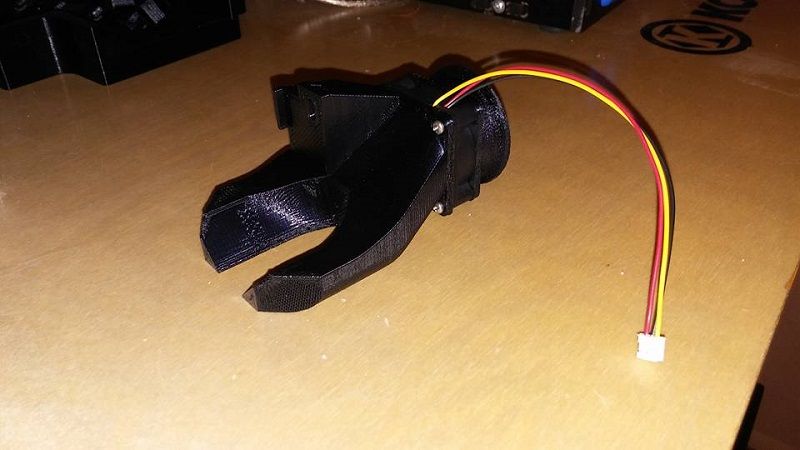
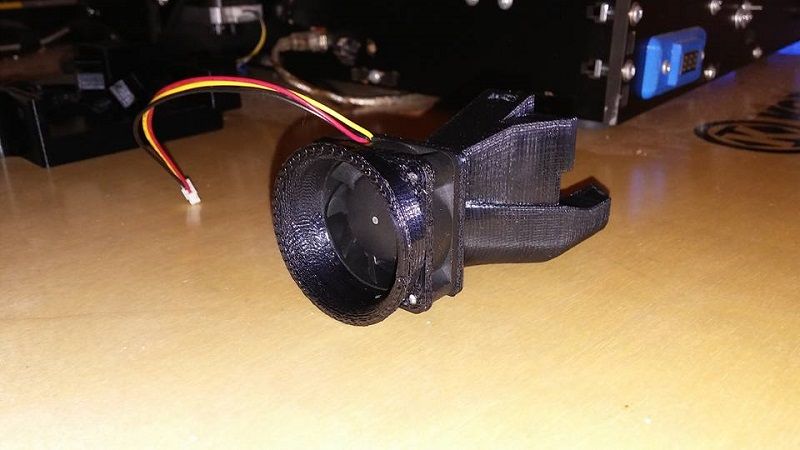
I'm still a few days away from receiving my printer and honestly with all the parts I ordered to go with it I am probably looking at next weekend before I actually get to build this printer. So for now I will just keep finding and printing parts to get this thing built right the first time out. I found a layer fan duct that holds a 40mm fan and then I found a 40mm fan velocity stack. And this is the assembled layer fan for the new printer..

-
03-12-2017, 11:36 AM #15Staff Engineer
- Join Date
- Jul 2016
- Location
- South Florida, USA
- Posts
- 1,248
The suspense is killing me right now. I should get mine by the end of the day tomorrow. There is another modification this printer must have for its initial assembly. Someone figured out how to grow the z axis by 37mm. which would bring the max print dimensions to 400x250x337. Here is the conversion parts and instructions:
http://www.thingiverse.com/thing:2168986
-
03-13-2017, 08:55 PM #16Student
- Join Date
- Nov 2016
- Location
- Earth
- Posts
- 28
You are not going to get a full 400mm on the x-axis, even with mods. Stock the max build size is 350 x 250 x 250. You can extend the x-axis to about 270 with a custom extruder mount or if you switch to a Titan style extruder and pancake motor.
FYI, your kit should come with that external mosfet if it is a v2 board. The V3 bed supposedly does not need it, but I would put one on anyway. There are not enough V3 heatbed kits out there yet to know for sure if they have resolved their power draw issues.
I didn't get to the point of printing this weekend. With the change in the weather here (snow and damned cold) I just want to hybernate for a month or so until the nice weather arrives. Made yogurt and cleaned the house instead.Last edited by fredk; 03-13-2017 at 09:00 PM. Reason: corrected extruder name
-
03-14-2017, 05:11 PM #17Staff Engineer
- Join Date
- Jul 2016
- Location
- South Florida, USA
- Posts
- 1,248
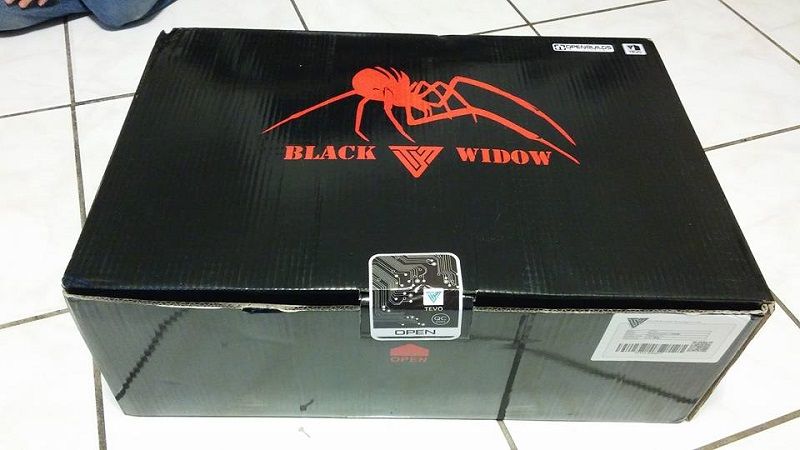
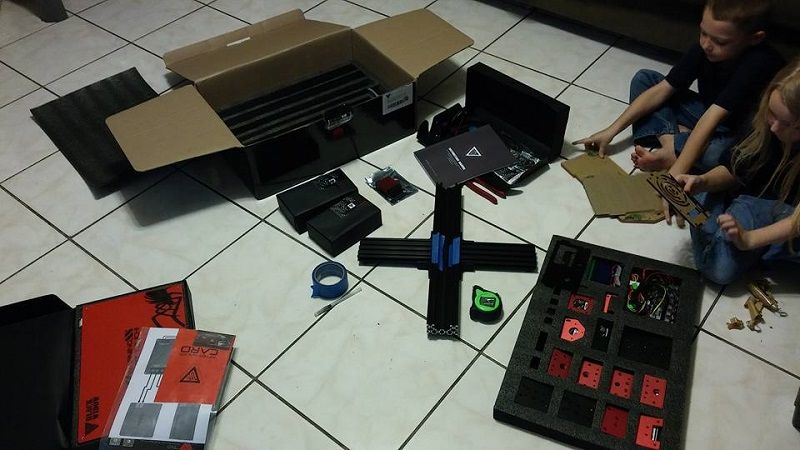
It has arrived..
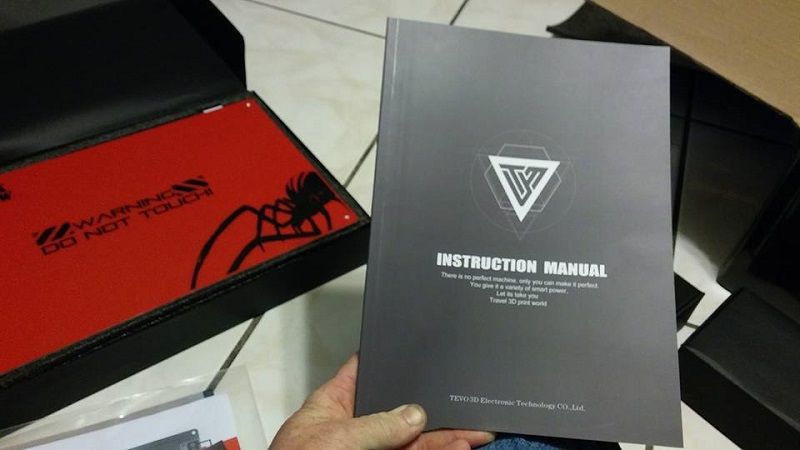
Oh wow here is something the GEEETech i3 didn't come with. I feel spoiled having one of these..
And just like with the GEEETech printer this is to be a team effort..
-
03-14-2017, 05:27 PM #18Staff Engineer
- Join Date
- Jul 2016
- Location
- South Florida, USA
- Posts
- 1,248
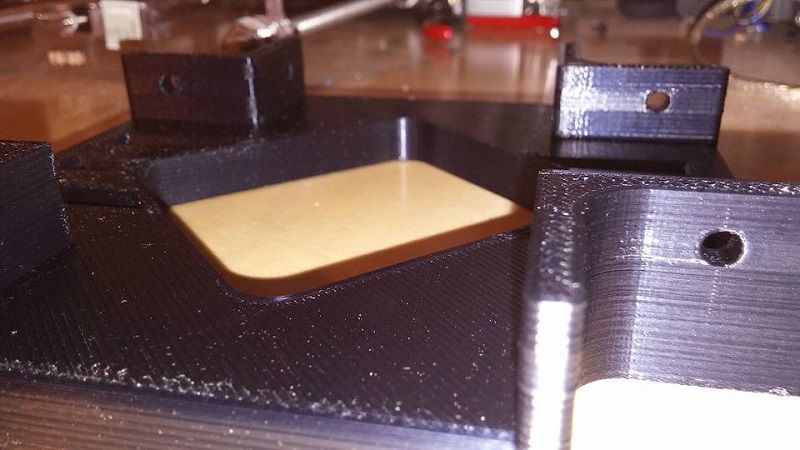
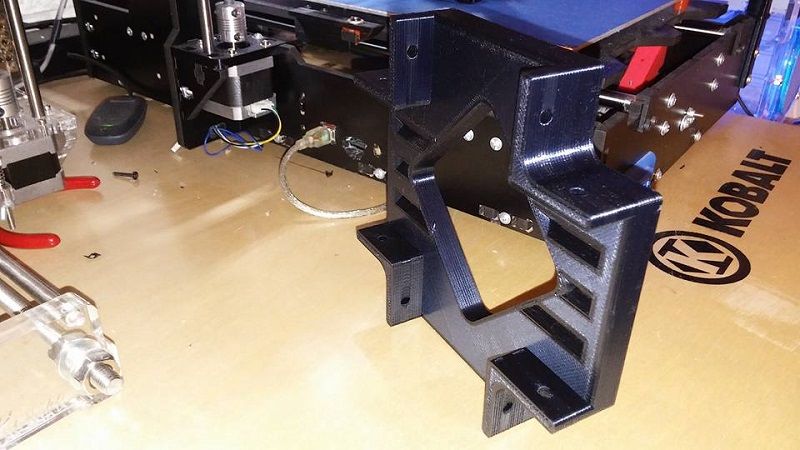
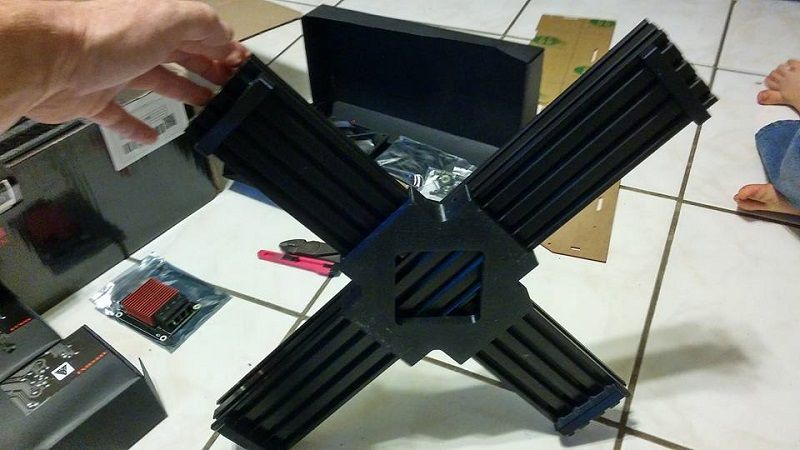
I must say that I am very impressed with the anodized pieces and how much in this kit is metal. This should make for a very solid printer. I have already got the main brace and feet that I printed out installed and they fit great..

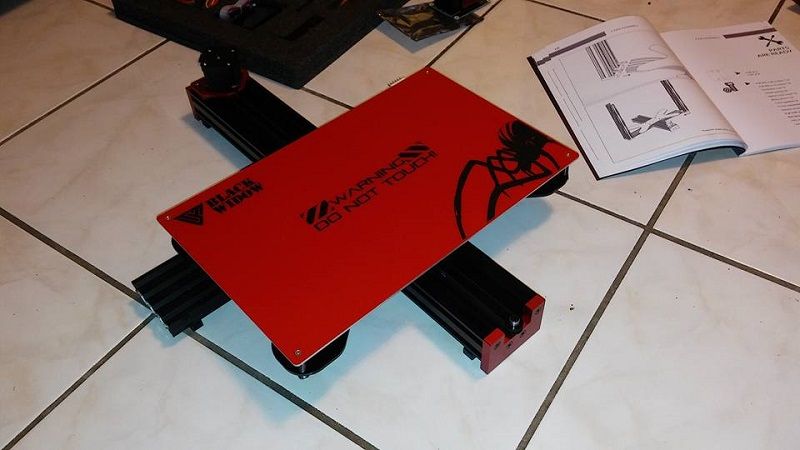
Here is the print bed installed with y axis stepper and belt all setup..
Just to show how big this print bed is here is one of my 1/10 scale r/c nitro cars sitting on top..
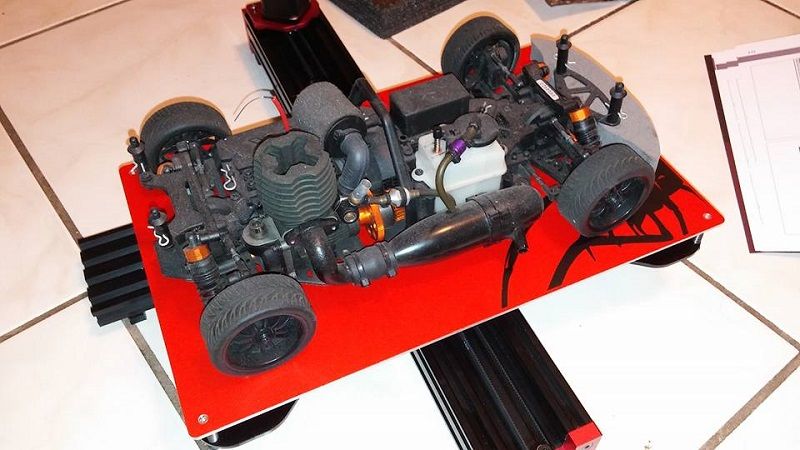
This printer is going to be huge.
-
03-18-2017, 07:22 PM #19Staff Engineer
- Join Date
- Jul 2016
- Location
- South Florida, USA
- Posts
- 1,248
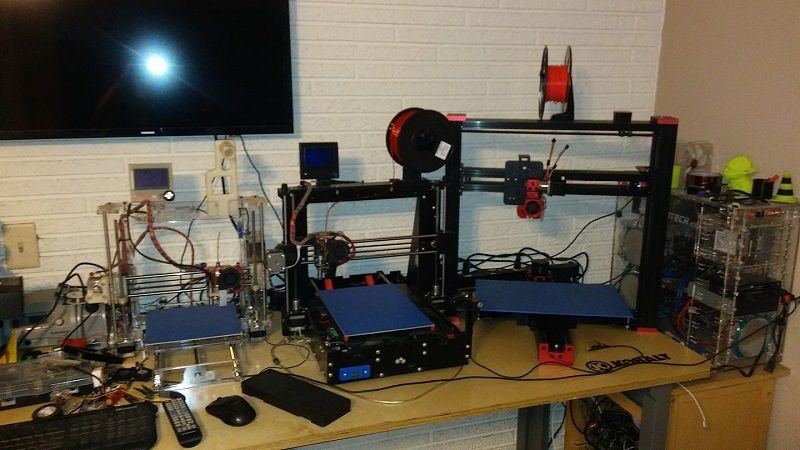
This printer is big..
-
03-22-2017, 09:09 PM #20Engineer
- Join Date
- Oct 2014
- Posts
- 441
That thing looks awesome. Have you had a chance to print anything large with it yet?


 Reply With Quote


Please explain to me how to...
Today, 03:08 PM in 3D Printer Parts, Filament & Materials