


Results 1 to 10 of 354
Thread: 370mm X 250mm X 300mm
Threaded View


-
05-09-2021, 03:37 AM #11Staff Engineer

- Join Date
- Jul 2016
- Location
- South Florida, USA
- Posts
- 1,248

While I wait for shipping on them closed loop drivers for Z I can keep myself busy with some needed maintenance on my one off printer. With my dual motors I intentionally did not design a tensioner. It takes more to set the belt to the right length but it is a more rigid setup. I might change that at some point but for now we just need to get down to that 9mm gates reinforced Y belt. First the bed comes off..
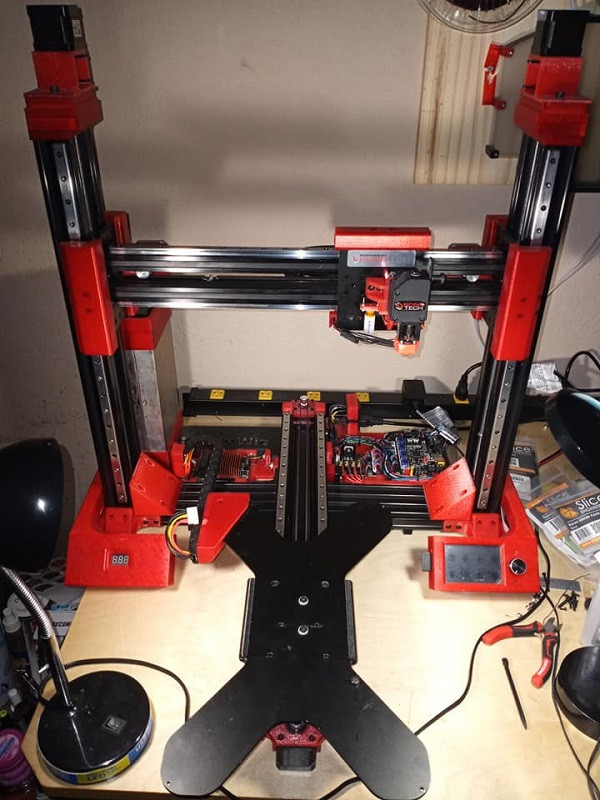
And then the Tevo carriage for the heated bed comes up revealing the carriage I designed and printed to marry the 4 cars to the Tevo carriage..
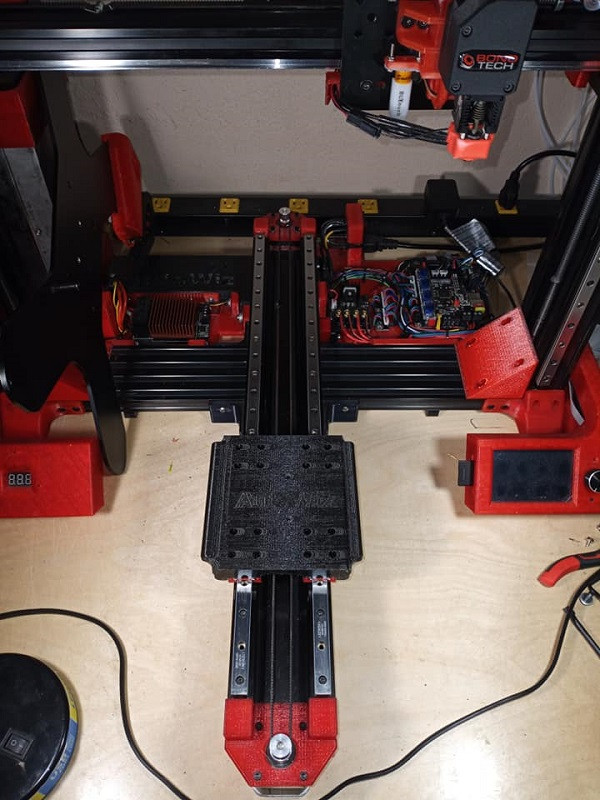
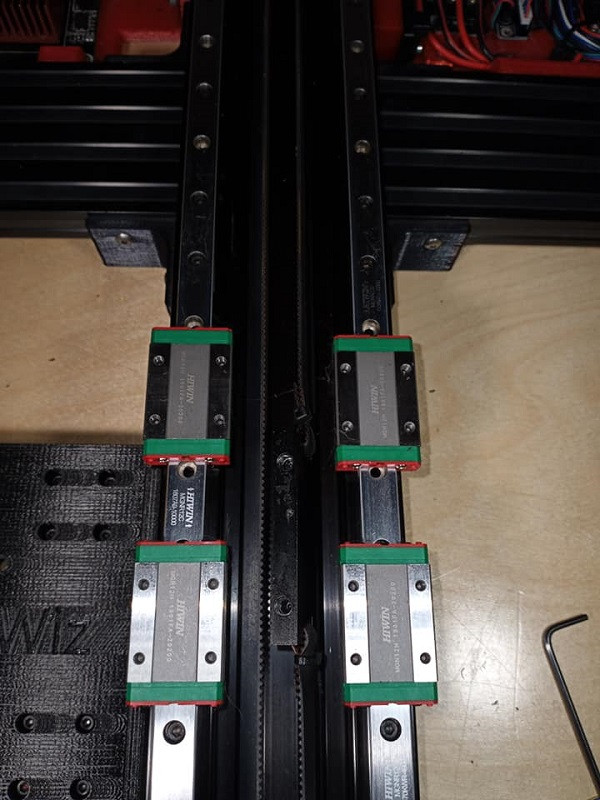
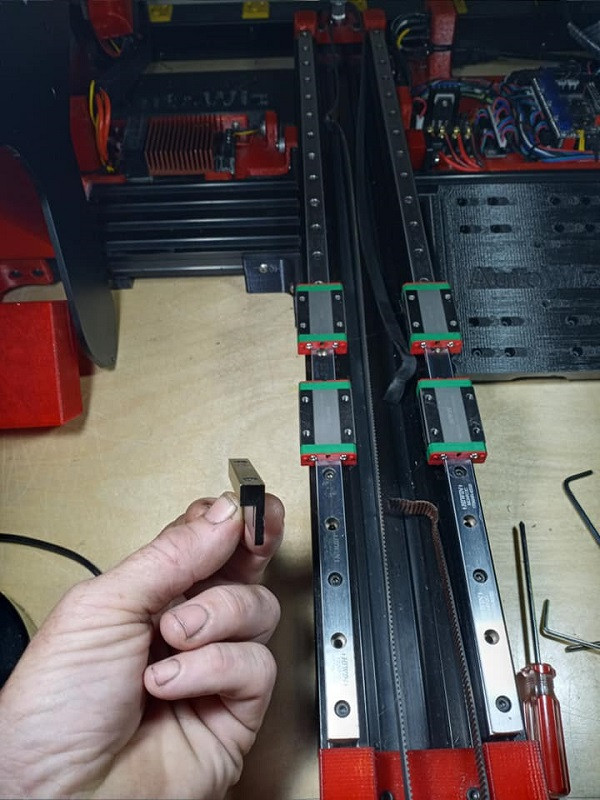
With the 16 m3 screws and my carriage removed we can see the 4 cars that this printer's 400x250 bed slides back and forth on. HIWIN logos laser etched everywhere. The only thing more beautiful than the logos on them cars and rails is the way they feel sliding back and forth. But dammit it hurt buying them..
Alright so now with everything out of the way we can focus on the small changes I want to make. First off the piece the belt attaches to for the Y carriage is offset to one side. It can be installed either way but I feel it is installed backwards. It is currently setup so the belt is offset to the outside of the carriage..
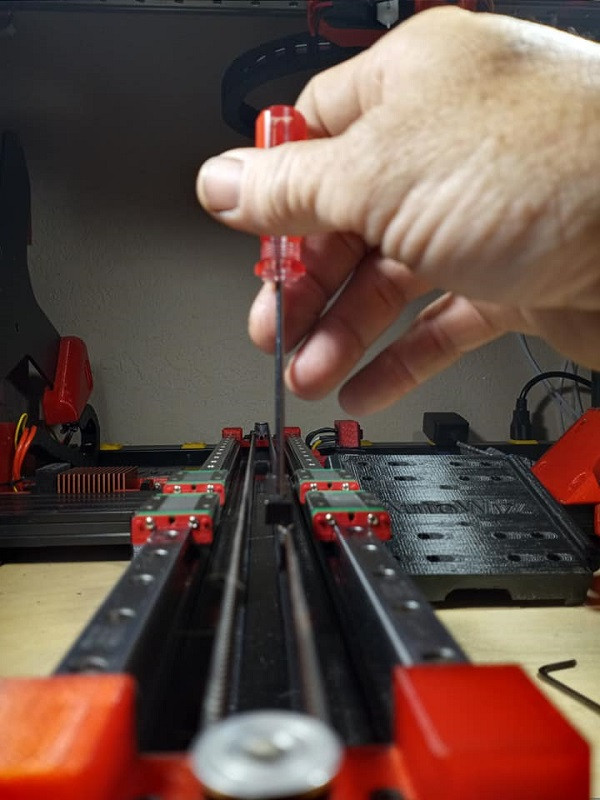
Here is a better picture. In my mind flipping this the other way will mean more belt coverage and less chances of the belt skipping on the driven gears. And because I have this thought I know it is wrong and must correct it. In reality I am sure the difference is so utterly insignificant. But I will get to tighten the belt while I am here and that definitely will help..

 Reply With Quote


Please explain to me how to...
05-17-2024, 12:15 PM in 3D Printer Parts, Filament & Materials