


Results 61 to 70 of 125
Thread: 10" Pegasus Build
Hybrid View


-
03-28-2016, 07:19 AM #1Student

- Join Date
- Jan 2016
- Posts
- 34
Flatty, I hope you did not drill out the Z-rod traps to much, to much play will cause backlash issues.
Also be careful of over screwing/tightening the rods into the tubing, I actually had issues with banding because I ran one in to far and it was not cut perfectly flat causing it to move slightly to one side, causing z-banding. Once I backed it off a quarter turn it was perfect.
-
03-29-2016, 08:35 AM #2Technician
- Join Date
- Nov 2014
- Posts
- 73
 Originally Posted by Donziboy2

I did not drill out the traps much... just reamed the holes a little bigger really. I'm not seeing how that will cause any issues though as I didn't touch the nut traps themselves, only the hole above it that the rod goes through. The nut is still held securely.
Thanks for the heads up on the Z rods in the tubing. The rods are tight against the motor shaft... I will back them off just a little bit to prevent any banding.
-
03-29-2016, 01:10 PM #3Student
- Join Date
- Jan 2016
- Posts
- 34
What happens is that there is some play in the threading of the nut so you can get a small amount of movement, depending on the nut and rod that could be enough movement to cause gaps during printing. If you thread the rods into the nut traps it adds threading to the traps and increases friction, reducing the chance of unwanted movement. I have seen several examples of people making new nut traps that have 2 nuts and a spring in the middle to prevent the backlash. Originally Posted by flatty_420
-
03-30-2016, 07:03 AM #4Technician
- Join Date
- Nov 2014
- Posts
- 73
Ok, thanks. That's good info. I will keep an eye out for that and print new Z nut traps if I see any sign of banding. Originally Posted by Donziboy2
-
03-30-2016, 11:00 AM #5Technician
- Join Date
- Nov 2014
- Posts
- 73
OK, so I put cable management on the back burner until after I have printed something. Look at this lovely rats nest
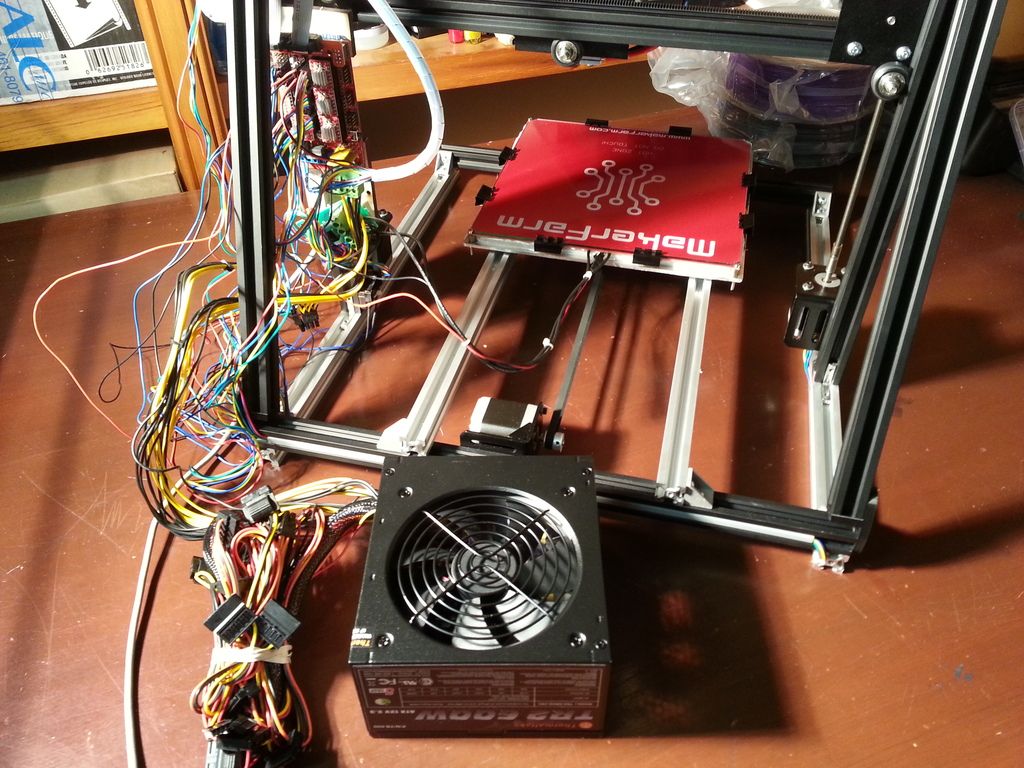
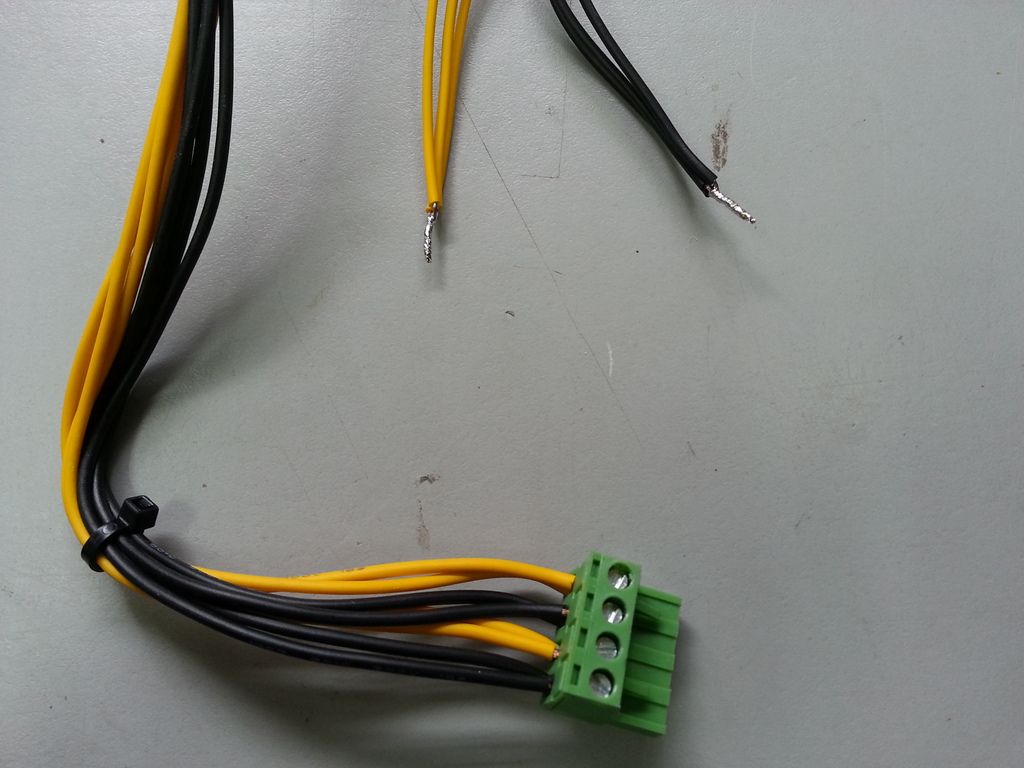
I cut the ends off of the ATX PS wires I was planning on using. I used the PCIe (vid card) connector to power the heat bed relay and the CPU connector to power the rest of the machine. I'm not using any of the wires in the motherboard connector (other than the jumper from the green wire to ground) and I clipped the end off a SATA connector to power the hot end fan.
-
03-30-2016, 11:19 AM #6Student
- Join Date
- Mar 2016
- Posts
- 7
Hmm interesting.
Take a look here: https://printrbot.dozuki.com/Answers...back+and+forth
Just make sure you disconnect power before moving any connections.Last edited by ThinkASecondTime; 03-30-2016 at 11:28 AM.
-
03-30-2016, 11:26 AM #7Technician
- Join Date
- Nov 2014
- Posts
- 73
OK, I just switched wires for the extruder motor and the Y axis motor and the problem moved to the Y axis while the extruder motor extruded properly. In other words it must be something wrong in the electronics board or the firmware. I am going to try and reinstall the firmware and see where that puts me.
EDIT: Reinstalling the firmware did nothing.Last edited by flatty_420; 03-30-2016 at 11:49 AM.
-
03-30-2016, 11:33 AM #8Staff Engineer
- Join Date
- May 2014
- Location
- Highlands Ranch, Colorado USA
- Posts
- 1,437

what electronics does this have? Can you swap around the motor drivers or are they fixed? EDIT: review of earlier pictures suggests you should be able to swap around the motor driver boards to see if the problem is the driver board. Originally Posted by flatty_420
You're not trying to spin the motor too fast, are you? Are you commanding the move from the LCD, or from host software?Last edited by printbus; 03-30-2016 at 11:49 AM.
-
03-30-2016, 12:23 PM #9Technician
- Join Date
- Nov 2014
- Posts
- 73
I will try switching the stepper drivers and see what that does. I have not adjusted anything other than the eSTEPS... I'm using stock Marlin 1.0.2 as per the build instructions. For testing, I am commanding it using Pronterface although the problem was there when I was trying to print a test cube from an SD card as well (that was before I installed Pronterface). I do not know how to control the extruder from the LCD. Originally Posted by printbus
-
03-30-2016, 12:50 PM #10Student
- Join Date
- Mar 2016
- Posts
- 7
To control the extruder from the LCD:
Prepare -> Move Axis -> Extruder -> 1mm -> Turn knob slowly counter clockwise to feed.
I also read in the Makerfarm troubleshooting PDF that Marlin disables the extruder stepper if the hotend is less than 175C. I have not actually tested that.
I had the same piece of paper saying to change my esteps in the firmware to 102.3, but I actually did the estep test shown here:
My estep calculation came out to actually 105.6. I think I will run the test again.
It may not be providing enough amps to the motor. You will have to see how to adjust the current. I guess it has to do with that potentiometer. Originally Posted by flatty_420

 Reply With Quote


Please explain to me how to...
Yesterday, 12:15 PM in 3D Printer Parts, Filament & Materials