


Results 41 to 50 of 125
Thread: 10" Pegasus Build
Hybrid View


-
03-26-2016, 01:59 PM #1Technician

- Join Date
- Nov 2014
- Posts
- 73
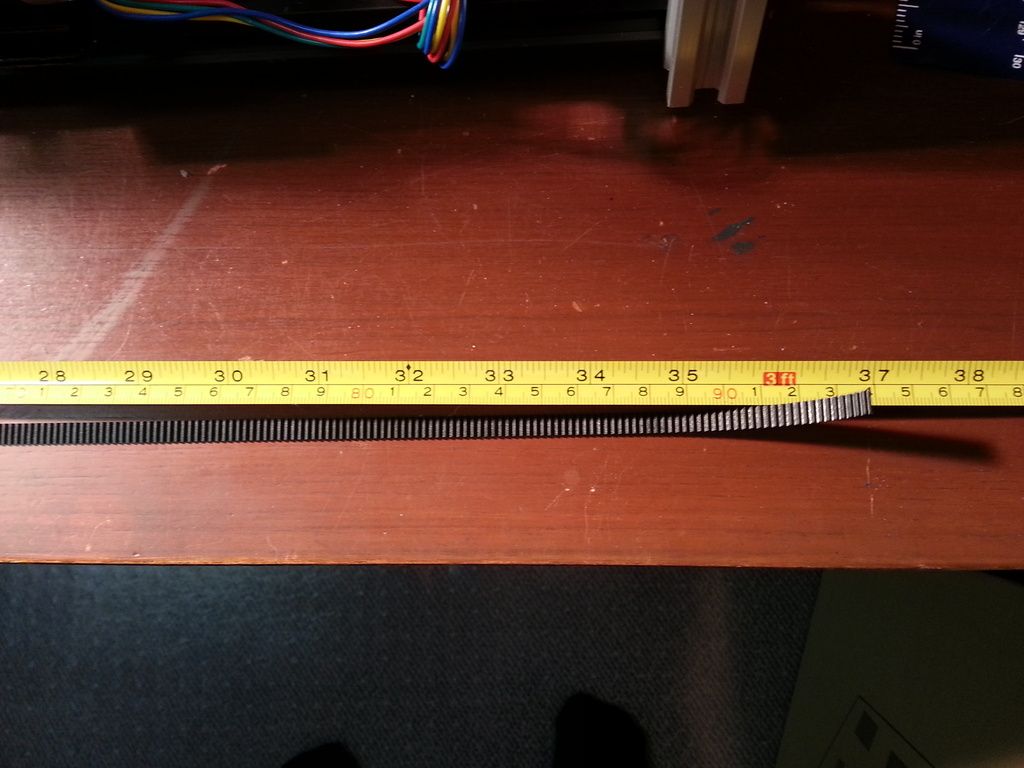
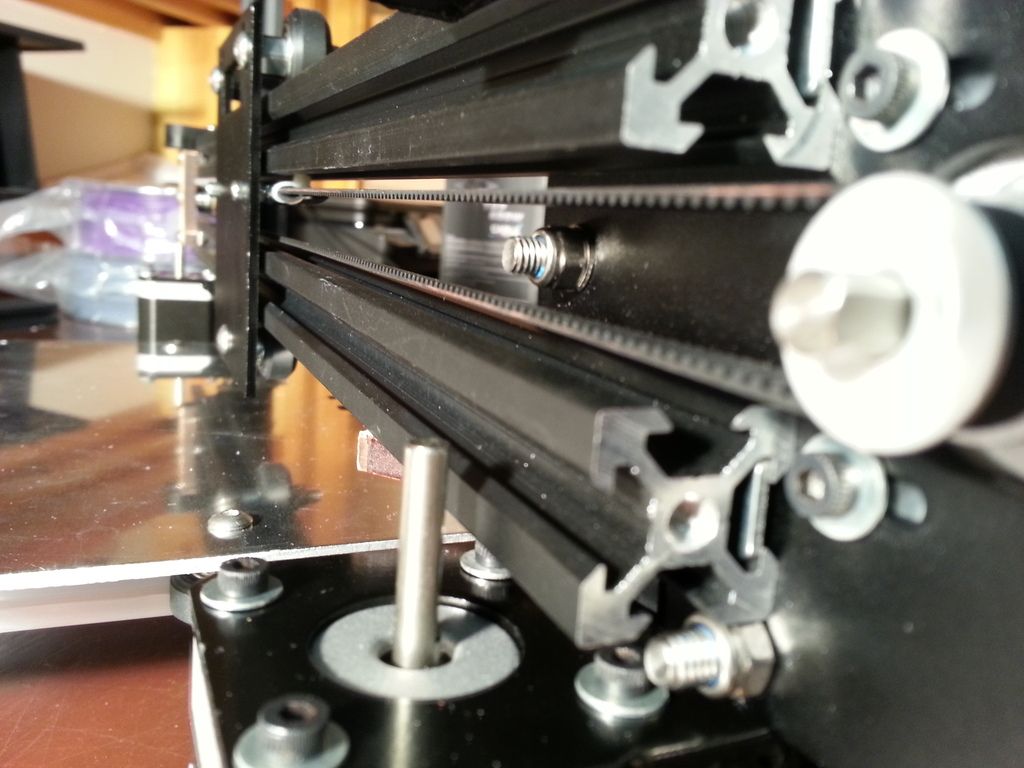
Next I cut and installed the Y belt
-
03-26-2016, 01:41 PM #2Technician
- Join Date
- Nov 2014
- Posts
- 73
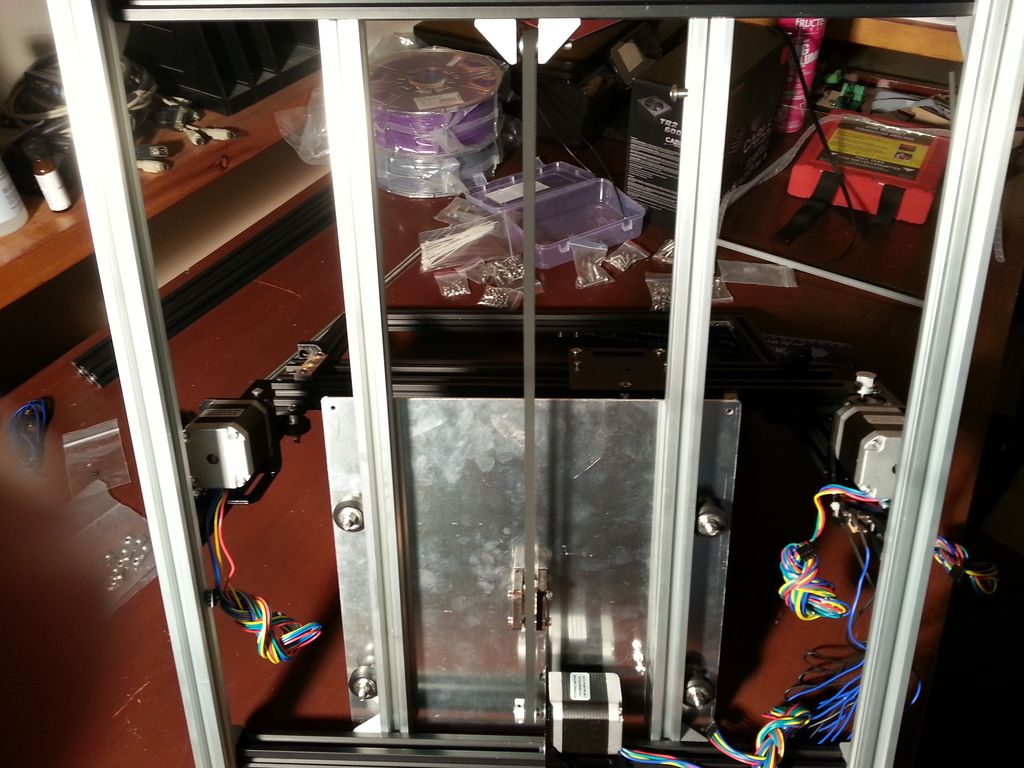
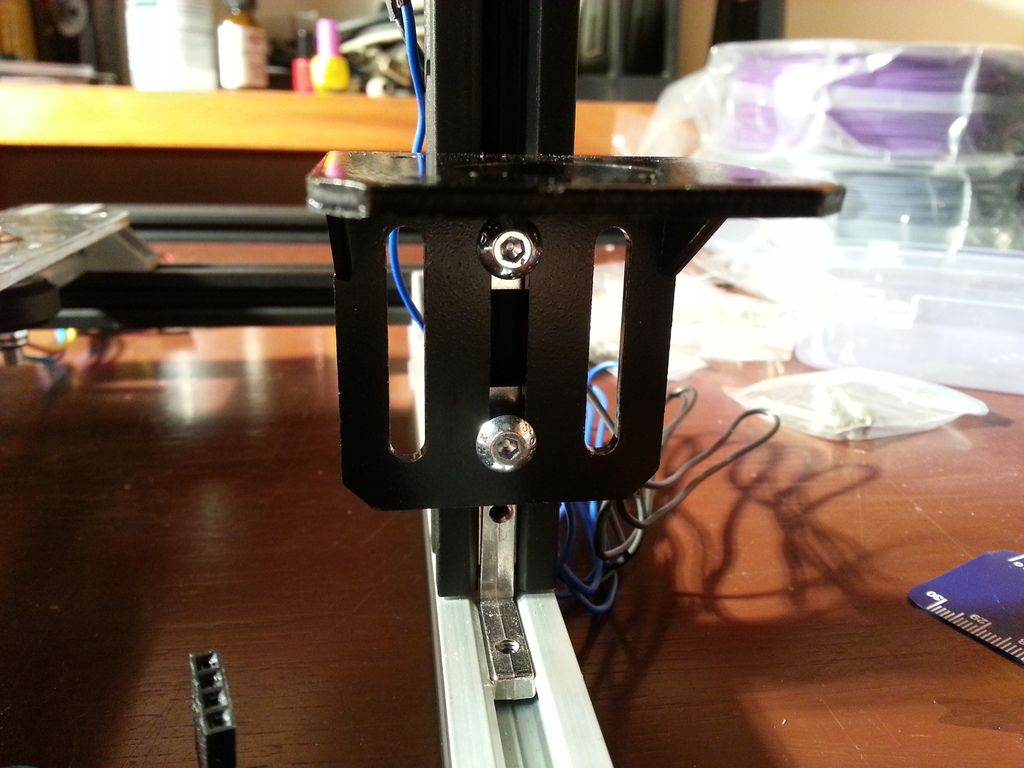
Got some more work done... next step is to align the vertical Z motor extrusions front/back.
The instructions say to move the Z motor brackets down as far as possible but when I did that, there wasn't enough room to slip the motors in from below so I moved them up just a bit; this also enabled the fasteners to be properly placed rather than being jammed together.
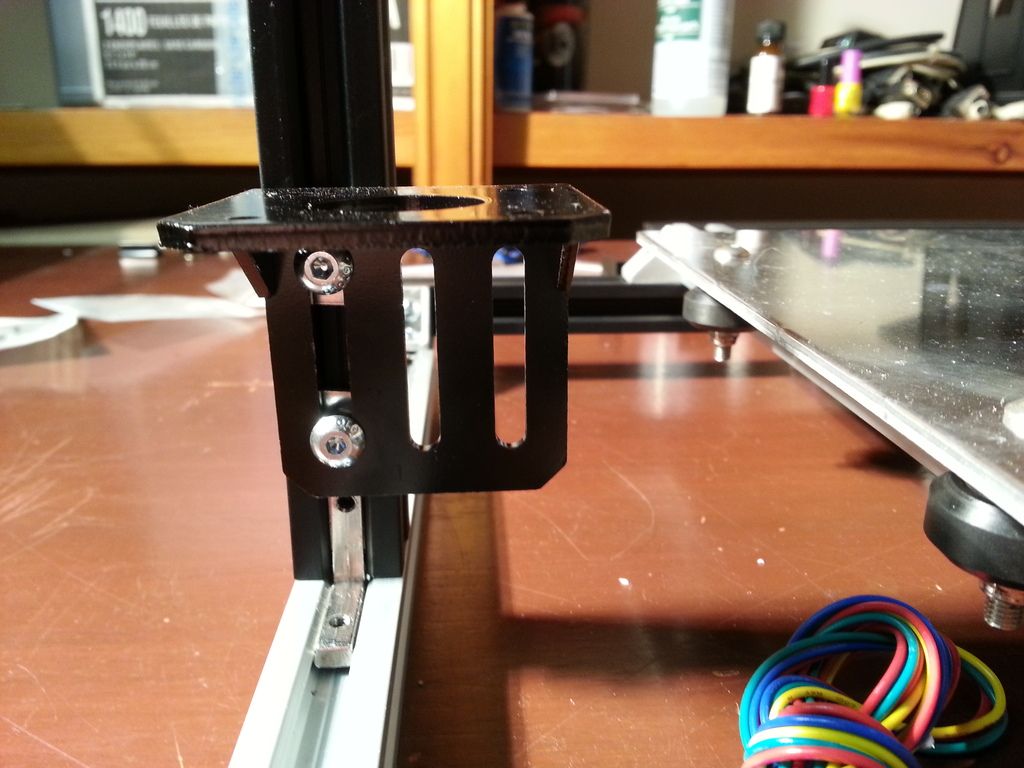
Using the X axis to eye up how things were lining up, I decided to move the right hand Z motor bracket over 1 slot so that the Z rod will line up better.
-
03-26-2016, 02:25 PM #3Technician
- Join Date
- Nov 2014
- Posts
- 73
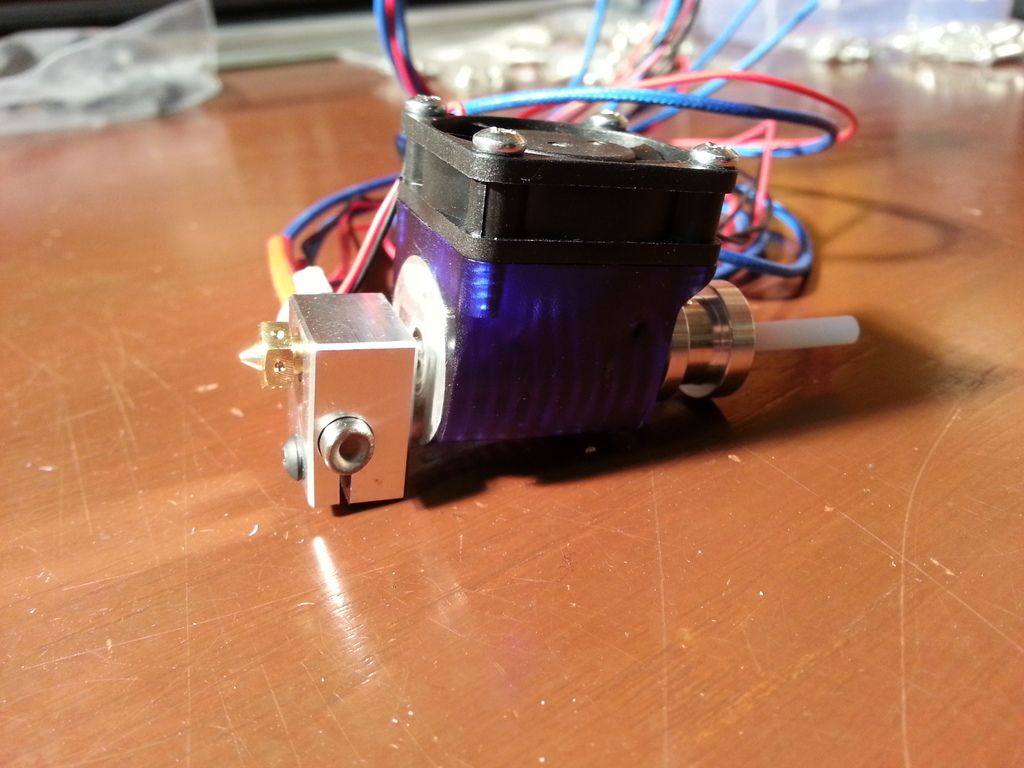
At some point while I was on pause, I assembled the e3d hot end... not sure why I didn't post it then but here it is. Parts:
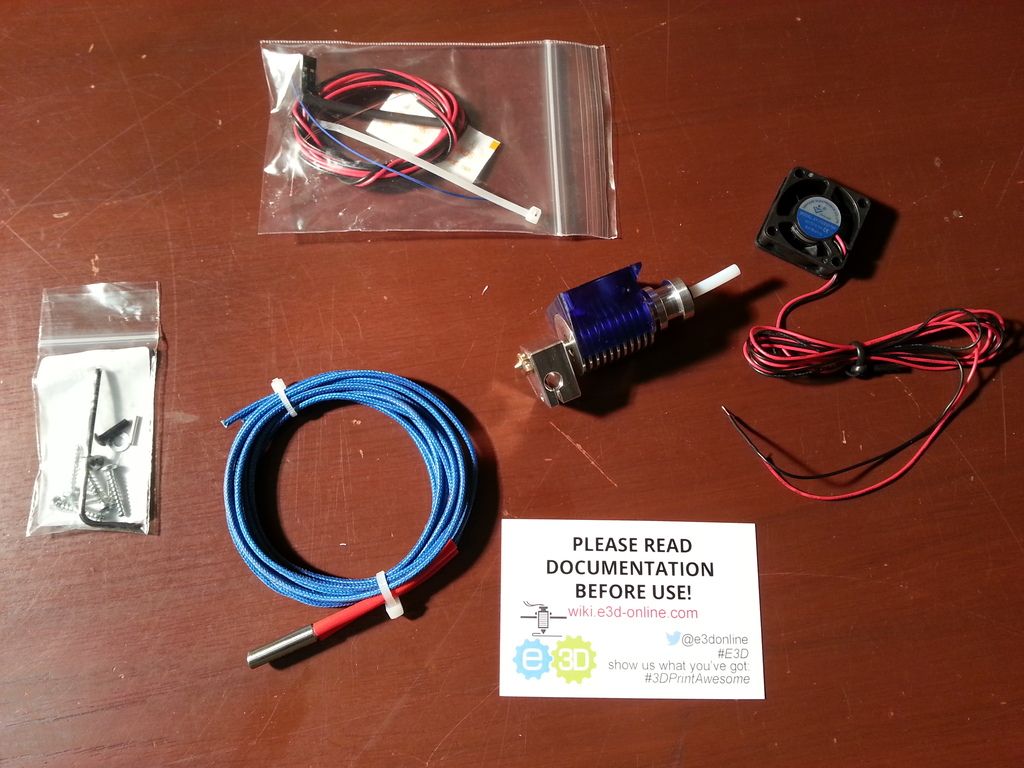
Pretty straightforward, although I thought I had to apply just a little too much force to secure the heater cartridge in the heater block but it's in and ready to go
-
03-26-2016, 03:20 PM #4Technician
- Join Date
- Nov 2014
- Posts
- 73
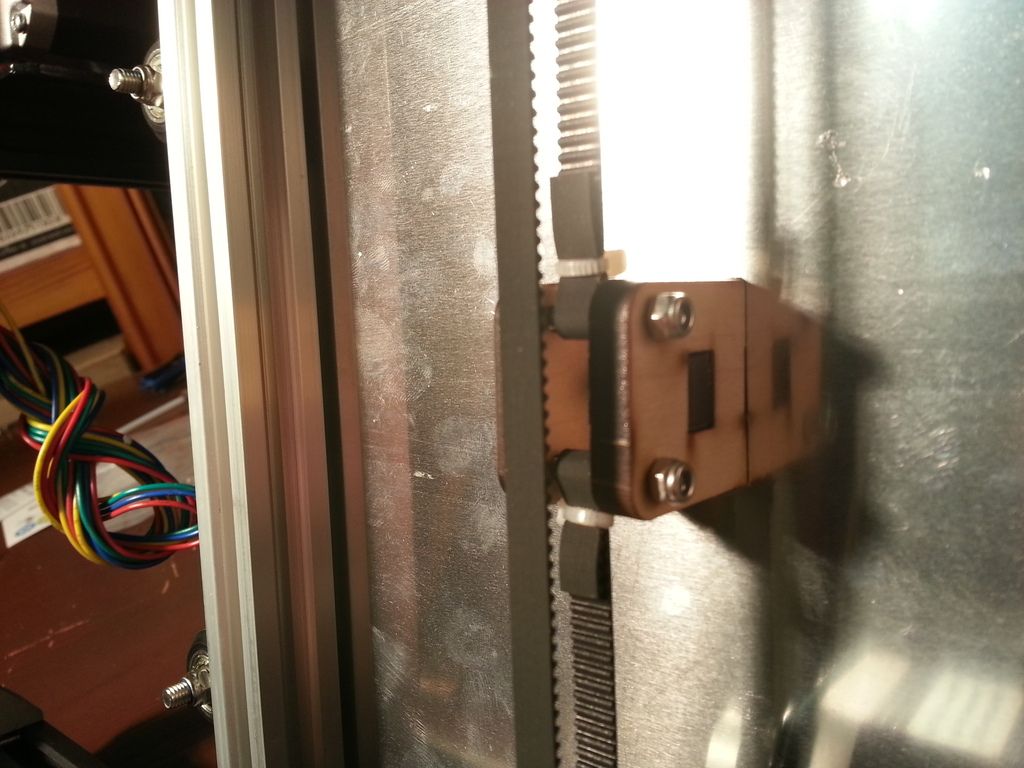
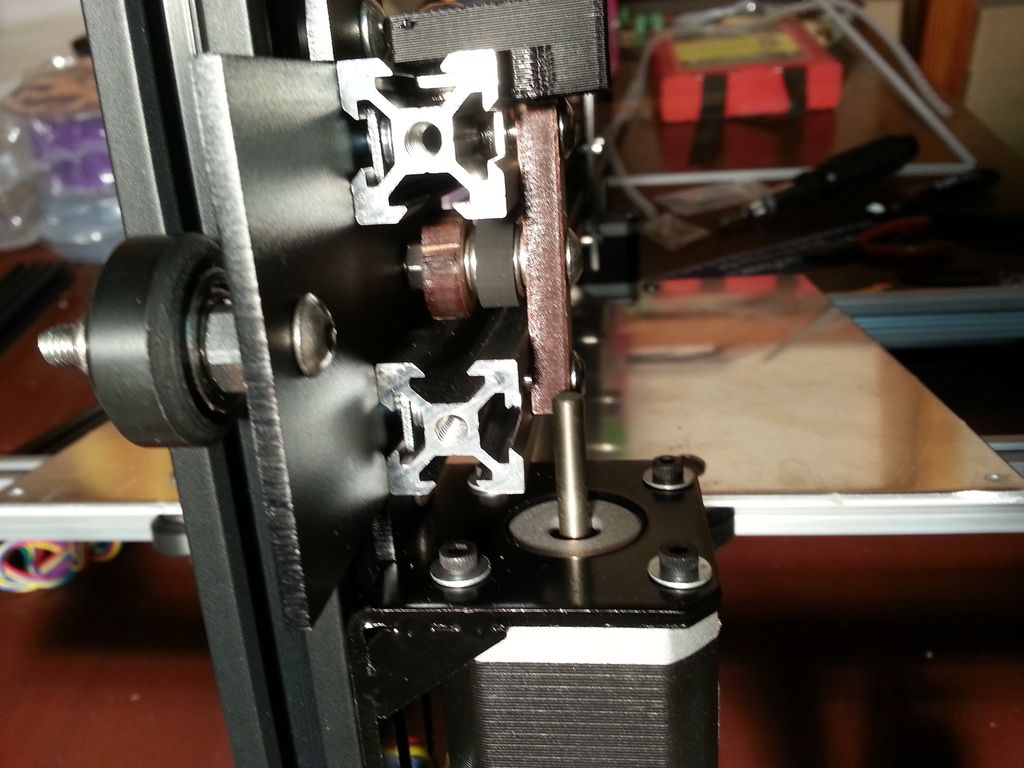
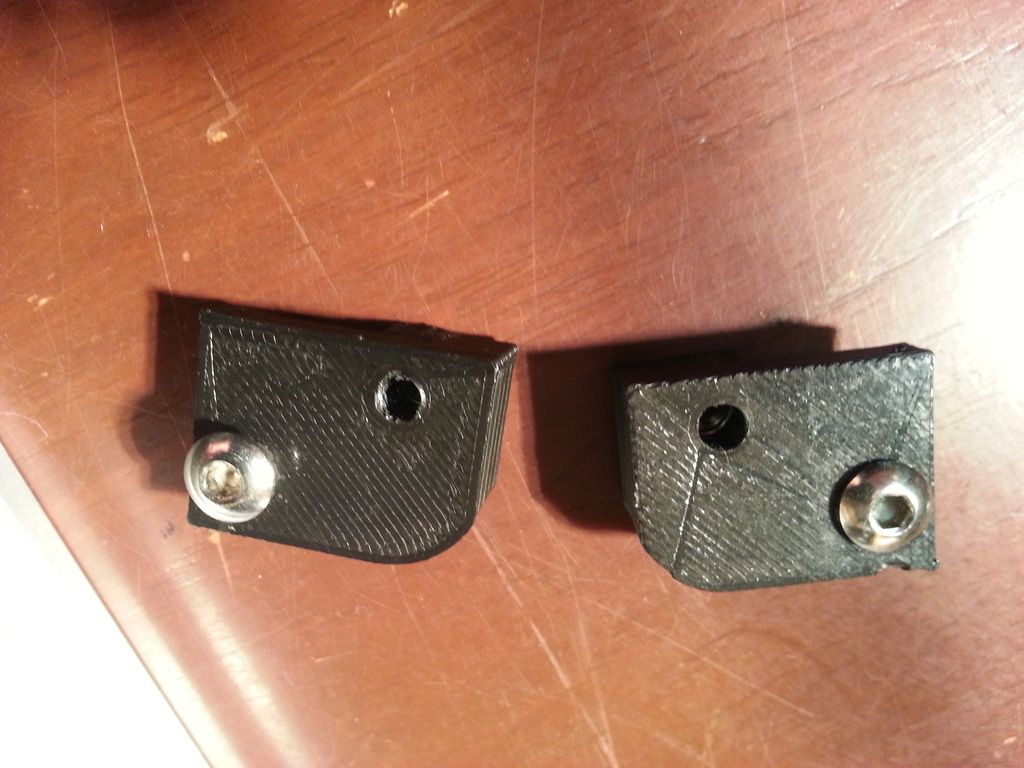
Next up was the X axis belt. I had some trouble getting the belt to run centred on the idler bearings and ended up putting a second nut as a spacer on the M3x16 bolts on the X carriage to centre the belt (as seen below):
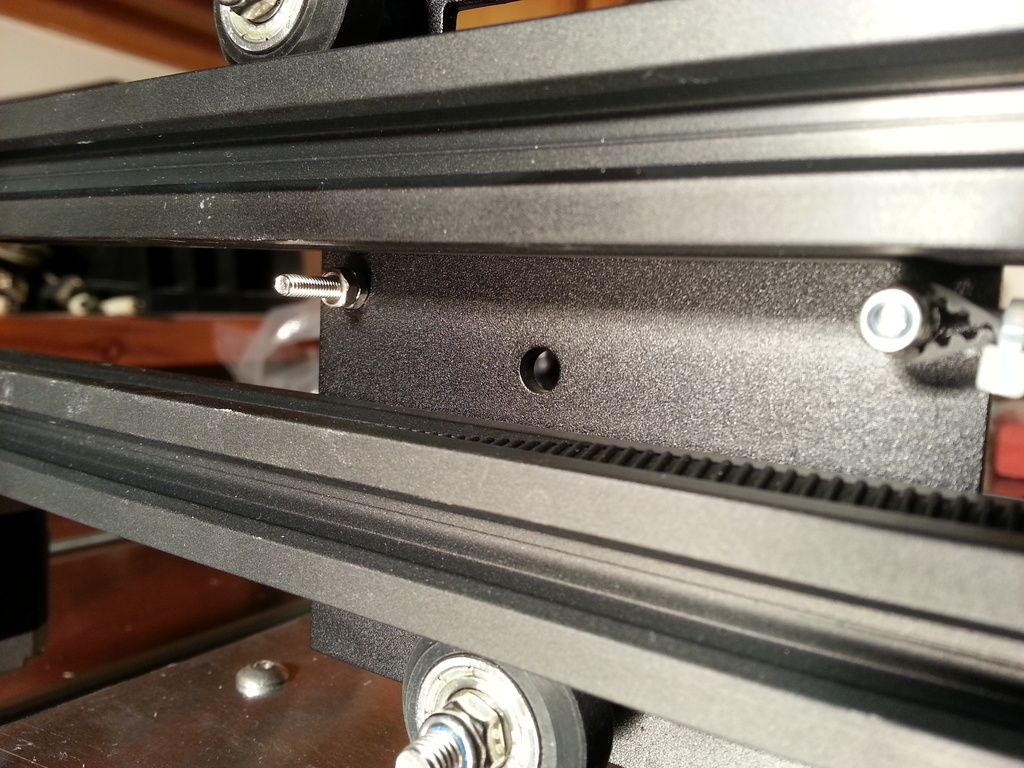
And the finished product looks like this
Notice the belt running nice and centred on the idler bearings....
-
03-26-2016, 03:28 PM #5Technician
- Join Date
- Nov 2014
- Posts
- 73
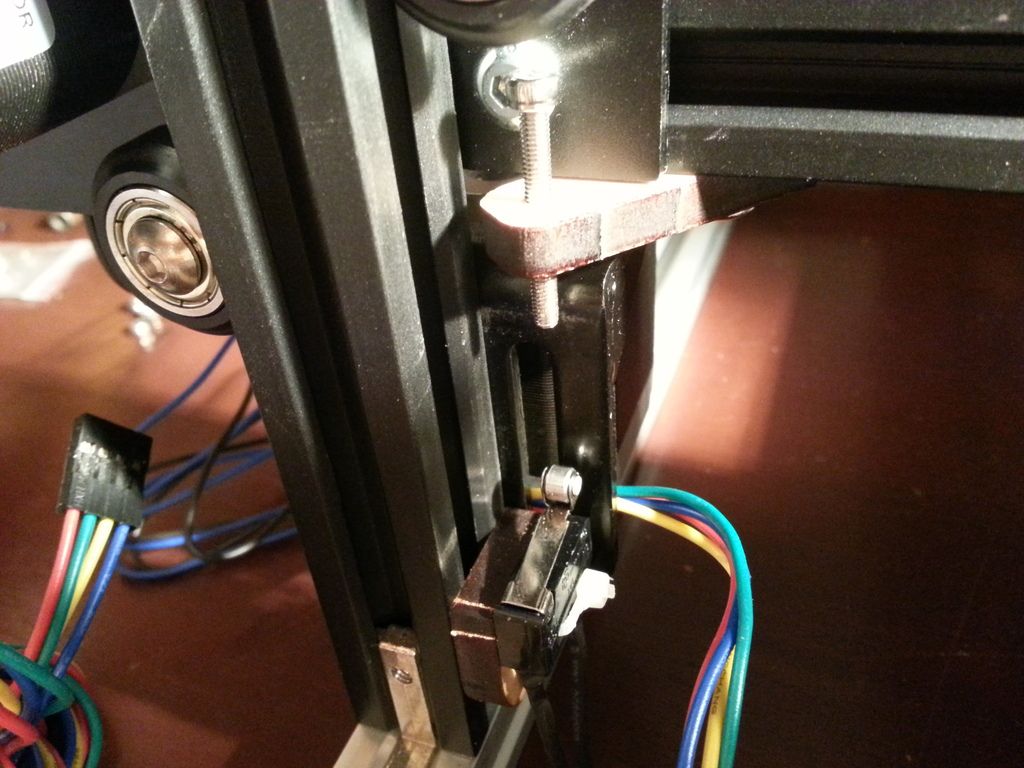
In the meantime, I thought I would install the endstops as so... X axis:
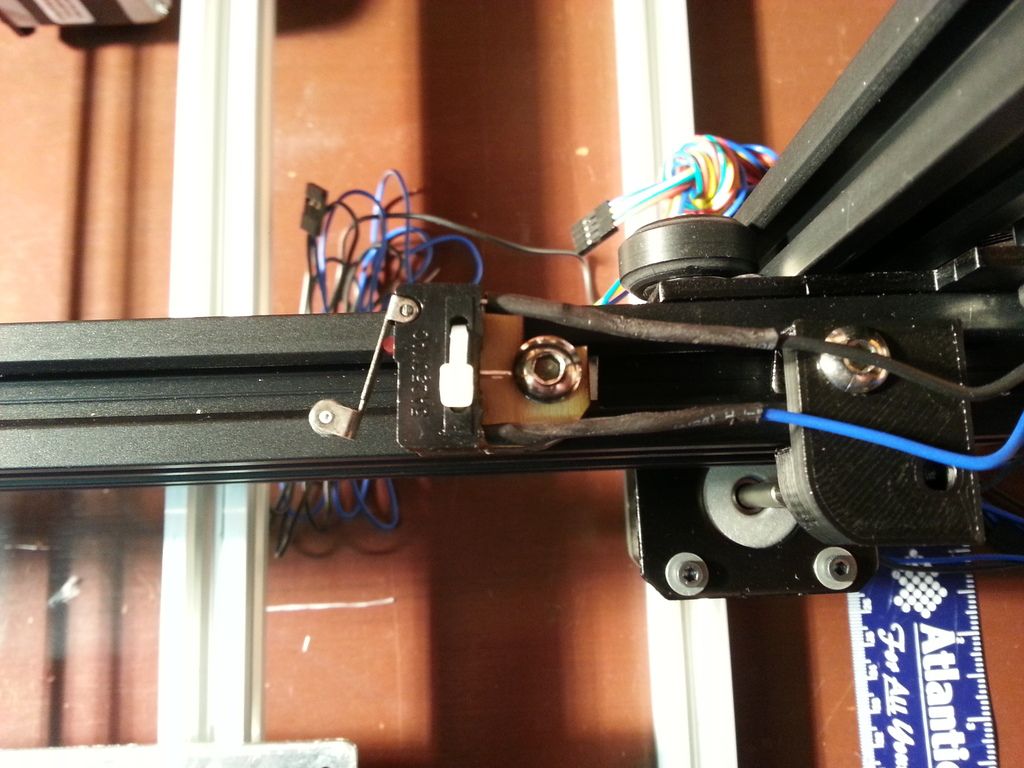
Y axis

Z axis
-
03-26-2016, 03:32 PM #6Technician
- Join Date
- Nov 2014
- Posts
- 73
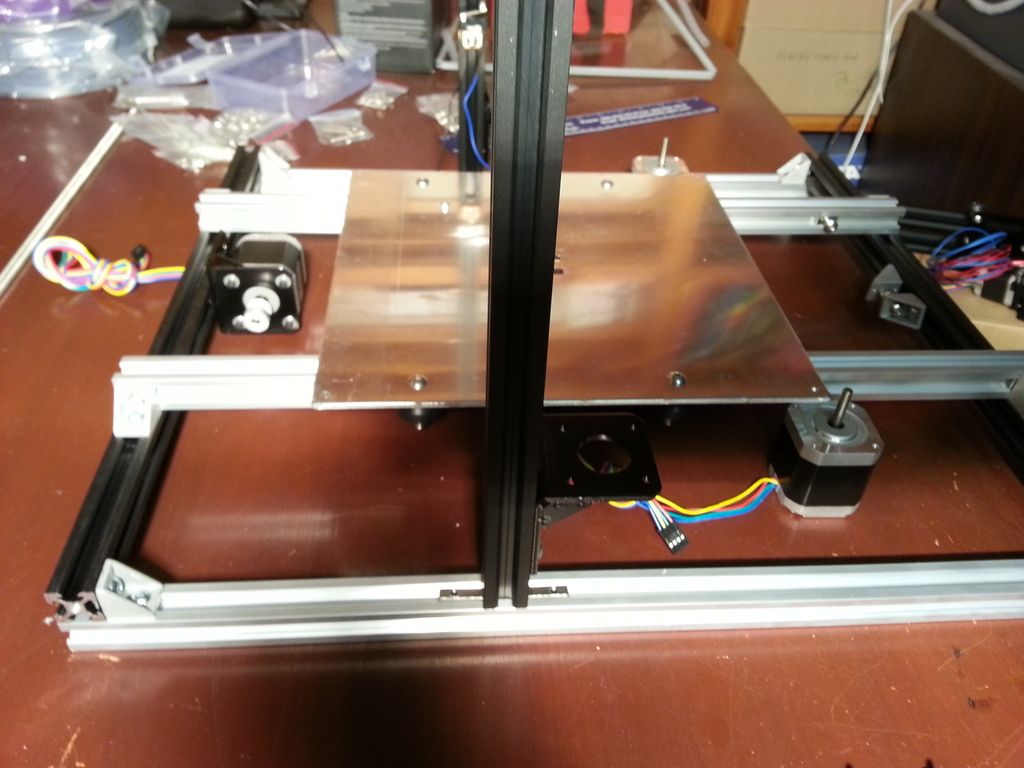
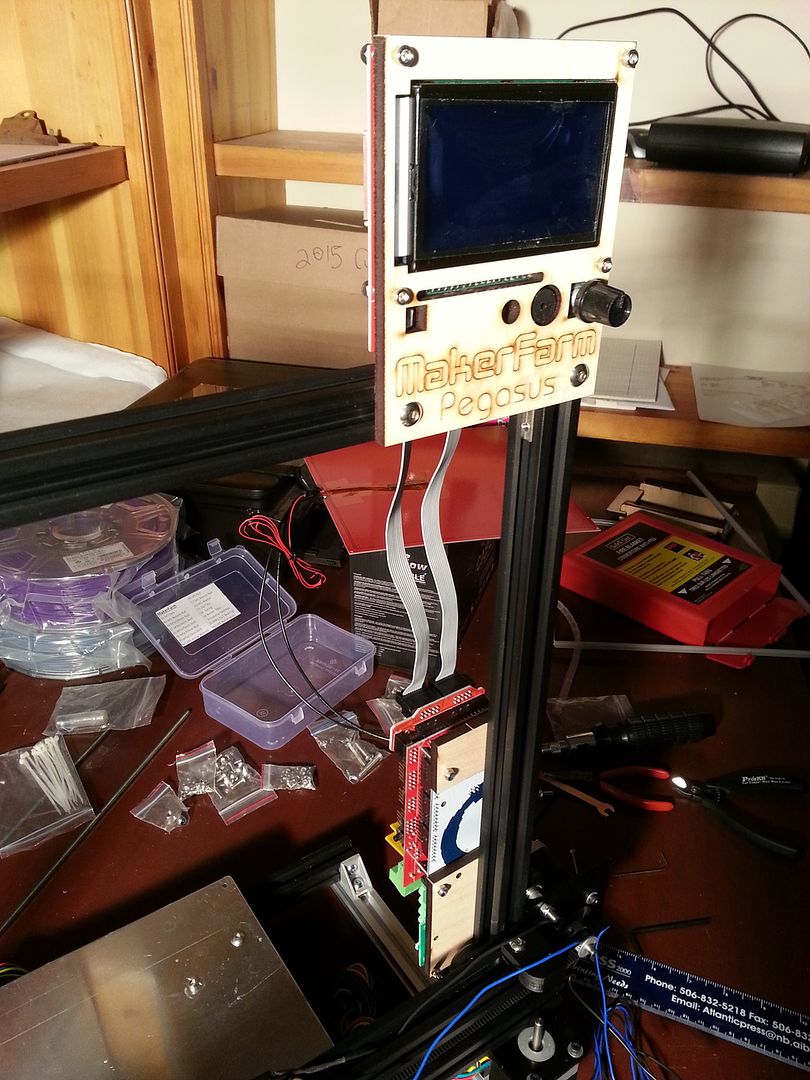
Electronics were next on the list and this is what they look like installed:
I was going to install the Z rods but once I started I realized how tight the holes were in the supplied Z nut trap... it was very difficult to install them. In fact, I didn't' install them. I'm taking them home to drill out the hole that the Z rods go through.
That's it for today. Chow for now.
-
03-26-2016, 03:26 PM #7Technician
- Join Date
- Nov 2014
- Posts
- 73
@Dustin B , you were right. Trying to get a nice cut job on that fire blanket is not really feasible with scissors.
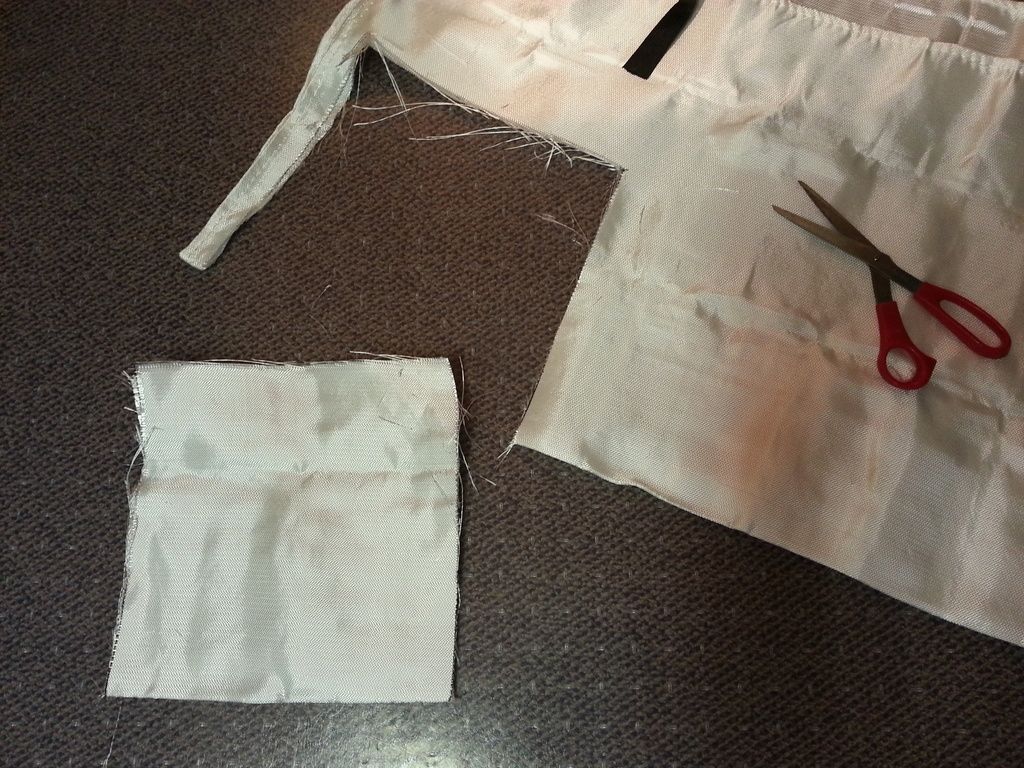
I was not happy with what I ended up with here so I am going to get a roller cutter like this to try:
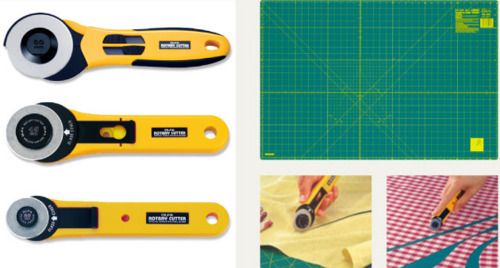
I will report back on how that works.
-
03-26-2016, 04:24 PM #8Technician
- Join Date
- Nov 2015
- Posts
- 73
That's what my wife tried. She ended up picking fiber glass out of the mat as it gets stuck in the cut the wheel makes in the mat. Cuts not to bad, but then it frays just like with the scissors if you breathe on it after it's cut.
-
03-27-2016, 03:49 PM #9Technician
- Join Date
- Nov 2014
- Posts
- 73
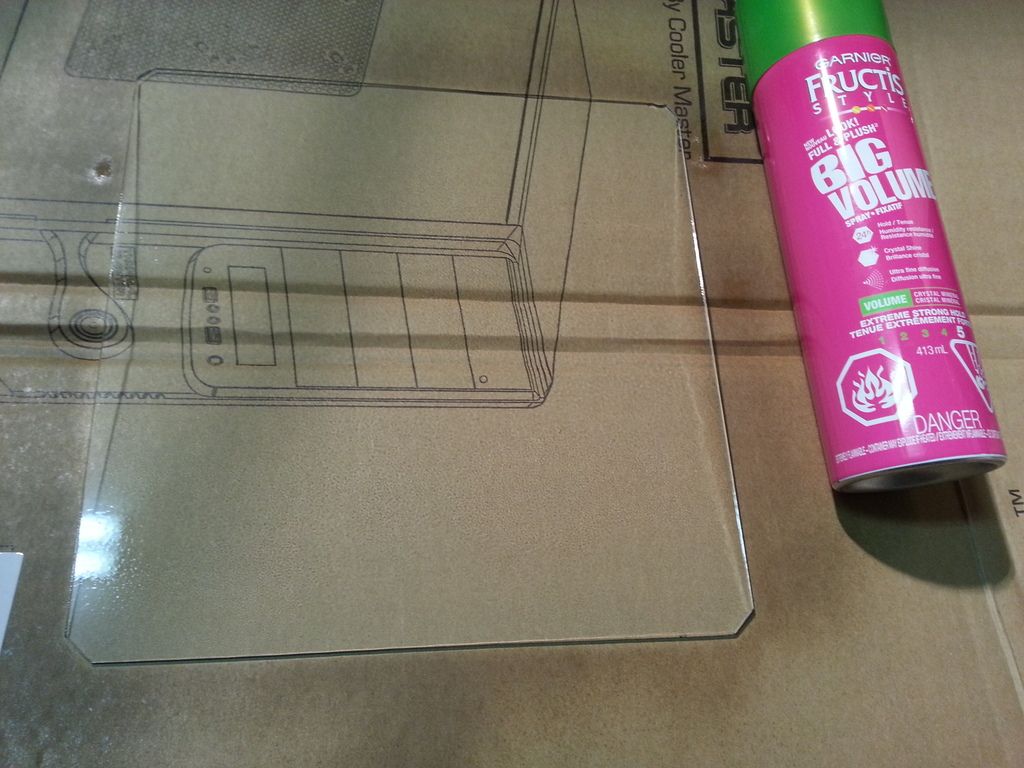
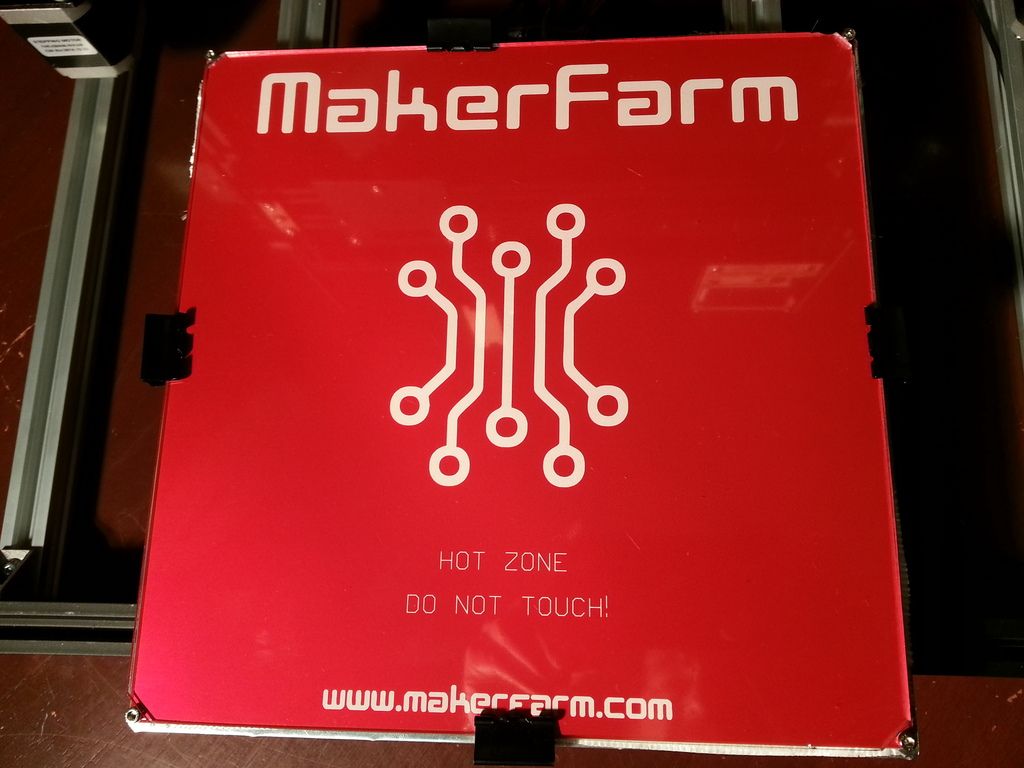
Next I placed the glass on the heat bed to see how much room the bolt heads needed and marked the glass and then broke the corners off.
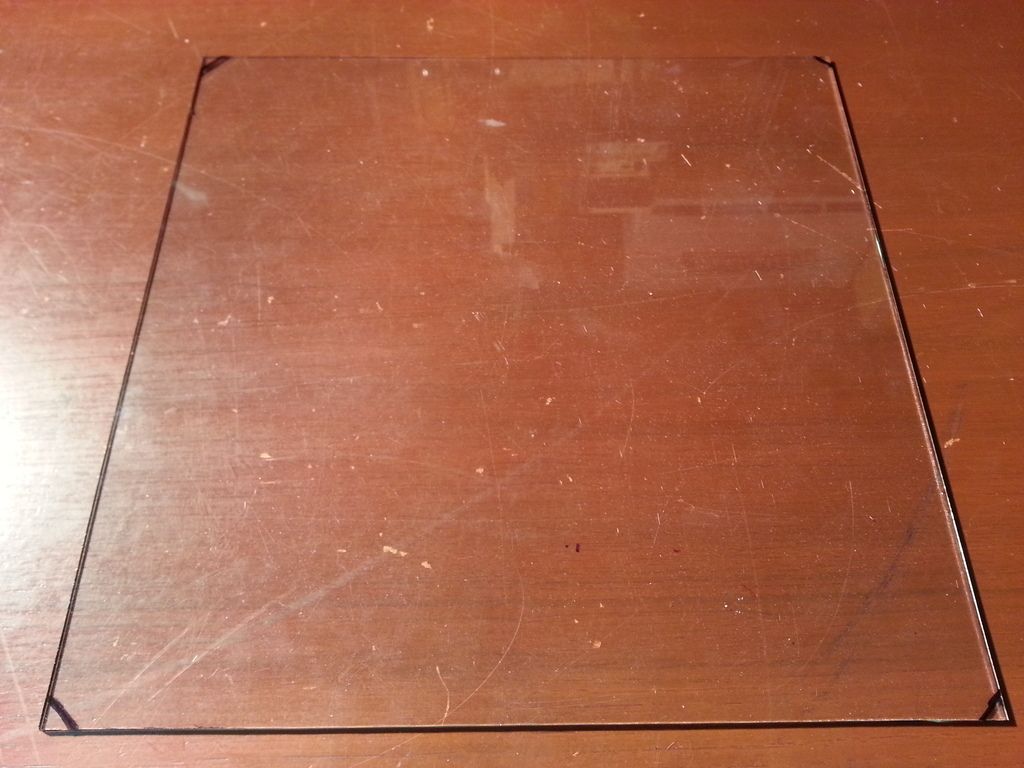
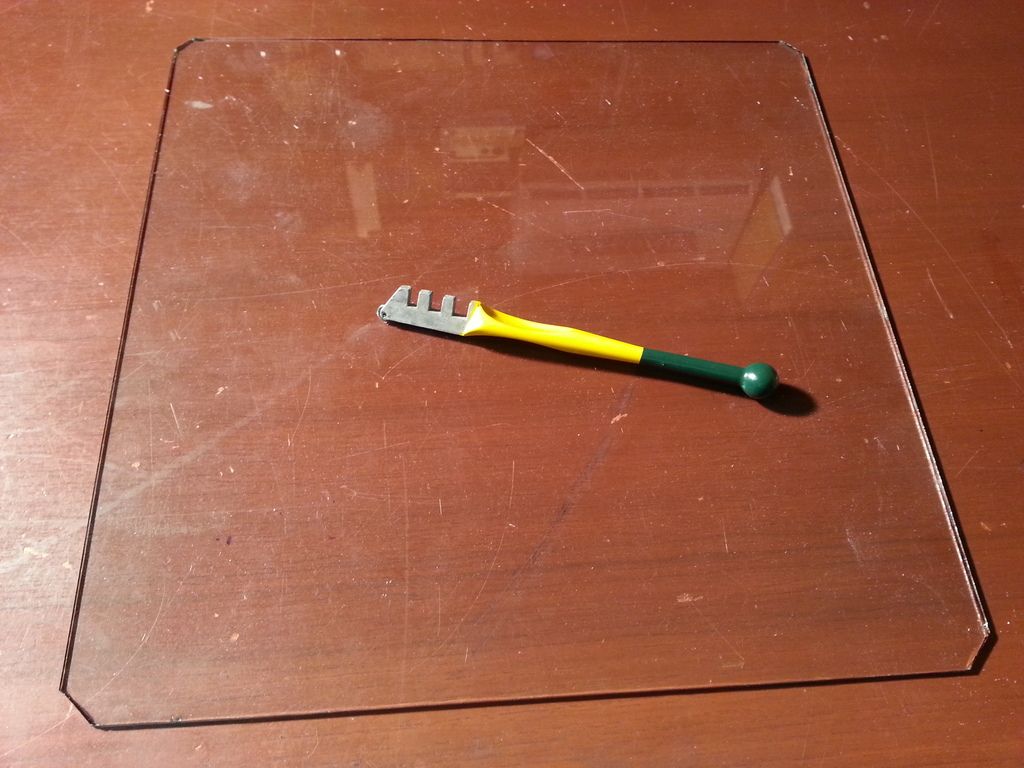
I then gave the edges a quick sand with sandpaper to smooth out any blood-letters and sprayed it with the hairspray.
-
03-27-2016, 03:51 PM #10Technician
- Join Date
- Nov 2014
- Posts
- 73
All mounted up
And here is a pic of the 6 layers of fire blanket
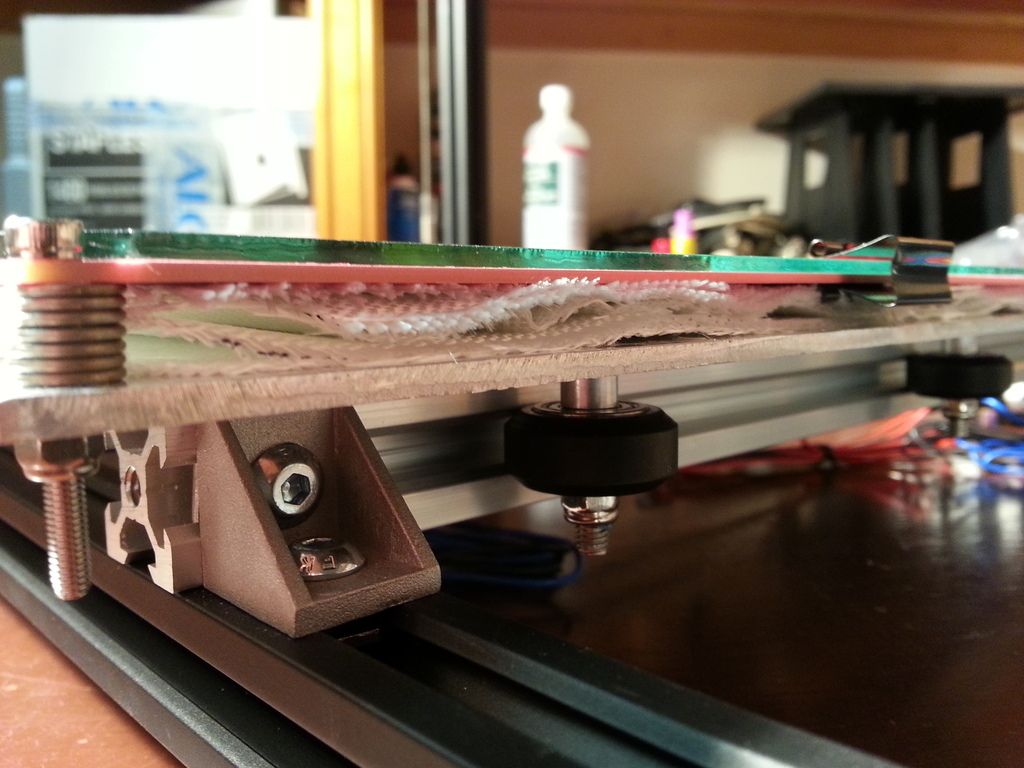
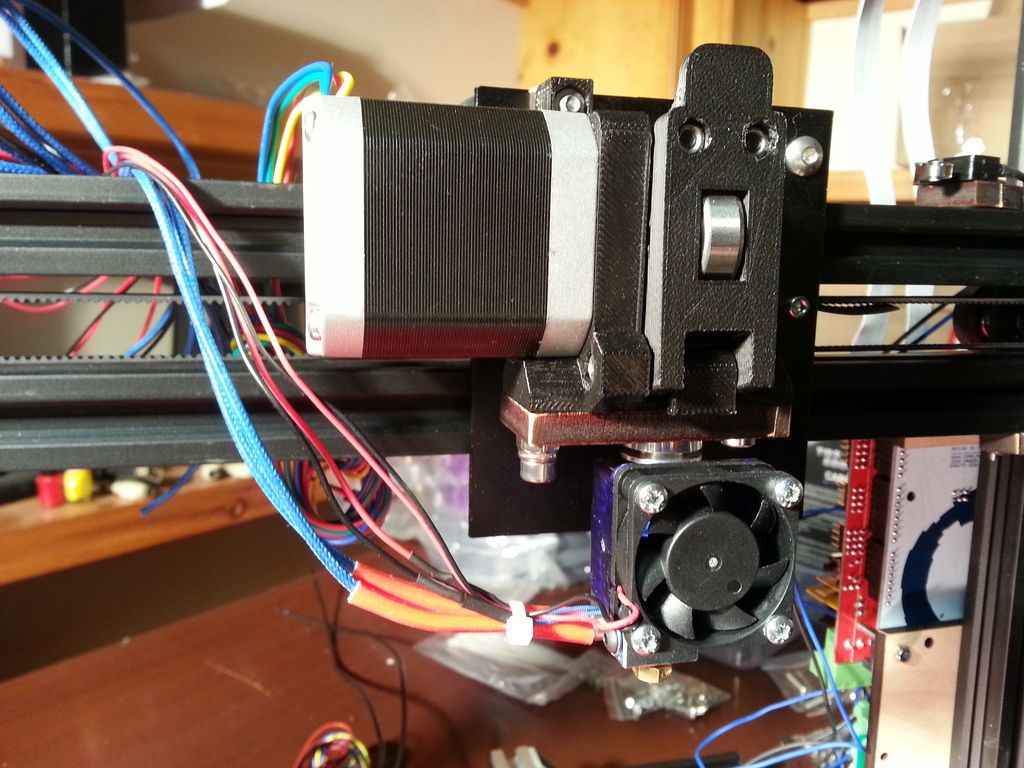
I also mounted up the extruder/hot end. I should have had this done earlier. I had to remove a wheel from the X carriage to get it on.


 Reply With Quote


Please explain to me how to...
05-13-2024, 03:08 PM in 3D Printer Parts, Filament & Materials