


Results 11 to 20 of 125
Thread: 10" Pegasus Build
Hybrid View


-
02-29-2016, 11:18 AM #1Student

- Join Date
- Jan 2016
- Posts
- 34
Im just ahead of ya
 Got mine 2 weeks ago, had a smashed finger so I waited for it to heal up enough to not hurt every time I moved it. Been working on mine since Friday morning, doing a little bit then taking a break. Had a 4 day weekend.
Got the bed leveled dismorning. Had a few small issues that Colin was quick to reply on so I should be printing in a few days.

Once I get a small desk for it its going into my closet and I will be enclosing/filtering it later so I can do ABS.
-
03-01-2016, 08:08 AM #2Technician
- Join Date
- Nov 2014
- Posts
- 73
 Originally Posted by Donziboy2

Your build looks good. The table looks like the inside of my head.
-
03-01-2016, 08:20 AM #3Technician
- Join Date
- Nov 2014
- Posts
- 73
Next comes the X Idler assembly and here are the parts required:
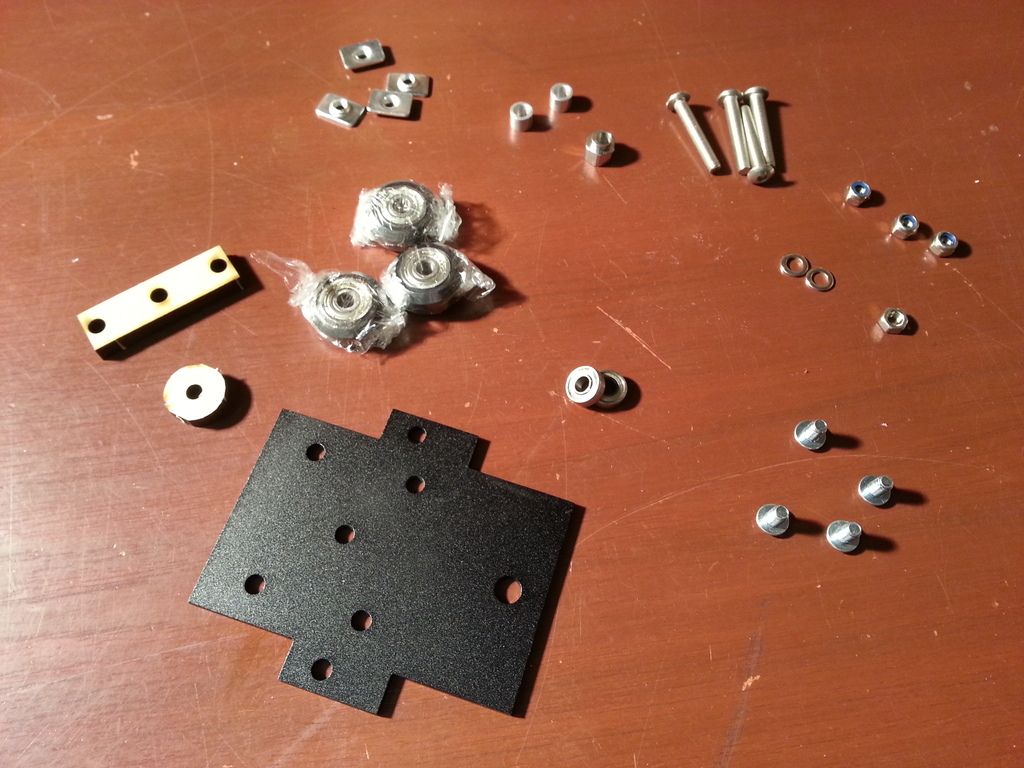
And the finished products:
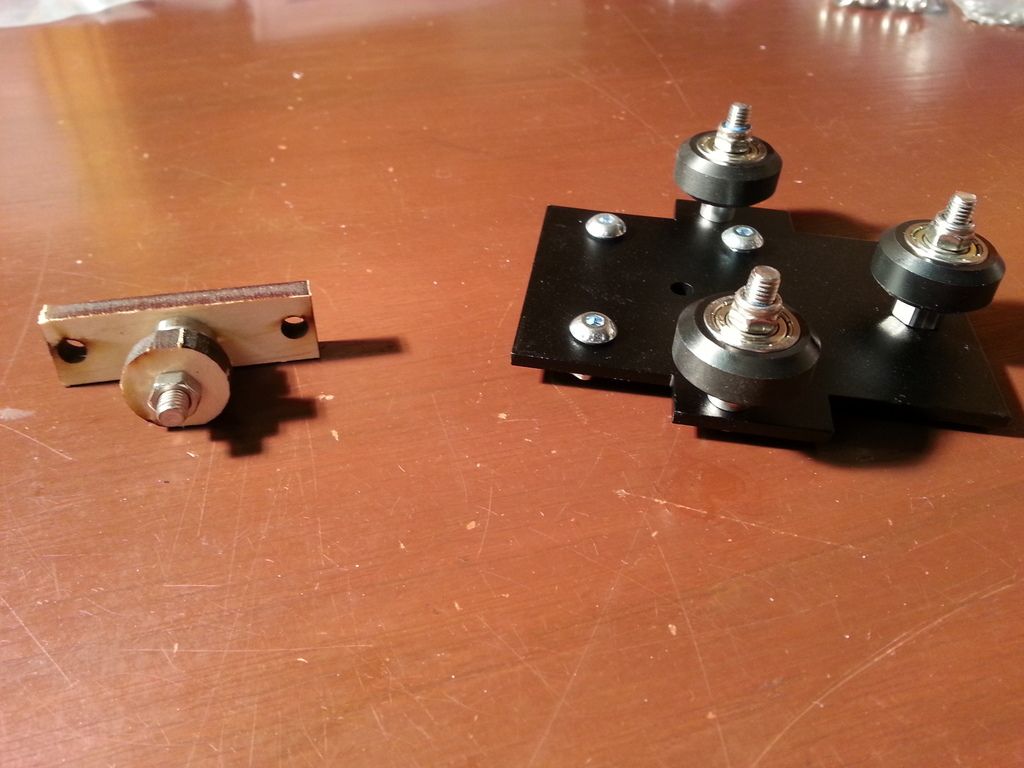
Not much to comment on with these parts... everything is well laid out and goes together easily.
-
03-01-2016, 08:17 AM #4Technician
- Join Date
- Nov 2014
- Posts
- 73
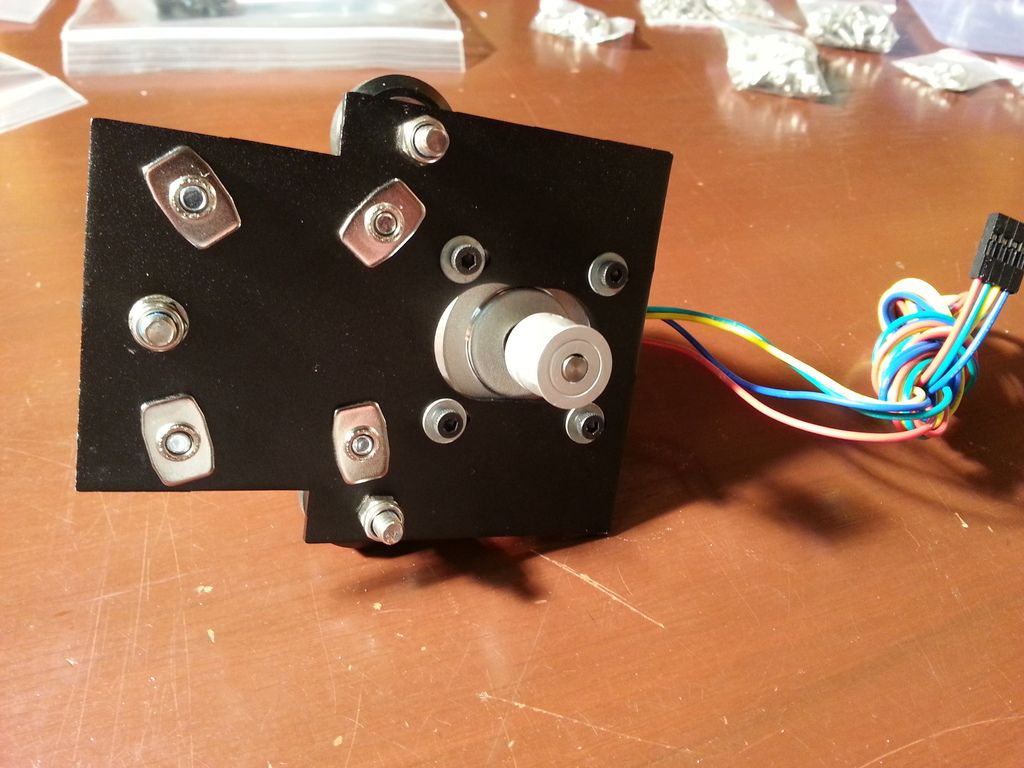
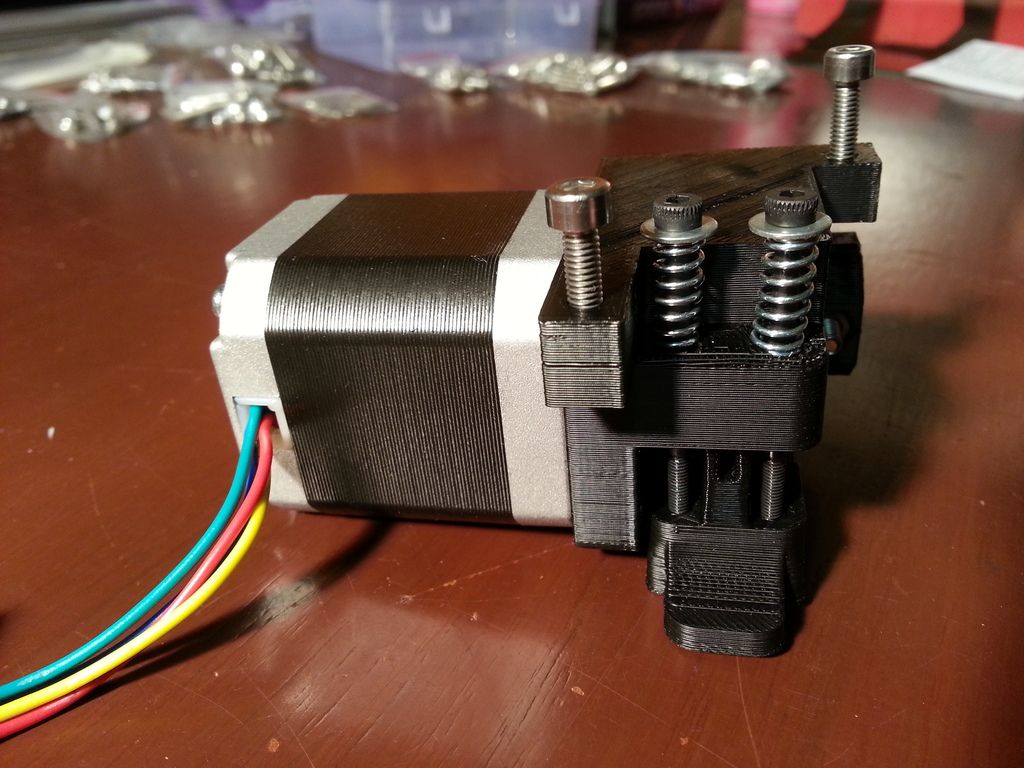
OK, moving onto the motor mounts and other stuff... Here are the parts required for the Metal X Motor assembly:
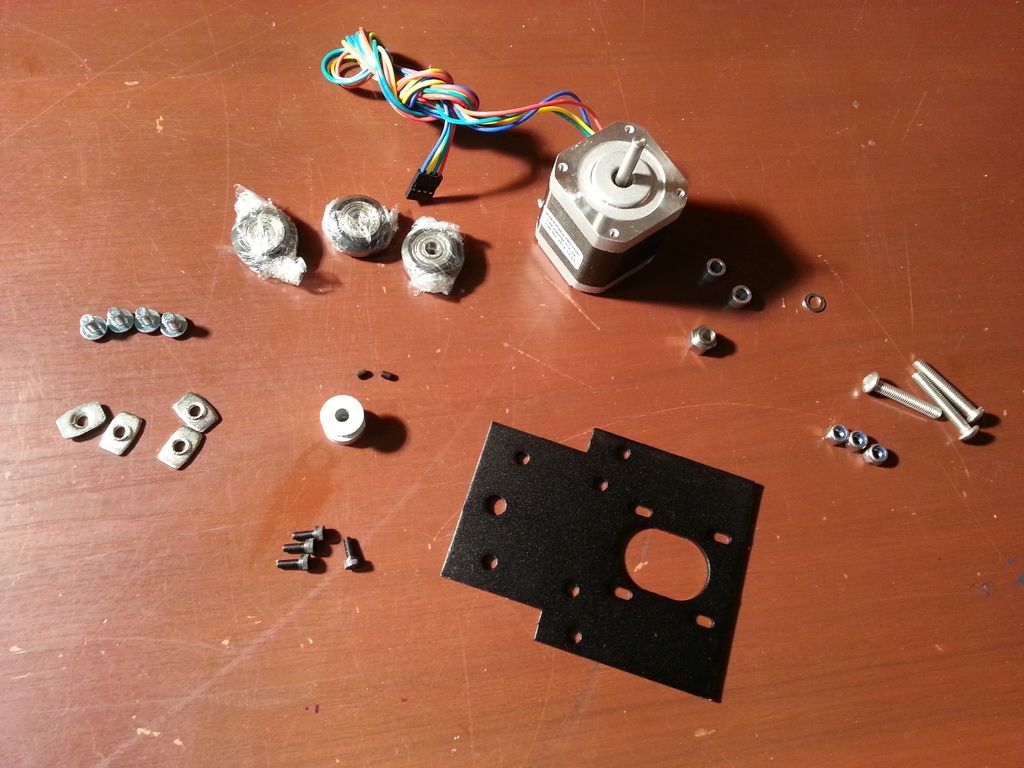
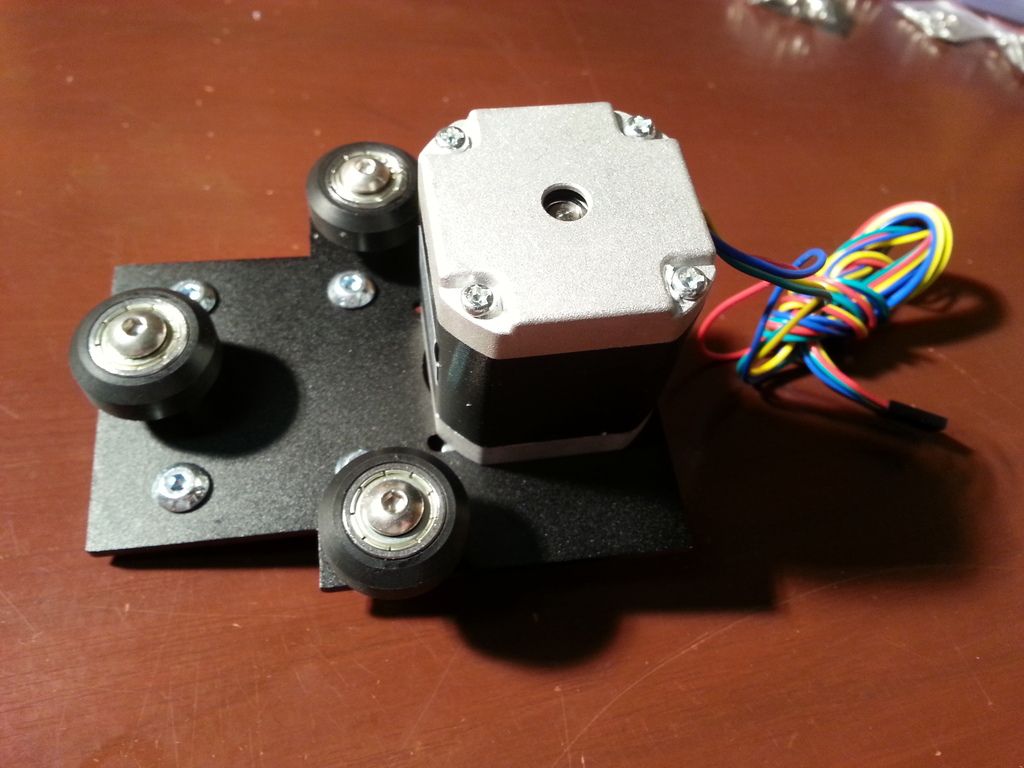
And this is what it looks like when assembled:
-
03-01-2016, 02:31 PM #5Technician
- Join Date
- Nov 2014
- Posts
- 73
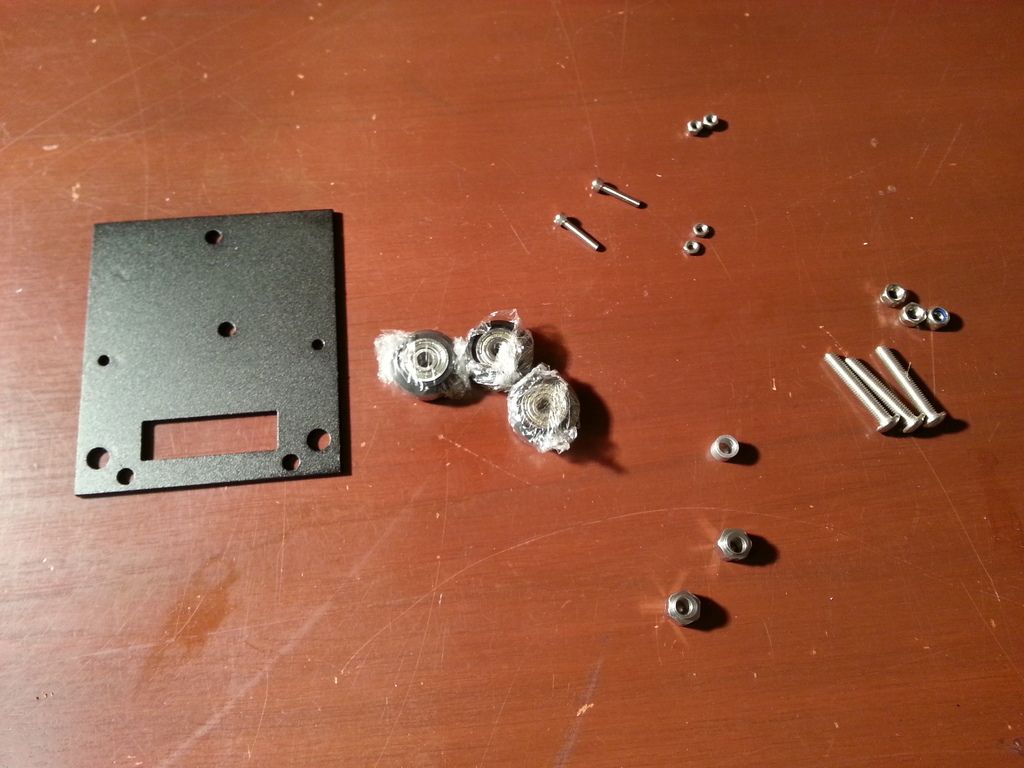
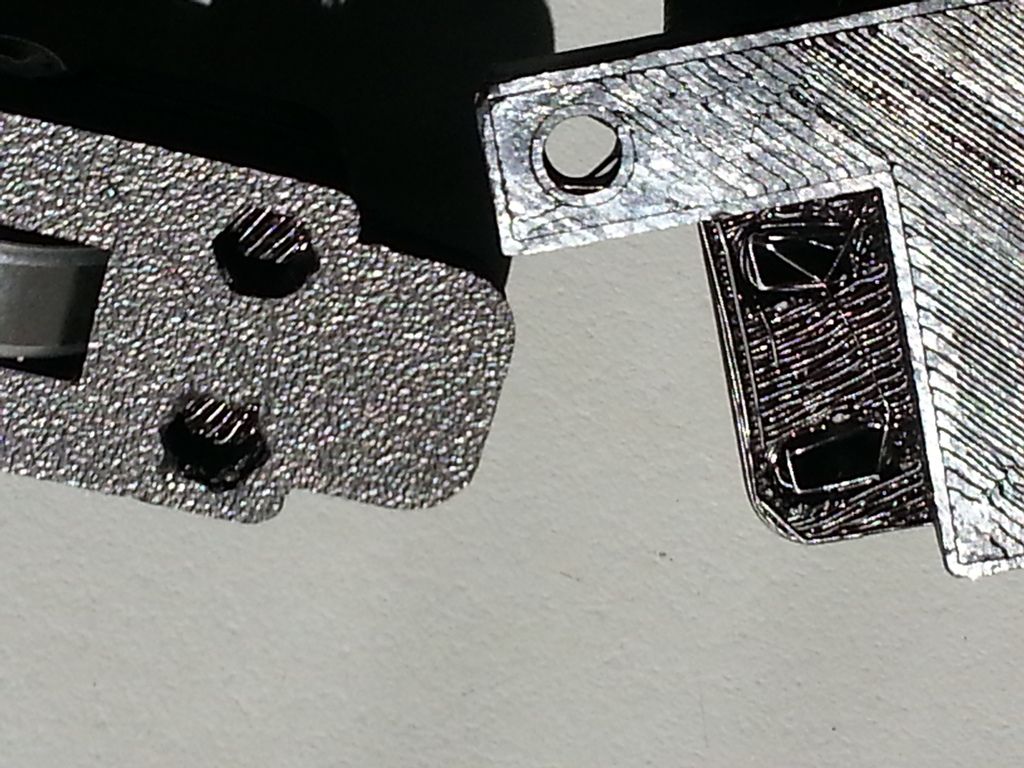
Up next is the metal X carriage and the parts required are shown here:
And the assembled unit looks like this:
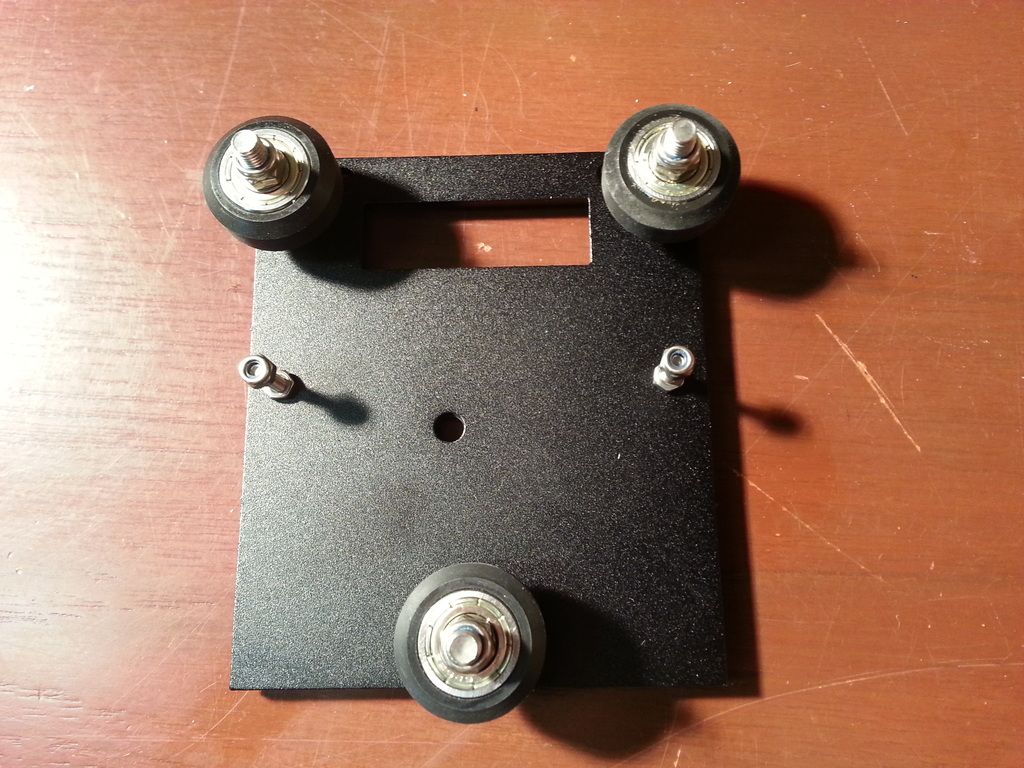
I'm really enjoying this build so far... I love kits like this. It's fun seeing a bunch of parts laying on a table start forming into something useful!
-
03-01-2016, 04:18 PM #6Student

- Join Date
- Jan 2016
- Location
- Ocean County NJ
- Posts
- 19
I am curious as to how you guys hook the printer up the to atx power supply. Are you cutting off molex adapters? Or wiring molex's to your printer? I am gonna order myself another printer maybe today, just might be this one too. The only part I am not sure on is the power supply, as in trusting a ebay or attempting to make a atx that I trust work with the printer.
-
03-02-2016, 06:30 AM #7Technician
- Join Date
- Nov 2014
- Posts
- 73
I haven't gotten that far yet, but I'll likely be cutting/soldering/heatshrinking the connections. You are having the same thoughts I did with regards to the power supply. I've seen some of the shit that gets passed off as good items on ebay. At least with the Thermaltake ATX that I am using, I know exactly what I have. Originally Posted by Adamseye
-
03-02-2016, 04:56 AM #8Student
- Join Date
- Jan 2016
- Posts
- 34
Im using adapters.
-
03-02-2016, 03:41 PM #9Technician
- Join Date
- Nov 2014
- Posts
- 73
Moving on to the extruder assembly next; here are all the parts required
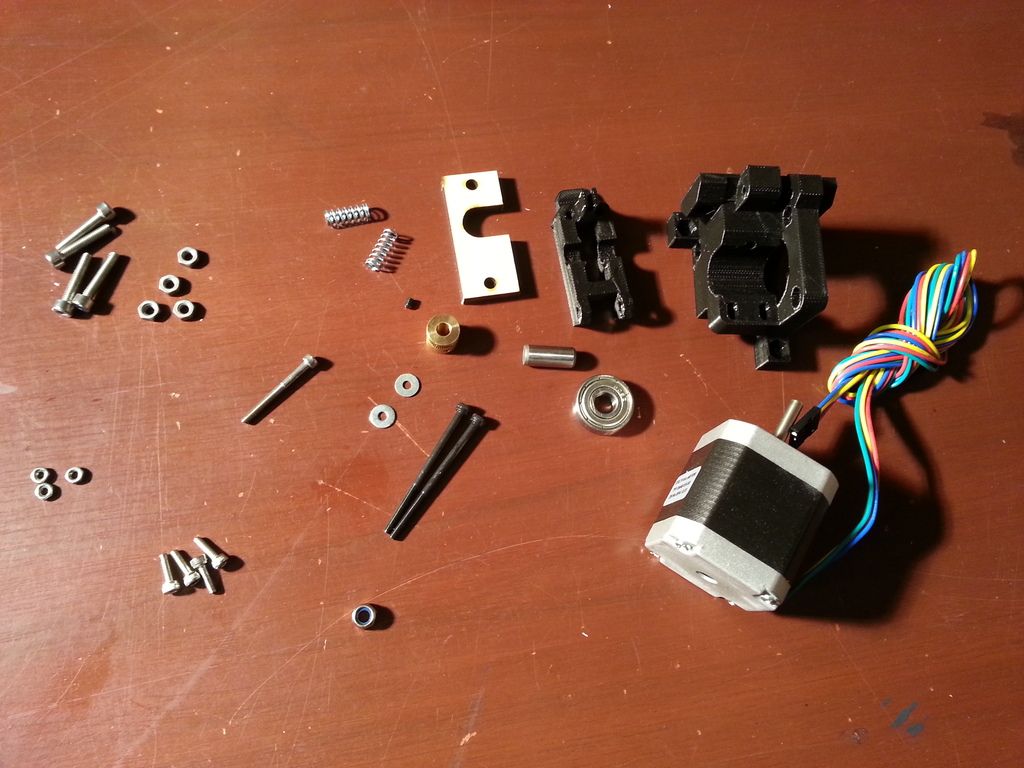
Some of the holes in the printed parts had debris in them which required a little cleaning out but the stringers came out easily
And the finished product!
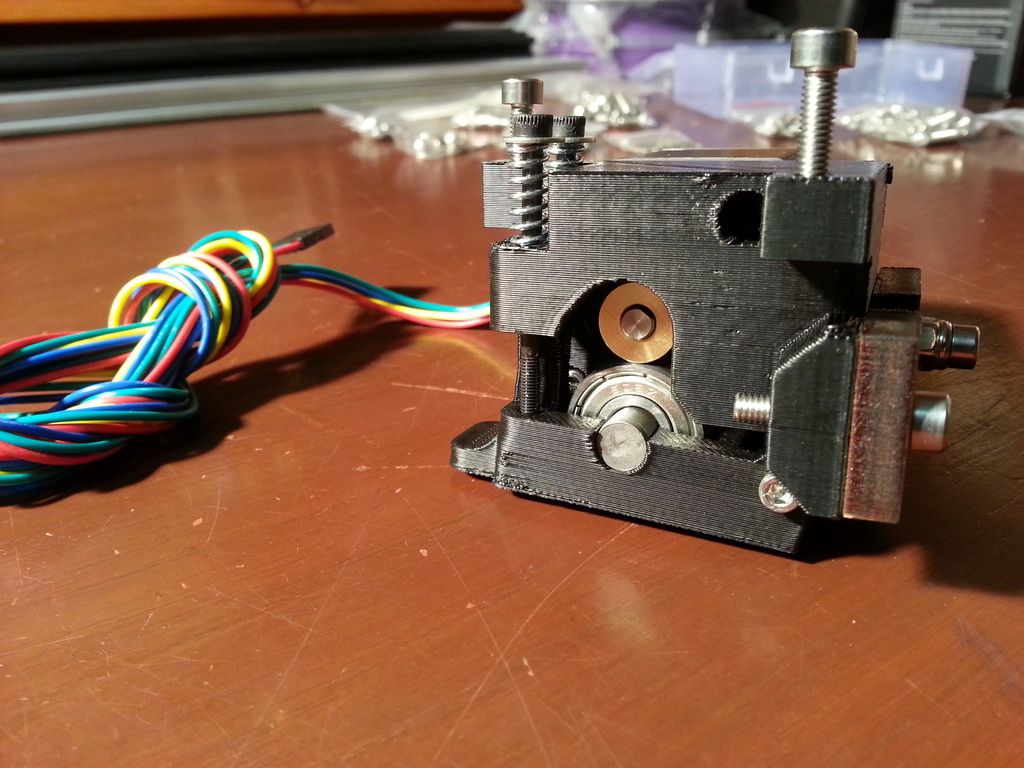
Chow for now.
-
03-03-2016, 02:20 PM #10Technician
- Join Date
- Nov 2014
- Posts
- 73
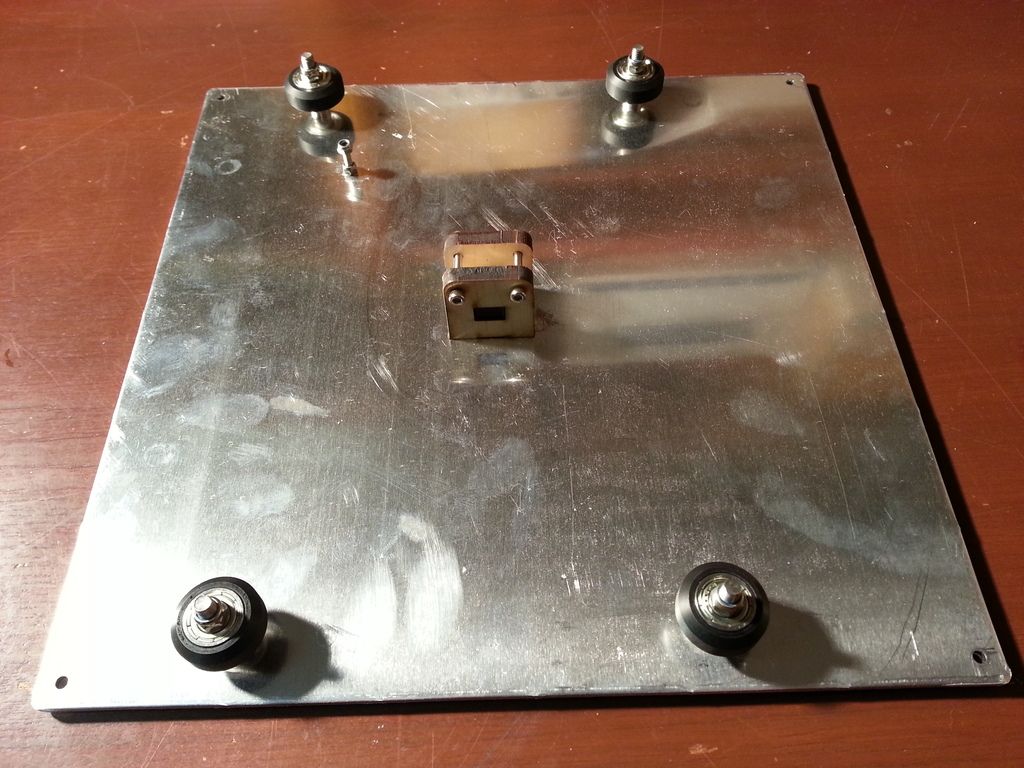
Howdy, next I'm putting together the Y bed with the following parts
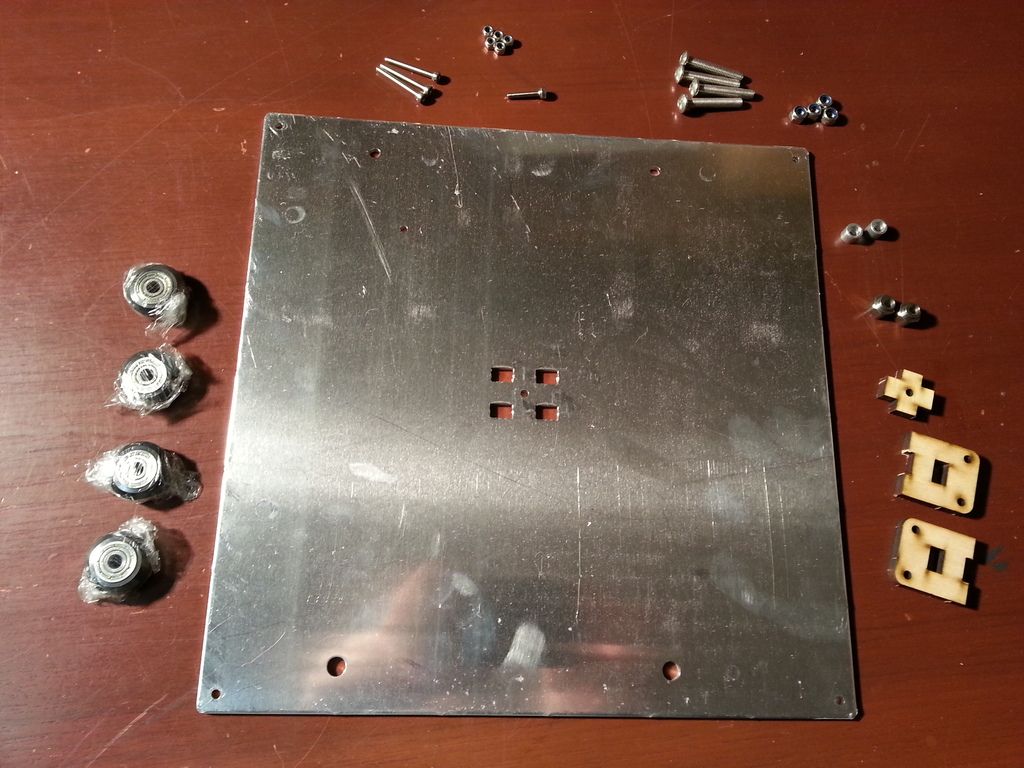
Which looks like this when finished

 Reply With Quote


Please explain to me how to...
Yesterday, 12:15 PM in 3D Printer Parts, Filament & Materials