


Results 31 to 40 of 4110
Thread: Qidi Tech 1 - Replicator 1 clone
Hybrid View


-
09-05-2015, 09:06 AM #1Student

- Join Date
- Aug 2015
- Location
- Orlando, FL USA
- Posts
- 38
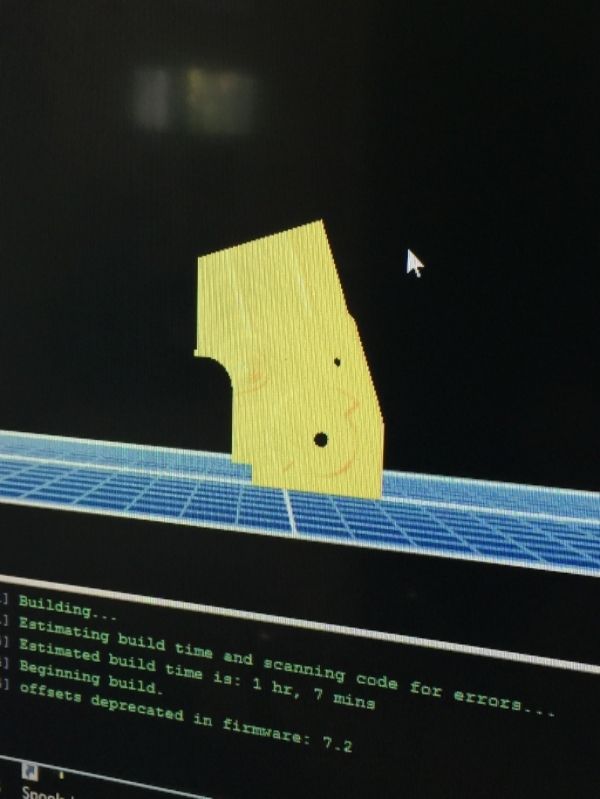
This is the part that needed support and failed because I did not know how to enable it... printing it again:
Simplify3D would show you the support on a different color... ReplicatorG does not show the supports but they do come out (tested a smaller part last night and it worked great).
And just a quick video with the printer in action:
-
09-05-2015, 10:56 AM #2Super Moderator
- Join Date
- Jul 2014
- Posts
- 8,818
you need to enable the video for public viewing.
Looks like you're getting on well.
As far as abs versus pla goes. Personally I find pla stronger and more durable and a lot easier to print with.
Actually the fact that it's dimensionally accurate is the biggest plus for me. That and the fact I can print it without rafts.
The most important thing in s3d to change - in my opinion - is the speed of the first layer. I've got mine currently set to 15% of printspeed. Just ensures that the first layer goes down really well. After that I usually print at between 40 and 70mm/s depending on filament type.
The other thing to change is to make sure the option to 'print all angles' is ticked (might not be that exact wording haven't got latest s3d on this particular computer)
This gives you super strong infill and exsures that each layer bonds to the layer below creating a solid matrix.
I usually use 10% infill and tringular pattern as it prints quick and gives all round support.
For really strong parts that need to be both strong and flexible, I'll up the infill to 20% and use 4-5 outer shells and top and bottom layers.
I've made a part with s3d 3.0 at 40% infill that would be guarenteed to break if printed with makerware at anything less than 60%.
It is agreat program but you do need to put aside a fair bit of time to get the settings dialled in for your particular printer.
Once you've done that - it really does become point and print.
Haven't had a print fail in months, haven't had to calibrate the bed for months. Just load model, swipe the gluestick over the bed and print.
-
09-05-2015, 07:09 PM #3Student
- Join Date
- Aug 2015
- Location
- Orlando, FL USA
- Posts
- 38
Thank you for those tips. I will spend some time tomorrow trying to dial in Simplify3D Originally Posted by curious aardvark

-
09-05-2015, 11:02 AM #4Student
- Join Date
- Aug 2015
- Location
- Orlando, FL USA
- Posts
- 38
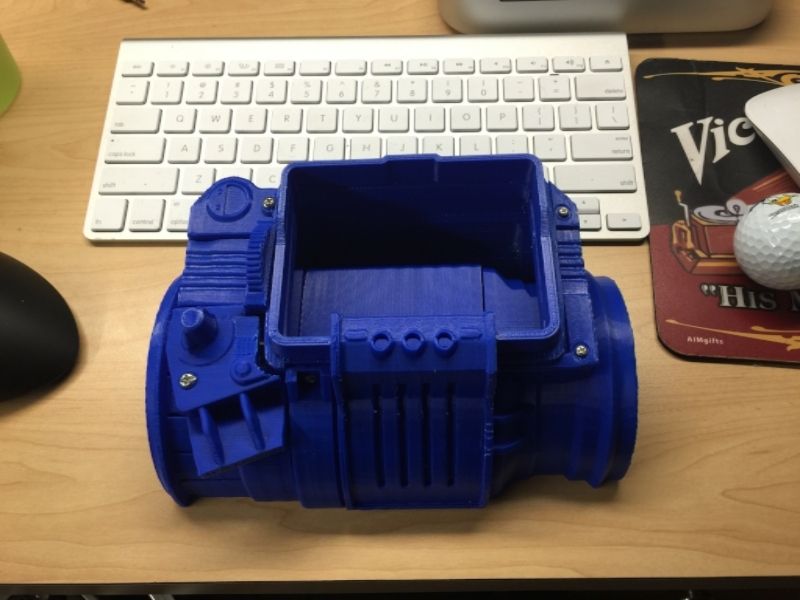
Oppss... my bad... uploaded from phone and did not notice that... fixed. And here is one more. You can see the supports...
-
09-06-2015, 06:09 AM #5Super Moderator
- Join Date
- Jul 2014
- Posts
- 8,818
Ah your printer is fully enclosed - that's why you can use abs much better than I can :-)
Makes ahelluva lot of difference.
Those printers are definitely a good buy.
-
09-09-2015, 01:54 PM #6Student
- Join Date
- Aug 2015
- Location
- Orlando, FL USA
- Posts
- 38
Yes! Plus I also changed brands from what the printer came with... did not have good results with the ABS roll that came with the printer... as soon as I switched to the Hatchbox filament, everything started printing great. I have not tried using PLA... I should try that roll next. Originally Posted by curious aardvark
Went crazy and ordered a few rolls of Hatchbox ABS filament in several different colors, lol.
-
09-09-2015, 01:48 PM #7Student
- Join Date
- Aug 2015
- Location
- Orlando, FL USA
- Posts
- 38
I still can't get Simplify3D to print correctly... frustrating to say the least... will try again tonight.
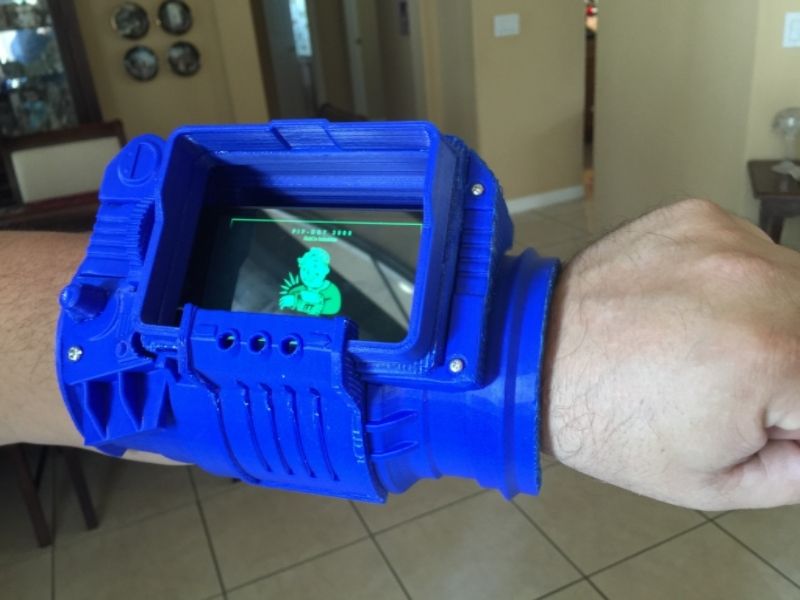
Still printing with ReplicatorG... here, take a look, a Pip-Boy 3000 recreation for my son. Still needs to be finished and painted, but the prints are coming out great (there are two parts that I want to reprint as I was playing with the temperature settings and support and those initial parts did not come out as nice as the other) :

-
09-09-2015, 04:40 PM #8Student
- Join Date
- Aug 2015
- Location
- Orlando, FL USA
- Posts
- 38
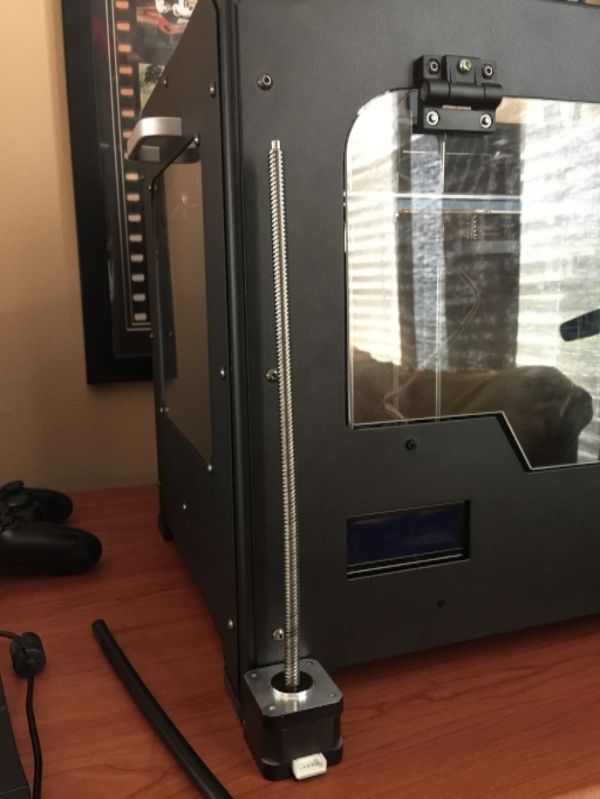
I have to give credit to the support team for this printer... parts arrived. I swapped the Z-axis motor/rod assembly and everything is working as expected!! And they included a few extra parts as a bonus... excellent!!
Photo of damaged Z-Axis assembly:
Now, to solve the issue with Simplify3D...Last edited by wachuko; 09-09-2015 at 08:15 PM.
-
09-14-2015, 08:19 AM #9Student
- Join Date
- Aug 2015
- Location
- Orlando, FL USA
- Posts
- 38
OP, if it is okay with you, I will continue to post on this thread my experience with this printer...
I have been watching videos and reading other threads, just to learn how to better leverage the printer and improve on usage. One thing that I came across was to use glue sticks (Elmers glue sticks), and spread a little of that on to the print plate (I am using painters tape over mine, so I used the glue over the tape). Wow, any minor lift on the corners is completely avoided.
Problem with this approach is that I can't use the tape as much as before. Some parts would pull out the tape when you try to remove them... having to remove/replace with a new sheet of tape.
There was one print I made, where I did not use a raft (I wanted to test without it), and when I tried to remove the part, it took the painters tape and the kapton tape under it!!
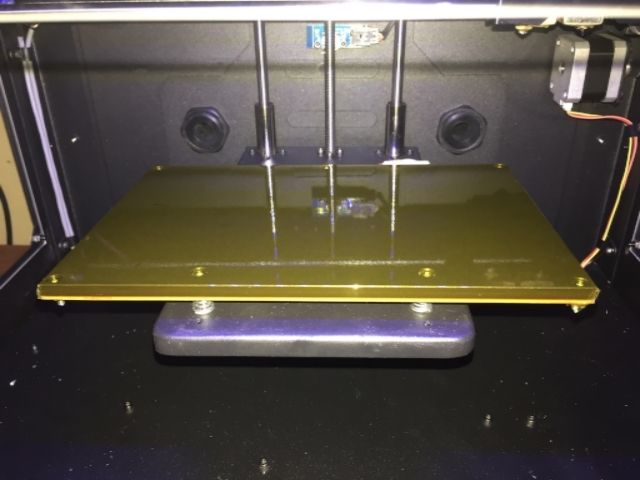
I had bought extra sheets of Kapton tape... so got the chance to remove and replace it. I removed the print plate from the printer to make it easier to install... with some extra hands to help, it was an easy task.
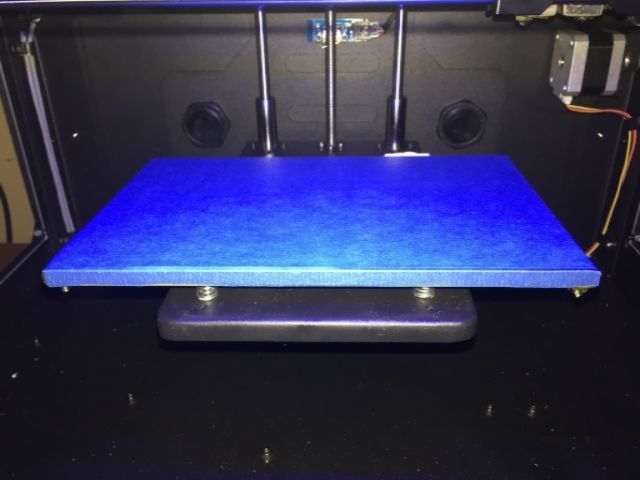
Plate installed with the new sheet of Kapton
I should have installed the painter's tape while I had the plate out... I got the sheets that are already cut to size. Makes it easy and provides an even surface from the get go...
Leveled the plate and continued printing... I will be more selective on when to use the glue stick and when not to use the raft option, lol...
-
09-14-2015, 10:15 AM #10Student
- Join Date
- Aug 2015
- Location
- Orlando, FL USA
- Posts
- 38
Oh, and I also ordered additional nozzles and a complete print head setup, and a few other spare parts... going to print using filaments with wood and metal and wanted to make sure that I had extra parts in case anything goes wrong with using those filaments.
Having a lot of fun with this new printer...


 Reply With Quote


Please explain to me how to...
Yesterday, 10:55 PM in 3D Printer Parts, Filament & Materials