Results 101 to 110 of 113
Thread: PEI Sheet for Bed Adhesion
-
03-24-2015, 06:33 PM #101
I have been printing a marathon session with the PEI and its preforming great almost to great and the parts are very difficult to remove with my first layer squish .002" to prevent curling so I tried some baby power and bam the the part sticks without curling and pops off with ease. Theses are buttons for my sons robotics competition this weekend. We have printed back to back prints for what seams like days..
Print specs. 65c bed temp 70+ was impossible to remove.
ABS nozzle 240c


-
03-24-2015, 07:18 PM #102Engineer

- Join Date
- Dec 2014
- Location
- Canada
- Posts
- 498
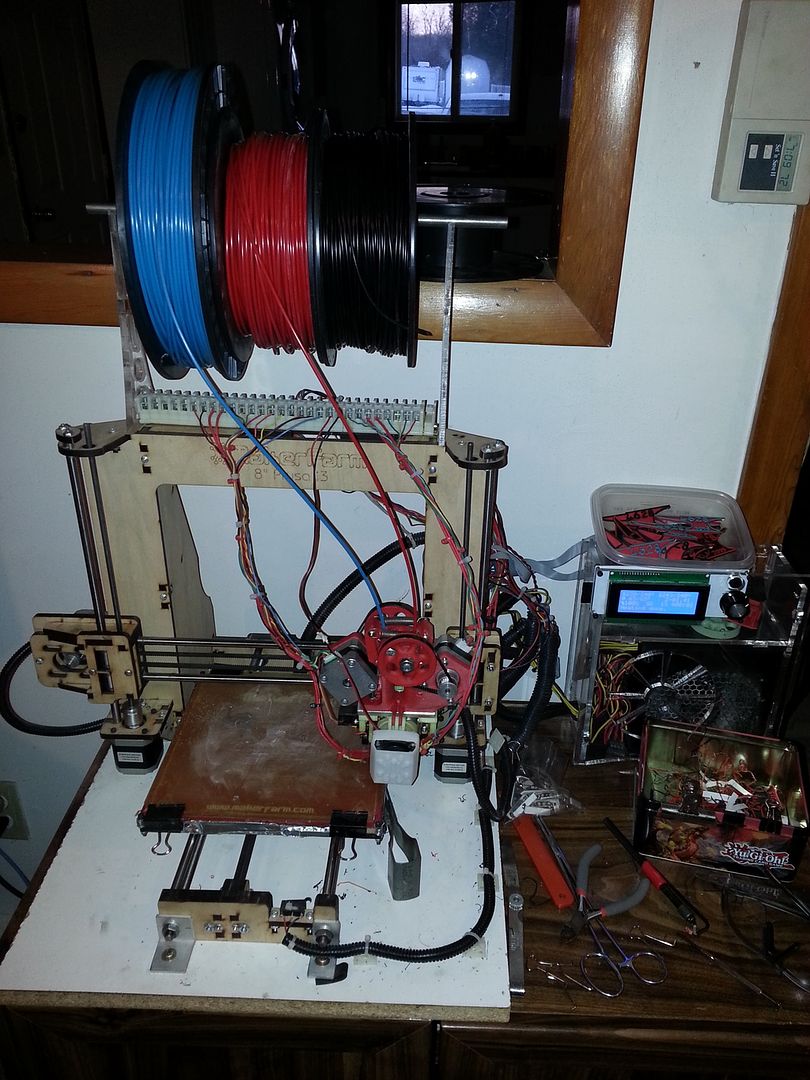
My recent failure.. what a mess...anyone have any tips on how to remove plastic on the heater block and exterior of nozzle.
after this. i sanded the PEI with 1000 grit , hoping for better results
-
03-24-2015, 08:36 PM #103Engineer

- Join Date
- Dec 2014
- Location
- Canada
- Posts
- 498
so far, sanding it seems to really help.. acting normal again. printing so well that i might keep the bowden
-
03-24-2015, 09:08 PM #104Engineer

- Join Date
- Jan 2015
- Posts
- 445
After sanding make sure to wipe down with isopropyl alcohol. always do that anyway.
-
03-25-2015, 07:50 AM #105Engineer

- Join Date
- Dec 2014
- Location
- Canada
- Posts
- 498
did that, my print that i was doing looks great, but warped in the end.
It seems like when i print a Skirt, its not as low as my first layer as it tends to curl up.
I set my pei bed heat from 110-120
would reducing my bed temp, help with warping with ABS
-
03-25-2015, 08:25 AM #106Engineer

- Join Date
- Jan 2015
- Posts
- 445
So there are a ton of factors with warping.
1. how close to the edge of the bed you print. (more warp)
2. How evenly the heat bed heats (check temps in corners vs center)
3. If its an enclosed environment to retain said heat.
4. Size of part - Larger parts will warp more.
5. Infill percentage of the part (more infill, more cooling plastic to pull on corners)
6. What you are using to adhere part to bed.
7. Temperature of the bed.
I found with large parts, with a fair amount of infill (15% +) I create a custom brim. I use 123d design and create 20mm strips to match up to the sides of my part and make them .4mm in height (2 layers) then i import them along with my part in to simplify3d and line them up overlapping the main part (on the same plane) by a few mm. This fixes the issue of the part still curling at the brim point (the point of a brim in the slicer is to have it easily removed). Ive found this works very very well.
-
03-25-2015, 08:51 AM #107Engineer

- Join Date
- Dec 2014
- Location
- Canada
- Posts
- 498
I noticed a weird thing when it was printing a brim and i paused it to check the gap and it was .3mm when i waited until it started printing the actual first layer of the part it was .2mm
-
03-25-2015, 02:54 PM #108
I am going to try beerdarts idea of baby powder and lower bed temp tonight.
-
03-25-2015, 03:24 PM #109Engineer

- Join Date
- Dec 2014
- Location
- Canada
- Posts
- 498
I dont get why babypowder?
-
03-25-2015, 03:42 PM #110
I used the powder to help release the part as im using a close first layer to prevent curling.


 Reply With Quote


Do bed magnets deteriorate.
04-29-2024, 01:35 AM in General 3D Printing Discussion