


Results 31 to 40 of 125
Thread: 10" Pegasus Build
-
03-23-2016, 02:57 PM #31Technician

- Join Date
- Nov 2014
- Posts
- 73
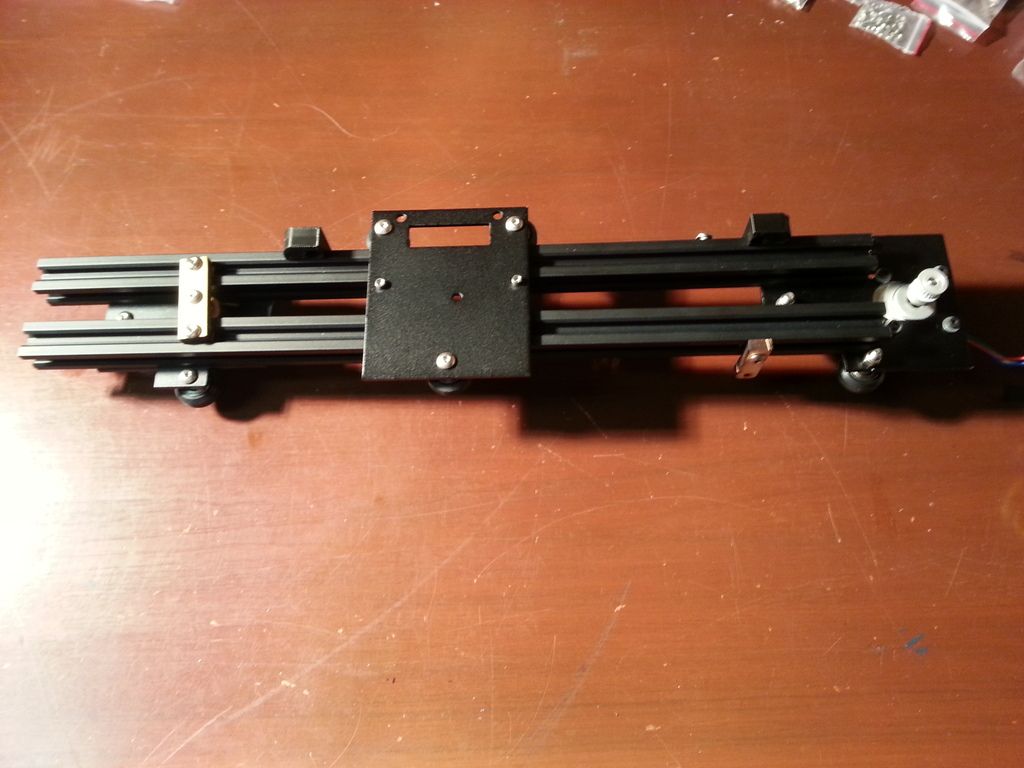
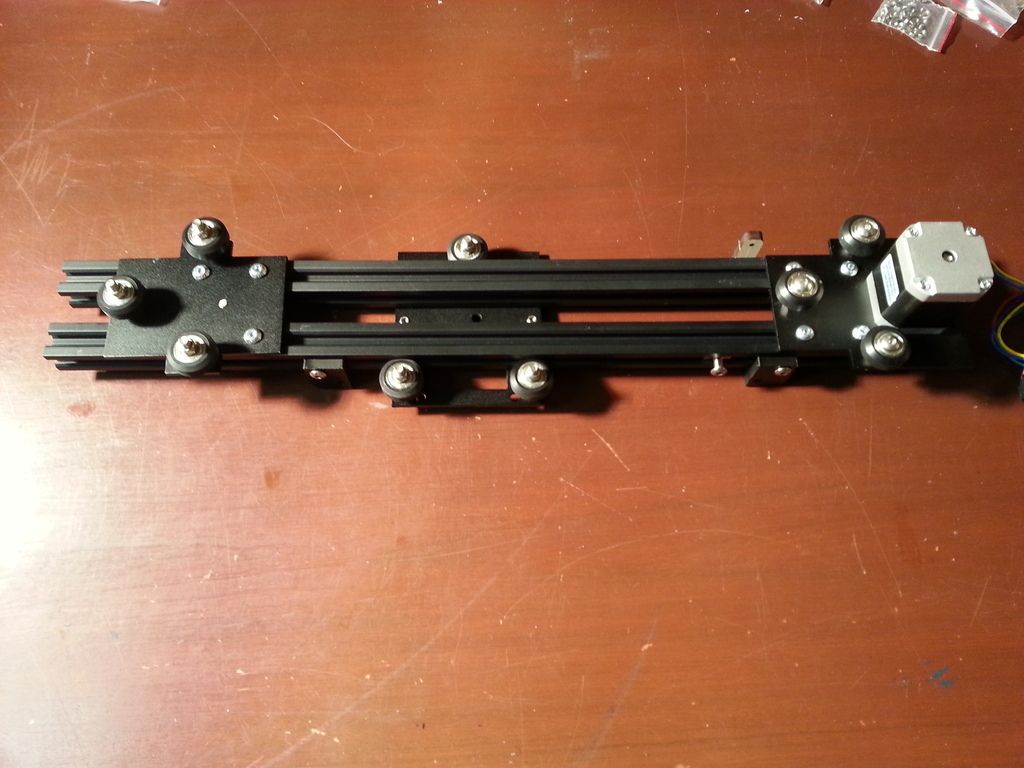
We can now put some of these sub sections together to form the X axis
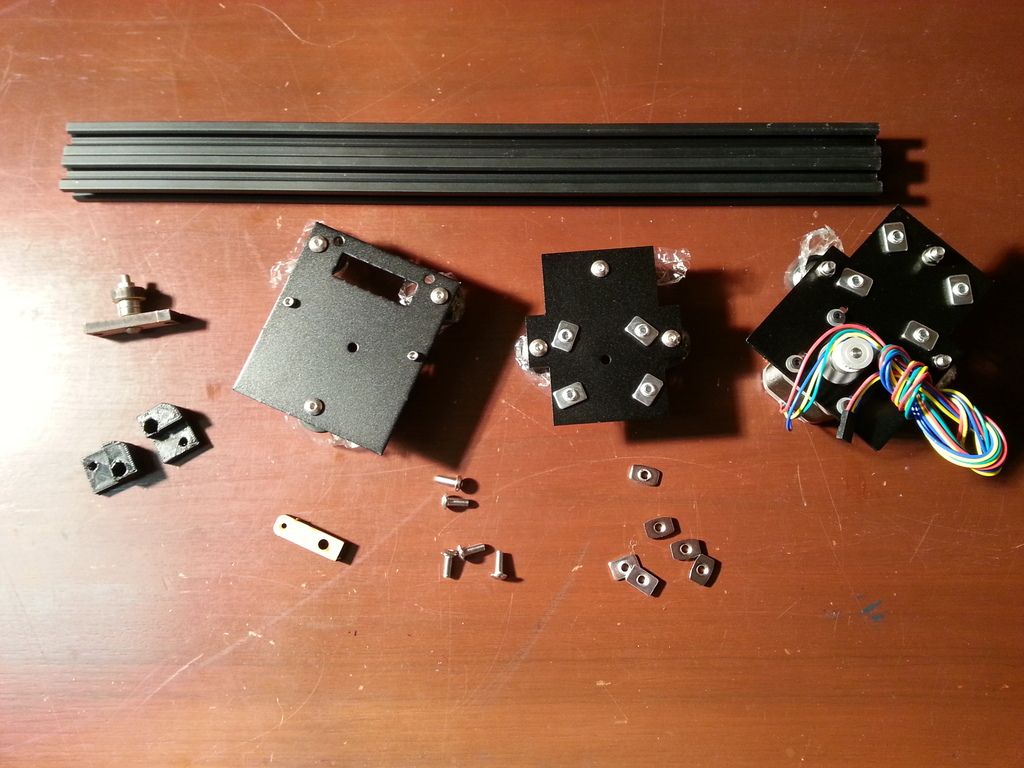
That's probably it for today. Chow for now.
-
03-23-2016, 04:02 PM #32Student
- Join Date
- Mar 2016
- Posts
- 4
glad you're back! Originally Posted by flatty_420

-
03-24-2016, 07:28 AM #33Technician
- Join Date
- Nov 2014
- Posts
- 73
Originally Posted by 66Mhz

When assembling the X axis above, the 2 aluminum extrusions need to be parallel so the wheels run smoothly with no binding but they are only fastened at one end (so far). I found it helpful to use my vernier caliper to make sure they are truly parallel before tightening the fasteners on the one end. A measuring tape would work just as well I suppose.
-
03-24-2016, 10:19 AM #34Student
- Join Date
- Mar 2016
- Posts
- 7
Aweome thread. I just my Pegasus 10 yesterday and started putting it together last night. I am going in the exact order as the directions and I am up to starting the X-Axis assembly. Thanks for the tip above.
Some things I noticed. All off my aluminum extrusions are silver where it looks like your short ones were painted black. No big deal obviously, but of note.
How many Hex keys did you get? I got 3: 1 for the tiny set screws, one for the M3 bolts, and one for the M5 bolts. I did not see a key for the larger set screws that are used in the hidden corner brackets. No problem as I have that tool at home, but interesting that it was left out.
Keep up the great work!
-
03-24-2016, 01:57 PM #35Technician
- Join Date
- Nov 2014
- Posts
- 73
THanks! Originally Posted by ThinkASecondTime
I was initially missing a couple parts from my kit and that's why I seem to be jumping around and not following the order of the build instructions.
My short extrusions are all black and the long ones are silver for some reason. I also got 3 hex keys and I also had to get a fourth one from my toolbox.
-
03-24-2016, 02:00 PM #36Technician
- Join Date
- Nov 2014
- Posts
- 73
Speaking of build instructions. I found the pdf on Makerfarm Pegasus product page is slightly different from the one that can be downloaded from the Build Instructions section with the latter being the more accurate guide.
-
03-24-2016, 03:24 PM #37Technician
- Join Date
- Nov 2014
- Posts
- 73
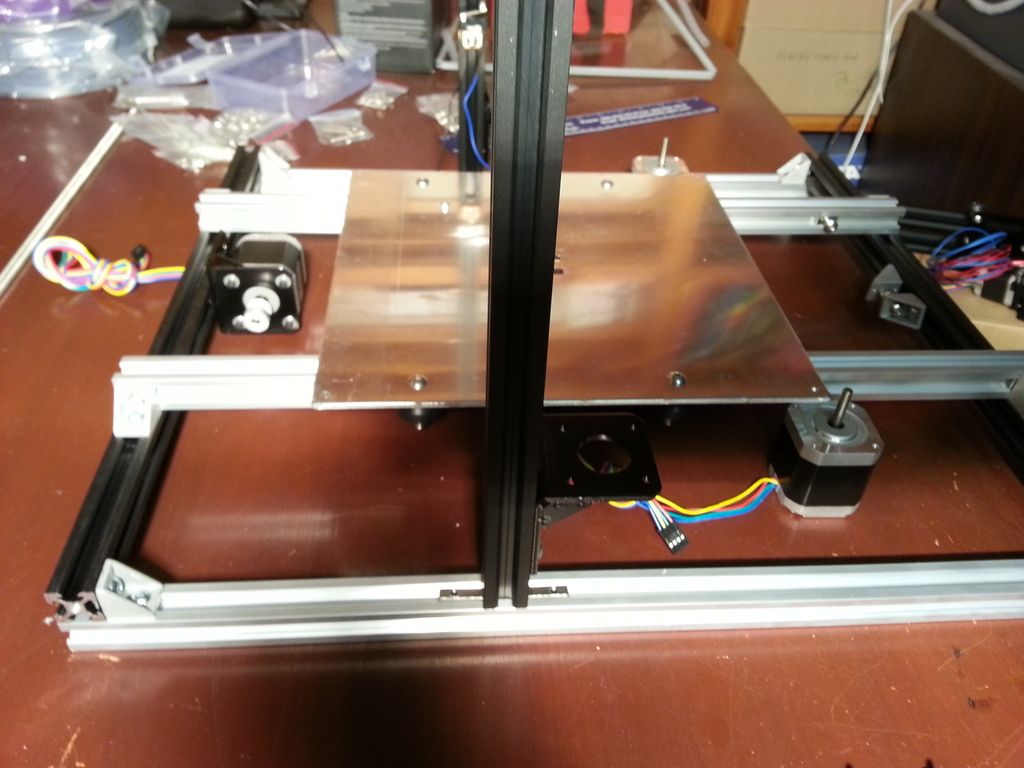
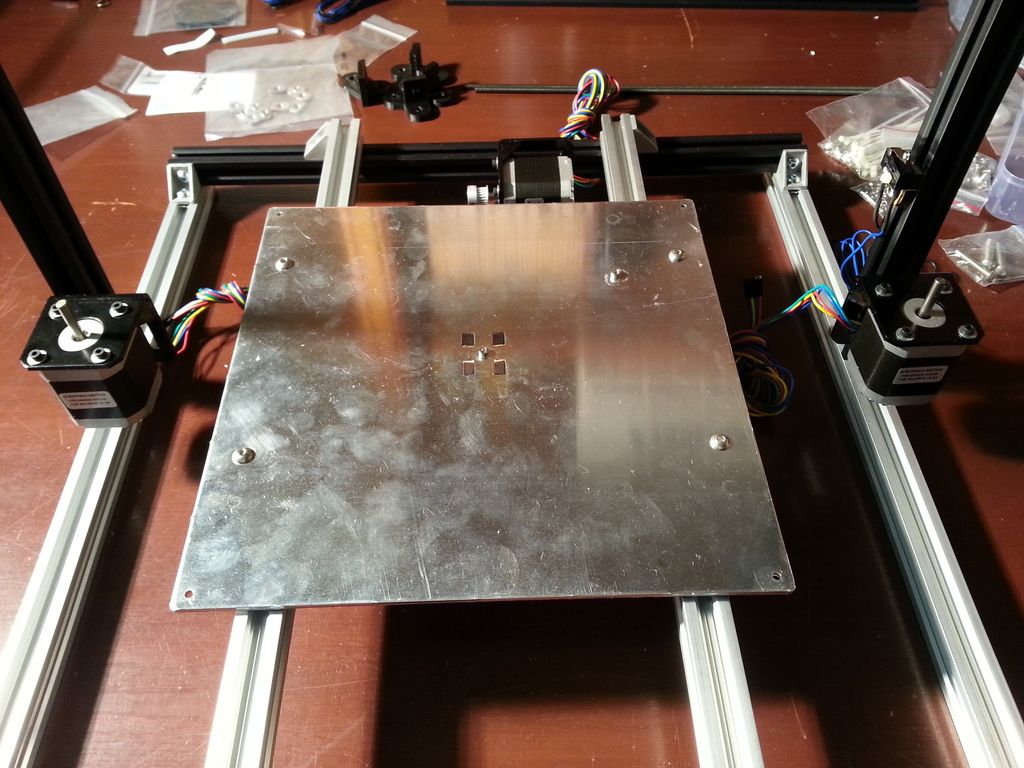
Alright, it's been a busy day at work so I haven't had much time for the build but I got a couple things done. Back to the frame and mounting the Y motor mount and extrusions for the heatbed to run on.... Very specific measurements are given in the instructions as far as where the motor mount and extrusions go. You start with the motor mount and then bolt on the motor. Next comes the right hand extrusion:
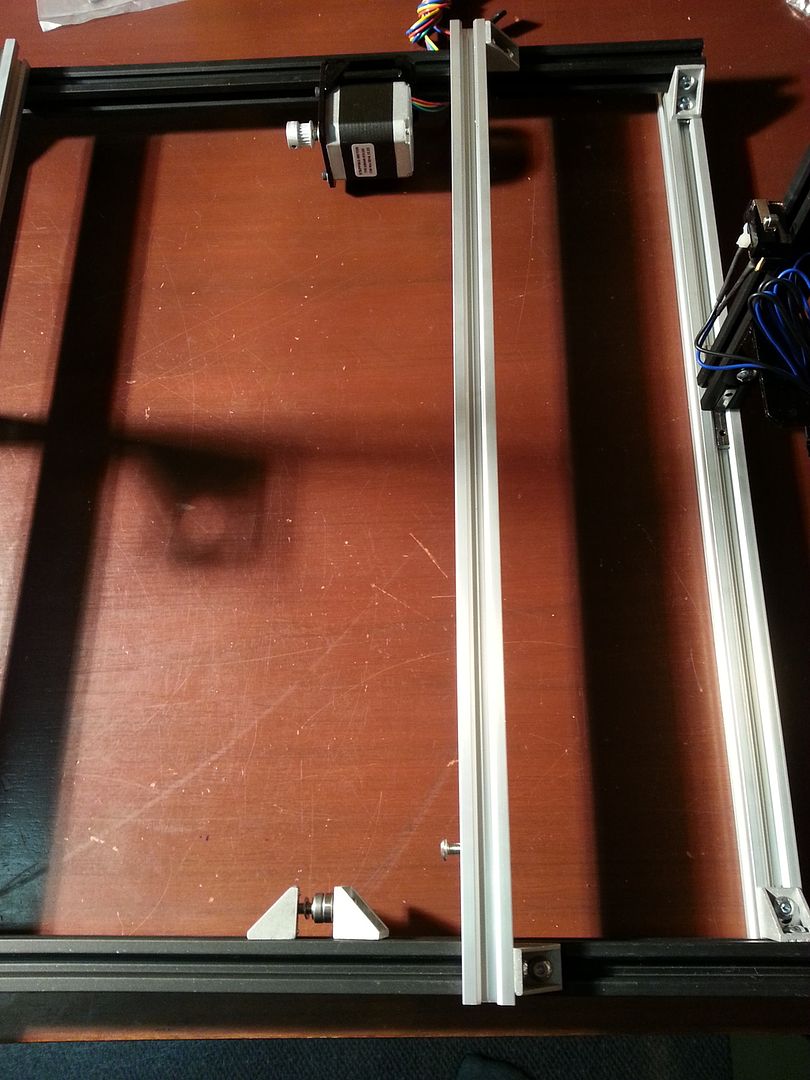
Next the heatbed mount is put in place and the left hand extrusion is moved tight so the wheels run smooth
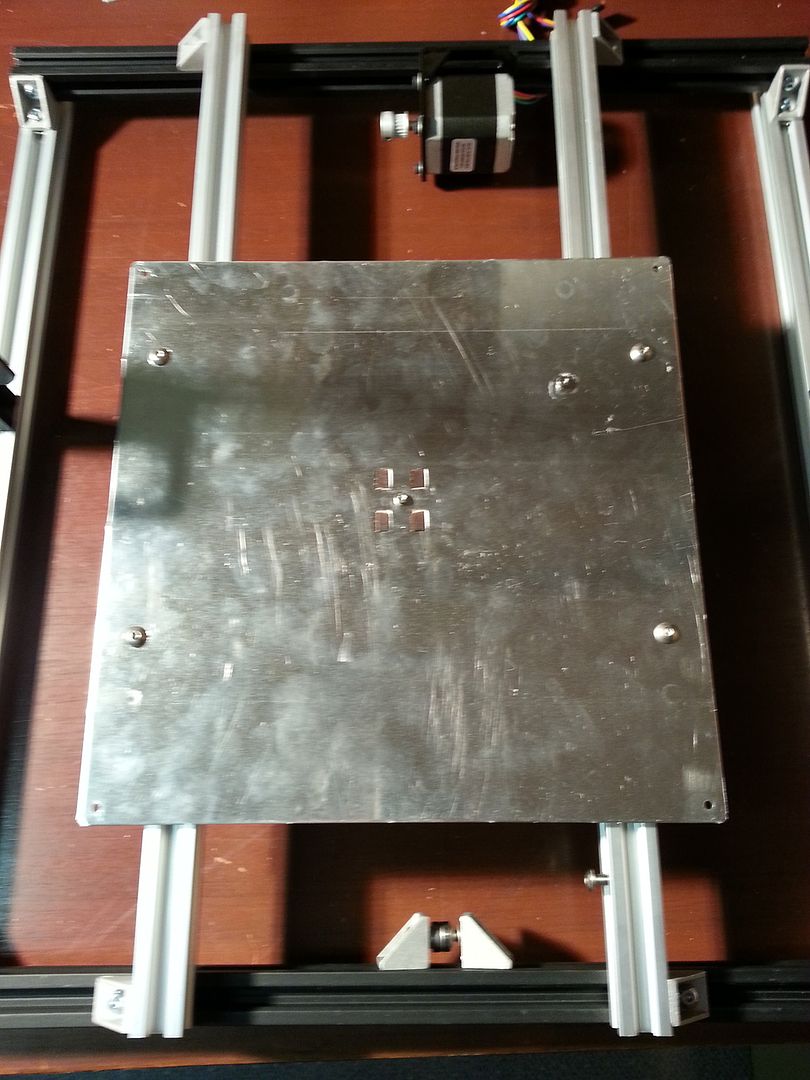
And that's it for today.
-
03-26-2016, 01:41 PM #38Technician
- Join Date
- Nov 2014
- Posts
- 73
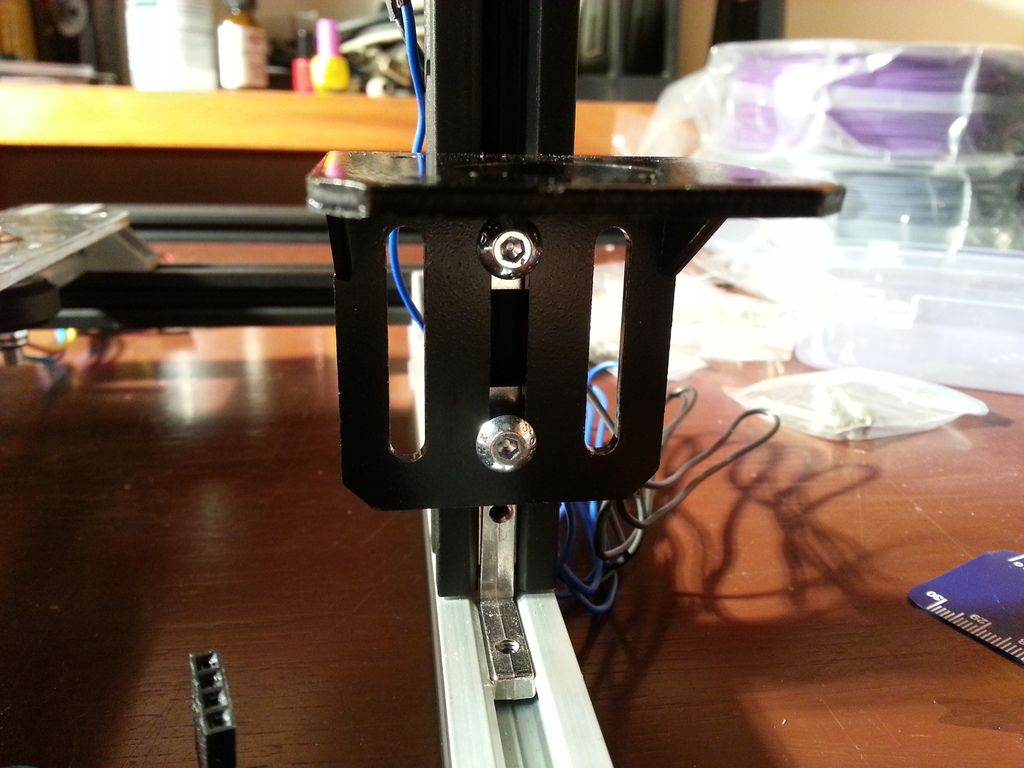
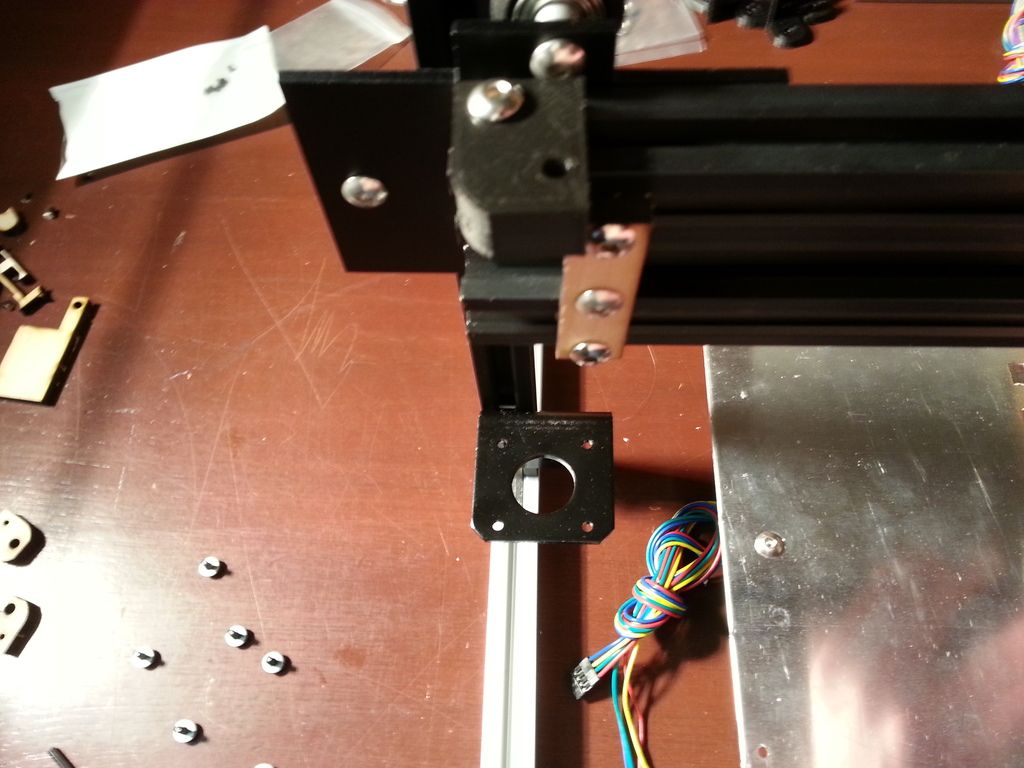
Got some more work done... next step is to align the vertical Z motor extrusions front/back.
The instructions say to move the Z motor brackets down as far as possible but when I did that, there wasn't enough room to slip the motors in from below so I moved them up just a bit; this also enabled the fasteners to be properly placed rather than being jammed together.
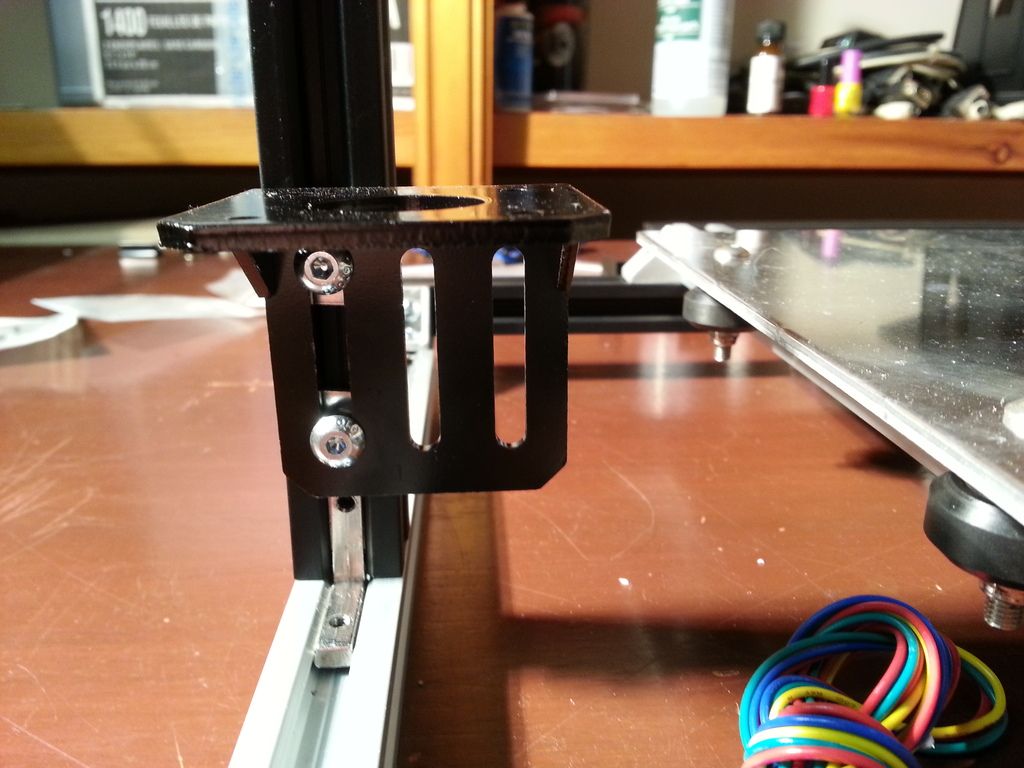
Using the X axis to eye up how things were lining up, I decided to move the right hand Z motor bracket over 1 slot so that the Z rod will line up better.
-
03-26-2016, 01:47 PM #39Technician
- Join Date
- Nov 2014
- Posts
- 73
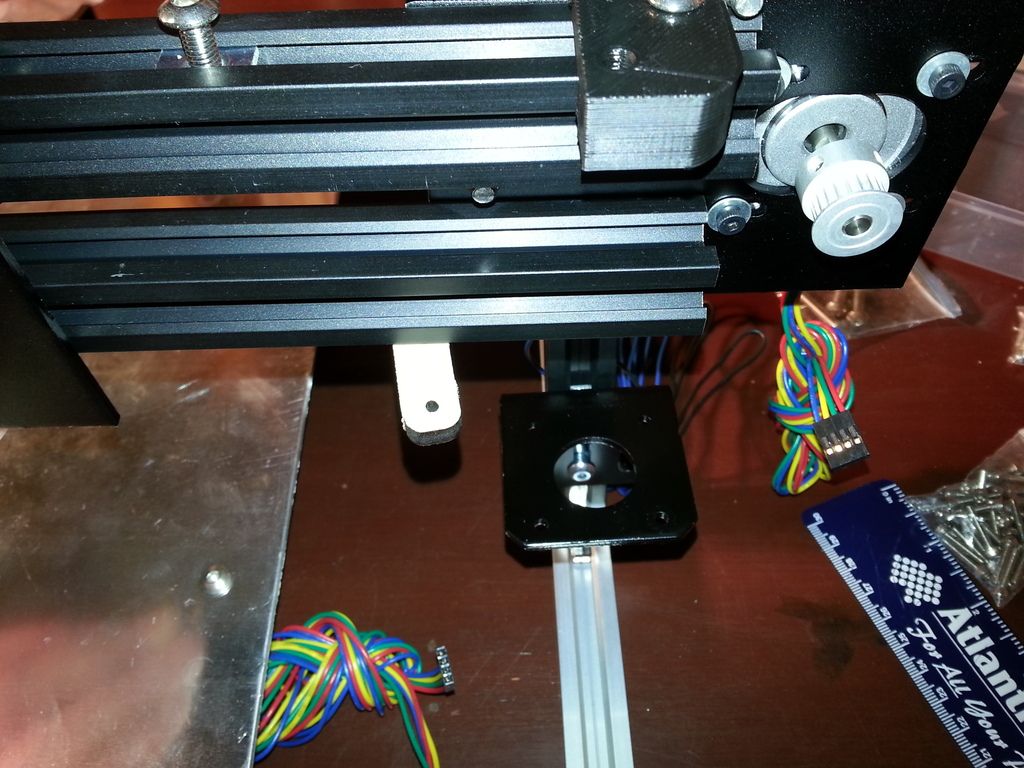
As somebody else mentioned, when installing the Z motors in their brackets, the instructions say to use M3x10mm bolts which are much too long. The proper bolt to use is M3x6mm or M3x8mm with washer.
-
03-26-2016, 01:55 PM #40Technician
- Join Date
- Nov 2014
- Posts
- 73
Wow, it's really starting to look like something with the X axis on.
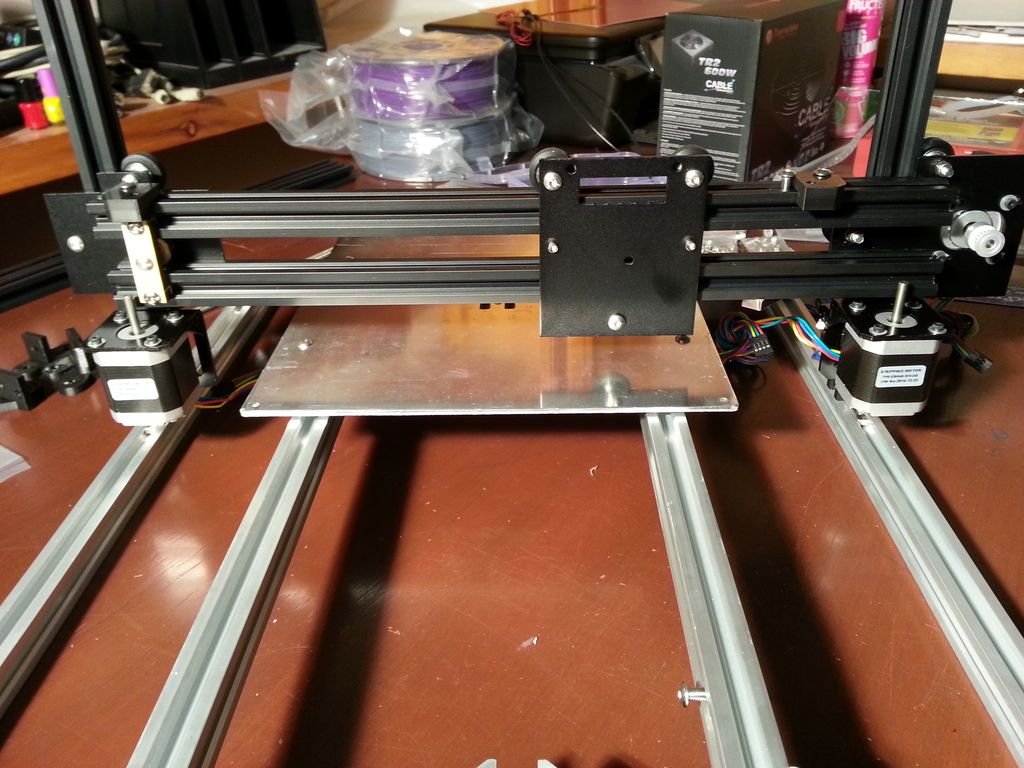
I got all the wheels running smoothly and then aligned the Z nut trap holes with the motor shafts.
I had the motors back out for some reason when I took this pic but I don't remember why.


 Reply With Quote


Extruder not feeding during print,...
Yesterday, 02:02 PM in Tips, Tricks and Tech Help