


Results 1,641 to 1,650 of 4110
Thread: Qidi Tech 1 - Replicator 1 clone
-
05-22-2016, 01:19 PM #1641Student

- Join Date
- May 2016
- Posts
- 10
Thanks, DarkAlchemist!
Here's a link to the full sized unedited version of my pictures and a closer version:
https://dl.dropboxusercontent.com/u/...s/IMG_7812.jpg
https://dl.dropboxusercontent.com/u/...s/IMG_7813.jpg


-
05-22-2016, 02:42 PM #1642Engineer-in-Training
- Join Date
- Oct 2015
- Location
- Omaha
- Posts
- 274

I see your printing the wire chain. Originally Posted by SteveW25561

When I did mine I limited the number of parts I printed at a time.
Like 8 chain links at a time. Then the chain ends separately.
You get better results if you split up the small parts.
-
05-22-2016, 02:47 PM #1643Student
- Join Date
- May 2016
- Posts
- 10
Actually, it worked out really well. I did all 16 links, but I see the issue with the tall items. It turned out fine since the stringing was easy to remove, and the part on the right that had the adhesion issue wasn't used. I'm just trying to figure out a way to avoid stringing, beyond the most obvious solution is to move tall parts together so the head doesn't have to travel over a large open distance as much.
In my printer, I used 3M outdoor doublesided foam tape (like the automotive stuff) to attach the chain start to the lower right front of the casing since the cable holder screw bolt was too short,a nd it was impossible to thread the nut back on. It's holding extremely well and this stuff is rated for outdoor, hot and cold exposure. I figure it'll be OK since there isn't much traction on it and the screw does sit right in the hole, providing some minimal support.
-
05-22-2016, 02:53 PM #1644Student
- Join Date
- May 2016
- Posts
- 10
I also figured out a way to keep the front lid open.
I had a few tiny rare earth magnets that fit inside the screw holes of the hinges. I stacked 2 in each screw hole (ie 4 per hinge) and it holds the door up reliably without pulling a magnet away!
These magnets measure 6mm diameter, 3mm tall.


-
05-22-2016, 04:39 PM #1645Technician
- Join Date
- May 2016
- Posts
- 55
I concur with rcleav. Whenever I print multiple parts at a time, I see more stringing, but nothing as extreme as what you've got there. Note that the tall parts will be printing long after the smaller parts are done, meaning the print head will be traveling among those parts exclusively for many layers. My advice would be to print each of the tall parts separately. If you're having minimal trouble with the smaller parts, you can print them all at once or split them up among the taller prints. Originally Posted by SteveW25561
I run my QIDI-supplied orange PLA at 200°, and it's been pretty smooth for me. If only I could get the white ABS to run so smoothly! I've only just started to play with it, but my first calibration cube did not come out too well. I'll post something later if I need advice.
By the way, nice idea with the magnets!
-
05-22-2016, 05:34 PM #1646Engineer-in-Training
- Join Date
- Feb 2016
- Posts
- 360
I had the thought to use magnets like that, but ended up going simple and just printing a little clip. Holds the door up just fine, though not 'hands-free' like the magnet setup.
I am gonna have to agree with the folk that have already said split your parts up.
This is something I always do. Mainly because it seems to help when printing stuff that same general height. But its also good idea for if a print fails. Better a 5hr print of 10 parts fail than a 10hr print with all the parts failing. You save time and material waste on fails if your printing smaller platefulls.
-
05-22-2016, 05:47 PM #1647Technician
- Join Date
- May 2016
- Posts
- 55
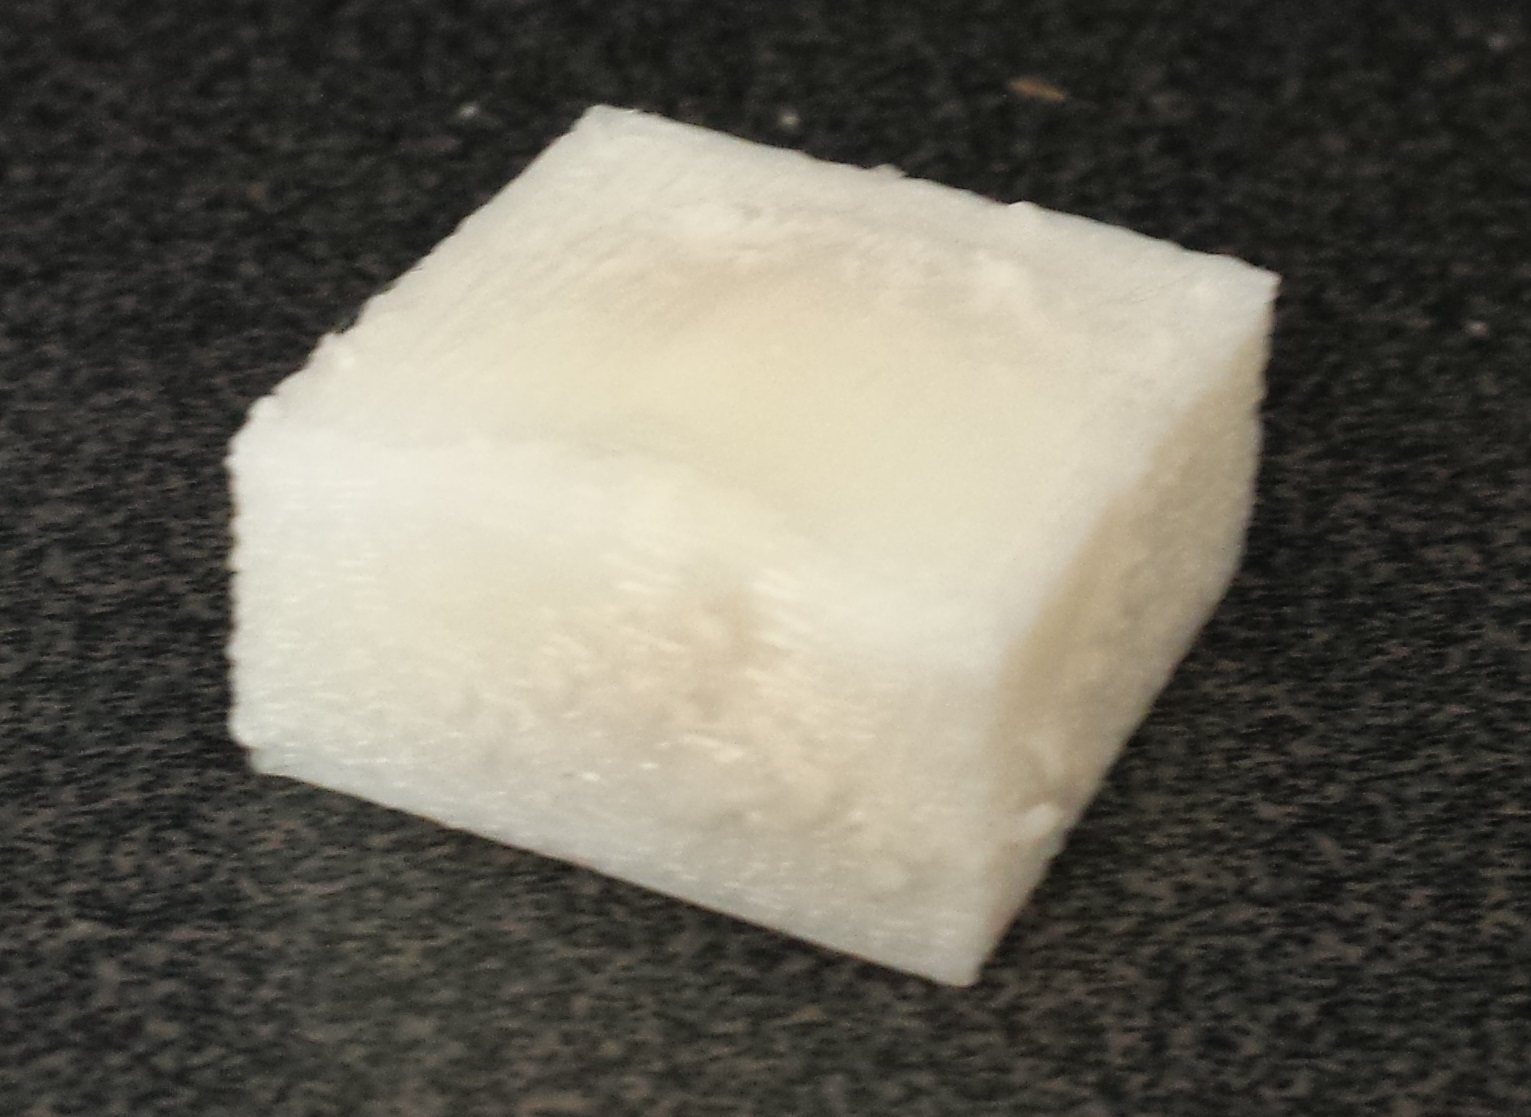
Here's my ugly ABS calibration cube. The extrusion temp. was 230°C, the bed was 110°C, the feed rate 60, travel feed rate 100. 100% infill, as a calibration cube should be. My guess is that it might be cooling down too fast.
-
05-22-2016, 07:31 PM #1648Technologist
- Join Date
- Feb 2016
- Location
- Utah
- Posts
- 143
I've had success eliminating the strings by increasing my retraction to 3mm. Originally Posted by SteveW25561
-
05-22-2016, 07:34 PM #1649Technologist
- Join Date
- Feb 2016
- Location
- Utah
- Posts
- 143
I just installed these hinges: Originally Posted by SteveW25561
http://www.thingiverse.com/thing:479416
It moves the rotation point out further so when you open the door it leans backwards and stays open. I also like that it makes the door easily removable.
-
05-22-2016, 07:42 PM #1650Technologist
- Join Date
- Feb 2016
- Location
- Utah
- Posts
- 143
I updated the scripts in that thread to default VREFs to 70. Originally Posted by SteveW25561

 Reply With Quote


Do bed magnets deteriorate.
04-29-2024, 01:35 AM in General 3D Printing Discussion