


Results 11 to 20 of 33
Thread: HO (1/87th) scale items
-
05-19-2014, 07:56 AM #11Staff Engineer

- Join Date
- Oct 2013
- Location
- Narellan, New South Wales, Australia
- Posts
- 912
You are to be congratulated on the work you are doing. I'd love to see some pix of your layout.
Would you write a "How to ..." on printing buildings and external textures, please?
Old Man Emu
-
05-20-2014, 07:19 PM #12Student
- Join Date
- Mar 2014
- Posts
- 30
I will post some pictures of the drawings...see if that helps you. Thanks for asking Emu.
-
05-23-2014, 03:19 AM #13Staff Engineer
- Join Date
- Oct 2013
- Location
- Narellan, New South Wales, Australia
- Posts
- 912
What is the thickness of the walls you are printing?
OME
-
05-23-2014, 08:26 AM #14Student
- Join Date
- Mar 2014
- Posts
- 30
How I draw bricks for printing in HO scale.
What I do, versus what works for you, and what looks good to you is up to you! Also, different printers may not produce the same product that the Afinia does.
Brick, a.jpg
I draw in full scale, but assume I am going to reduce the model to HO, 1/87th scale, for printing. For it to look right, in my opinion, and in order to print on my printer, I draw the bricks 4" x 8". They I bevel them 1" all around. Once you save this and a component, you can just start laying bricks. You will need to make corners, and other special shapes.
Bricks 1.jpg
The drawing has many layers of brick, but it gives you an idea of how they are all connected together.
Bricks 2.jpg
Bricks 3.jpg
I hope this helps.
The wall is a little thicker than most I do, as that is what is needed for this project. In most cases I make them 3" thick at the minimum...at the mortar line. That would be about .034" once reduced. I do plan in some bracing on large walls to prevent warping. I also thicken up the edges, both top and bottom to 6-8" thick by 3-4" high.
You can see the bracing added to the drawing on these buildings.
http://nvrr49.blogspot.com/2014/04/b...ton-mn-in.html
http://nvrr49.blogspot.com/2014/04/p...ted-in-ho.html
http://nvrr49.blogspot.com/2014/05/f...ted-in-ho.html
I will post some picts on the lap siding later this weekend.
-
08-25-2014, 07:21 PM #15Student
- Join Date
- Mar 2014
- Posts
- 30
While playing around with printing glass blocks, I ran across a building in Memphis, and designed a similar building. Here is a link to the design and construction details.
http://nvrr49.blogspot.com/2014/08/m...ted-glass.html
DSC_0012.jpg
-
08-26-2014, 08:14 AM #16Student
- Join Date
- Apr 2014
- Posts
- 20
What are the dimensions on this?
 Originally Posted by nvrr49

-
08-26-2014, 09:42 AM #17Student
- Join Date
- Mar 2014
- Posts
- 30
Round figures, less than 3" wide. Each glass block is less than 1/10th inch.
-
08-29-2014, 09:52 PM #18Student
- Join Date
- Mar 2014
- Posts
- 30
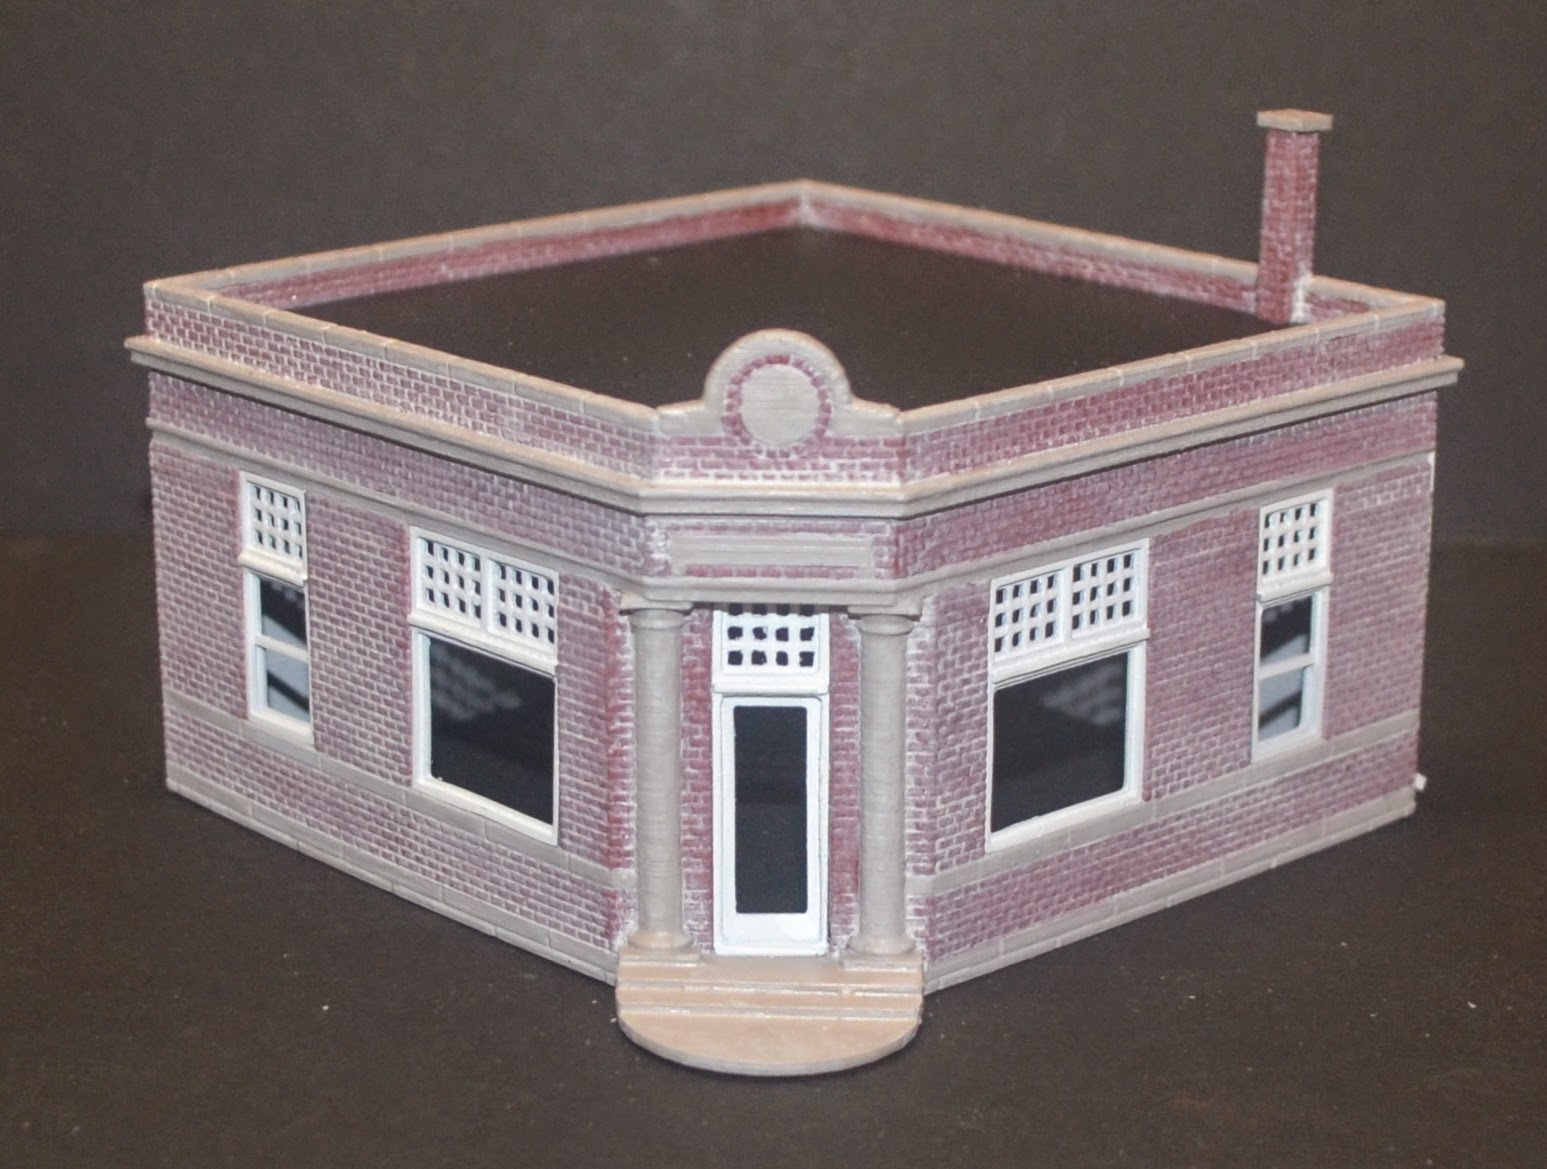
Here is a building I just completed. Designed based on an actual structure. The building is HO scale, so about 4" square. This was printed on an Afinia printer. Design and construction detail, along with a lot more pictures, can be seen at: http://nvrr49.blogspot.com/2014/08/c...ted-in-ho.html
-
10-17-2014, 05:39 PM #19Student
- Join Date
- Mar 2014
- Posts
- 30
Here is a model based on a very old filling station. The basic structure was printed on an Afinia home printer, and the windows were printed at shapeways. Design and construction details can be seen at: http://nvrr49.blogspot.com/2014/09/h...d-printed.html
-
10-28-2014, 04:23 PM #20Student
- Join Date
- Mar 2014
- Posts
- 30
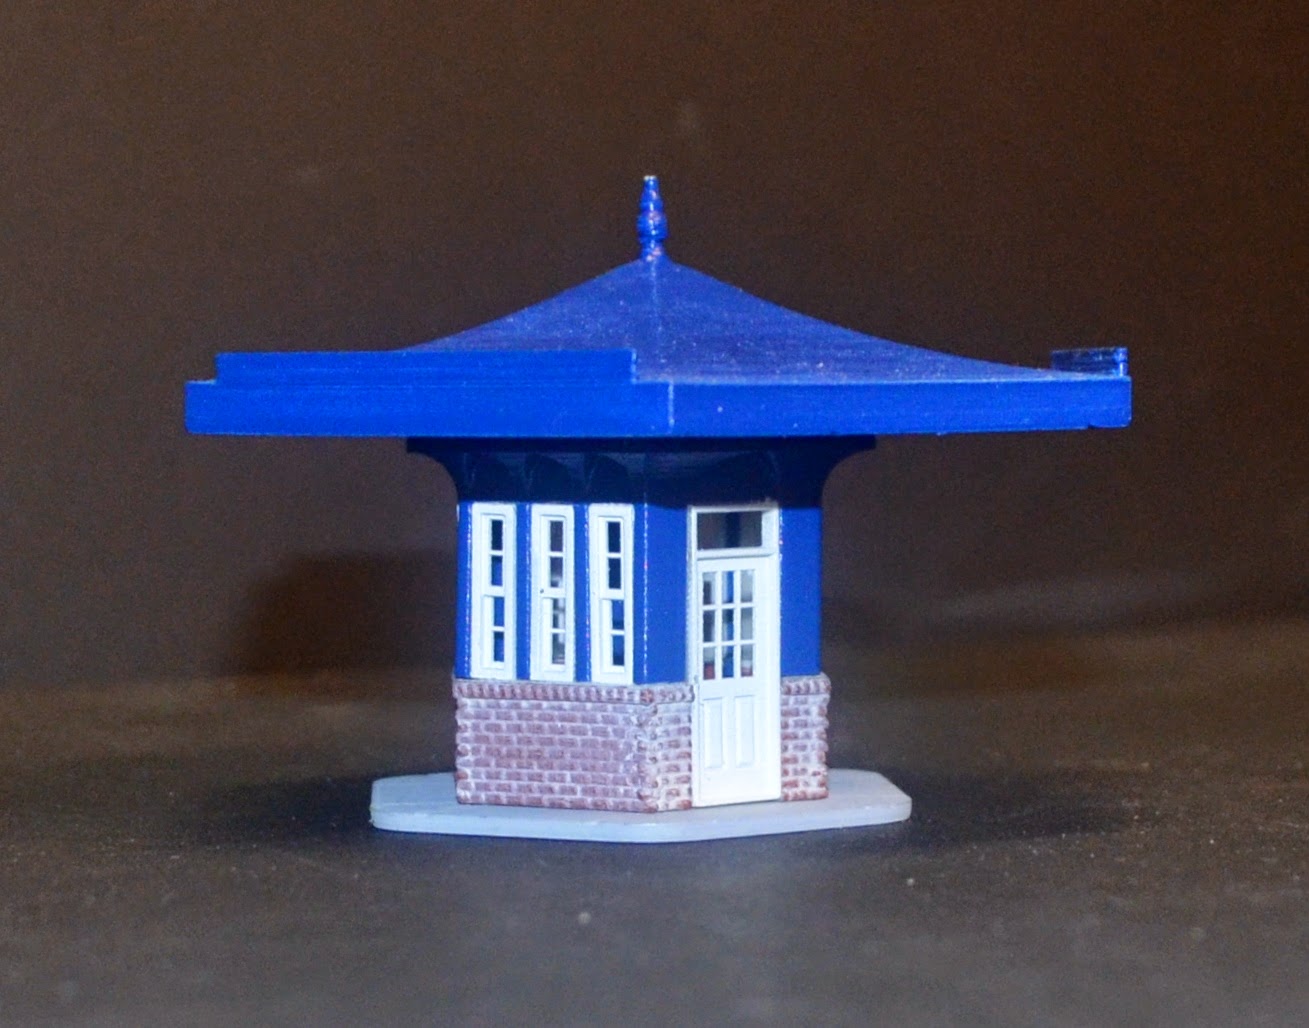
Here is a depot I designed and printed, based on a prototype building. Design and construction details can be seen at: http://nvrr49.blogspot.com/2014/10/c...d-printed.html


 Reply With Quote


Extruder not feeding during print,...
Today, 01:59 AM in Tips, Tricks and Tech Help