


Results 1 to 5 of 5
Thread: SLA Resin Printer issue
-
11-18-2015, 09:22 AM #1Engineer

- Join Date
- Jan 2015
- Posts
- 445
SLA Resin Printer issue
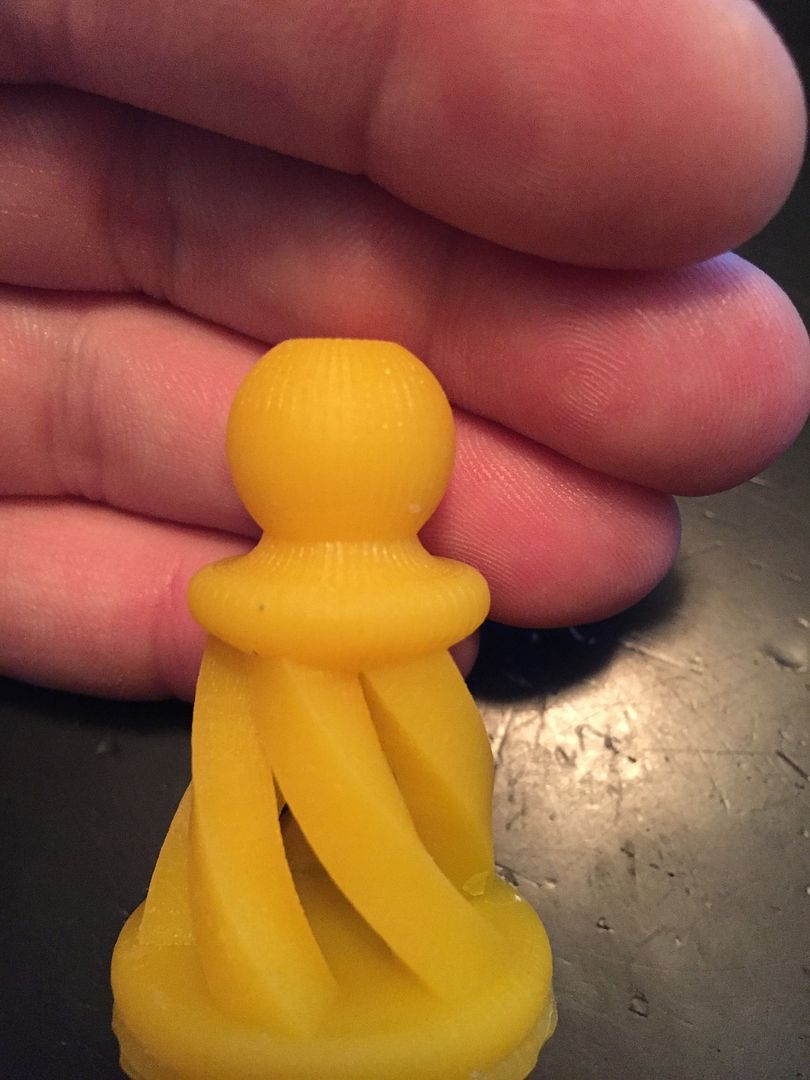
GOod morning... Just trying to resolve an issue with my resin printer.
I am having BETTER than average adherance to the print bed. To the point where its actually hard to get the part to come off.
Here is what happened on ALL four rooks.
Other than that the prints turned out great.
Any ideas on how to remedy this?
thanks

-
11-18-2015, 02:52 PM #2Staff Engineer
- Join Date
- Jan 2014
- Location
- Oakland, CA
- Posts
- 935
Try a thicker raft?
-
11-18-2015, 03:41 PM #3Engineer
- Join Date
- Jan 2015
- Posts
- 445
So the big downfall to this chinese printer (duh) is no software... so there is no built in support/raft etc.
It uses Cura, which works, but you have to do all the editing somewhere else, like creation workshop , s3d or boc. If i make a bigger base, it wont treat it as a raft coming in from another software, and thus will be fully bonded like any other layer. nearly impossible to remove without damaging the part.
im going to TRY lowering the bed just a bit so it doesnt grip as hard, but i doubt thats the answer.
-
11-18-2015, 04:10 PM #4Student
- Join Date
- Aug 2015
- Location
- Chicagoland
- Posts
- 29

Whether on factory-calibrated commercial SLA printers like the envisionTEC micro or DIY SLA printers like the B9 Creator, both treat the first several layers with extra exposure as these are the attachment layers. First goal is to fix discrepancies of build table gaps. 2nd goal is to ensure a solidly planted base gets established for all subsequent and sequential layers to build on. As of their v1.80 software, B9 Creator developed a clever way of calibration and fine-tuning exposure throughout the build platform. Neither of these machines do it by increasing the initial gap between the basement and build platform as you intend on doing.
It's possible to carry this TOO far and cure the attachment layers beyond "solidly planted" and into the tenaciously stuck spectrum.
It's also entirely possible you're using a poor technique to remove the print from the build platform. Chinese copycats don't tend to elaborate on the finer points of usage.
-
11-18-2015, 04:24 PM #5Engineer
- Join Date
- Jan 2015
- Posts
- 445
im with you there... i usually try to place a razer blade at like 5 degree angle and start working it under the part.
that even caused this part to break.
im thinking maybe i can just cure it while still on the build plate with UV, and harden all the support and extra fluid trapped in the part.. that may help


 Reply With Quote


Print not sticking to base plate?
Yesterday, 01:26 PM in General 3D Printing Discussion