


Results 1 to 1 of 1
-
01-20-2014, 03:48 PM #1Student

- Join Date
- Jan 2014
- Location
- Ireland
- Posts
- 7
Frame clip and locking pin for Velleman K8200 3D printer
You probably discovered that mounting any accessories on the printer’s frame is a bit inconvenient. It is a good idea with these square nuts slid in the frame but unfortunately if you want to add something after the printer is fully assembled – it can be very ungrateful.
Some of the areas are easy to be modified, like the vertical aluminium profiles – it requires just removing the top caps. However, some areas are very hard to access (like the Z carriage arm) – you would need to tear the printer apart to get into the groove in the aluminium profile.
I had to figure out how to hang something on the frame without disassembling the printer or drilling holes in the frame. The list below shows what I would like to change/add to the printer:
- mounting the controller board on a separate base (probably with some cable tights)
- mounting the power supply on the side/back of the frame
- mounting the fan properly (it is very wiggly by default)
- adding a LED lighting (probably PWM controlled)
- adding a RaspberryPi to control the printer remotely
- adding a webcam to see the printing progress
- adding an extension lead where I could insert all the plugs (printer, RPi, LEDs)
- mounting the extension lead to the frame (the idea is to have the printer portable, with only one cable sticking out with the rest mounted securely)
- adding a filament cleaner
- adding a dishwasher (or maybe not, it would be too much for the frame
 )
)
Here is a cross-section of the aluminium profile:

My first thought was to design a locking pin that would slide through the slot and then lock if rotated 90°.
After some measurements I came up with this bracket and pin:
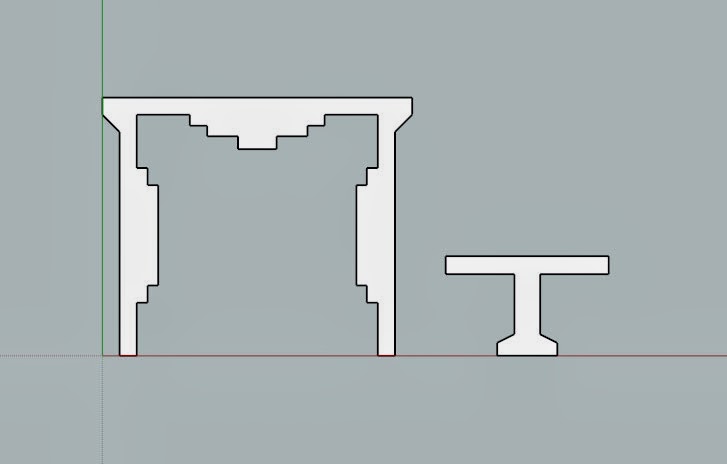
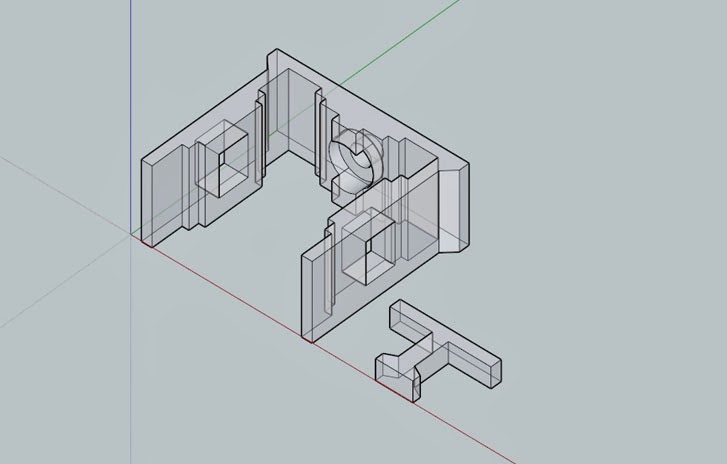
I have created rectangular holes on the sides of the clip to allow the pin slide through.
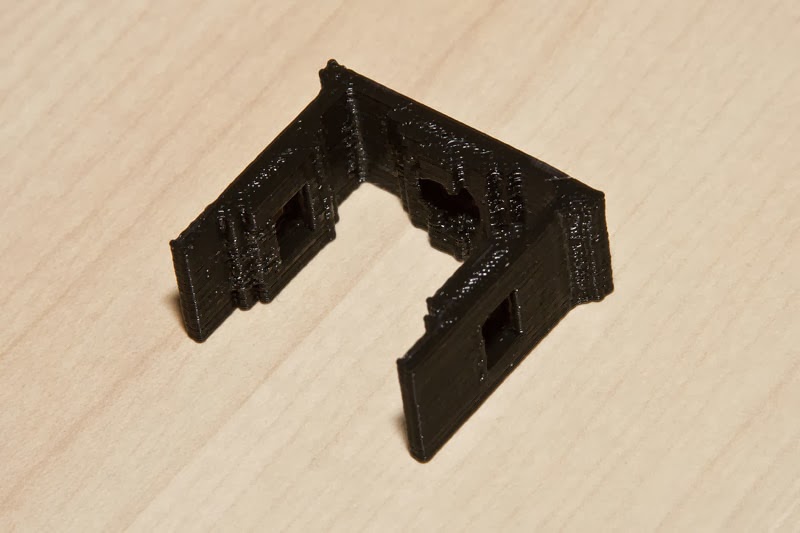
Below are the printed objects.

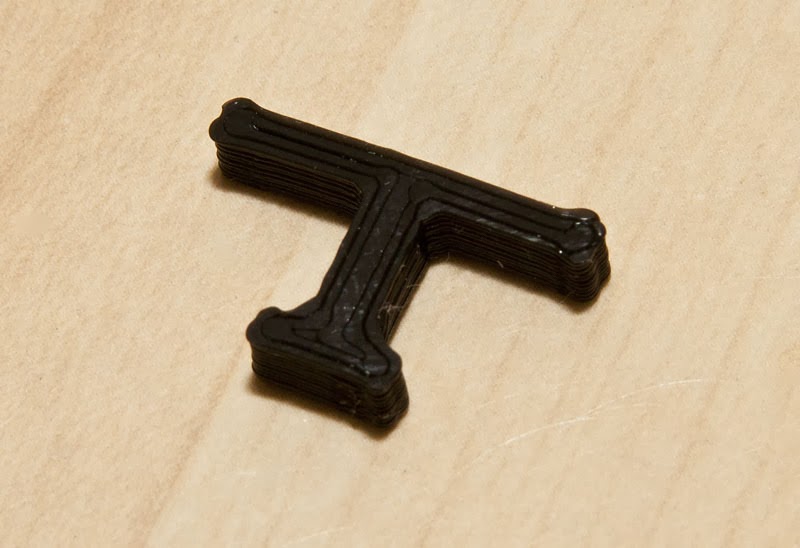
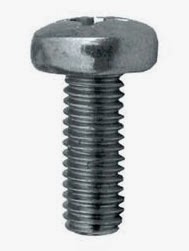
A flat M3 bolt + washer or flat M4 bolt (like the one below) can be used.
To download the files - visit my profile on Thingiverse (http://www.thingiverse.com/ljwinkler/designs) or use direct links below:
- bracket (http://www.thingiverse.com/download:409393)
- pin (http://www.thingiverse.com/download:409394)
Cheers,
LJ

 Reply With Quote


What's wrong with this prting?
04-14-2024, 05:15 PM in General 3D Printing Discussion